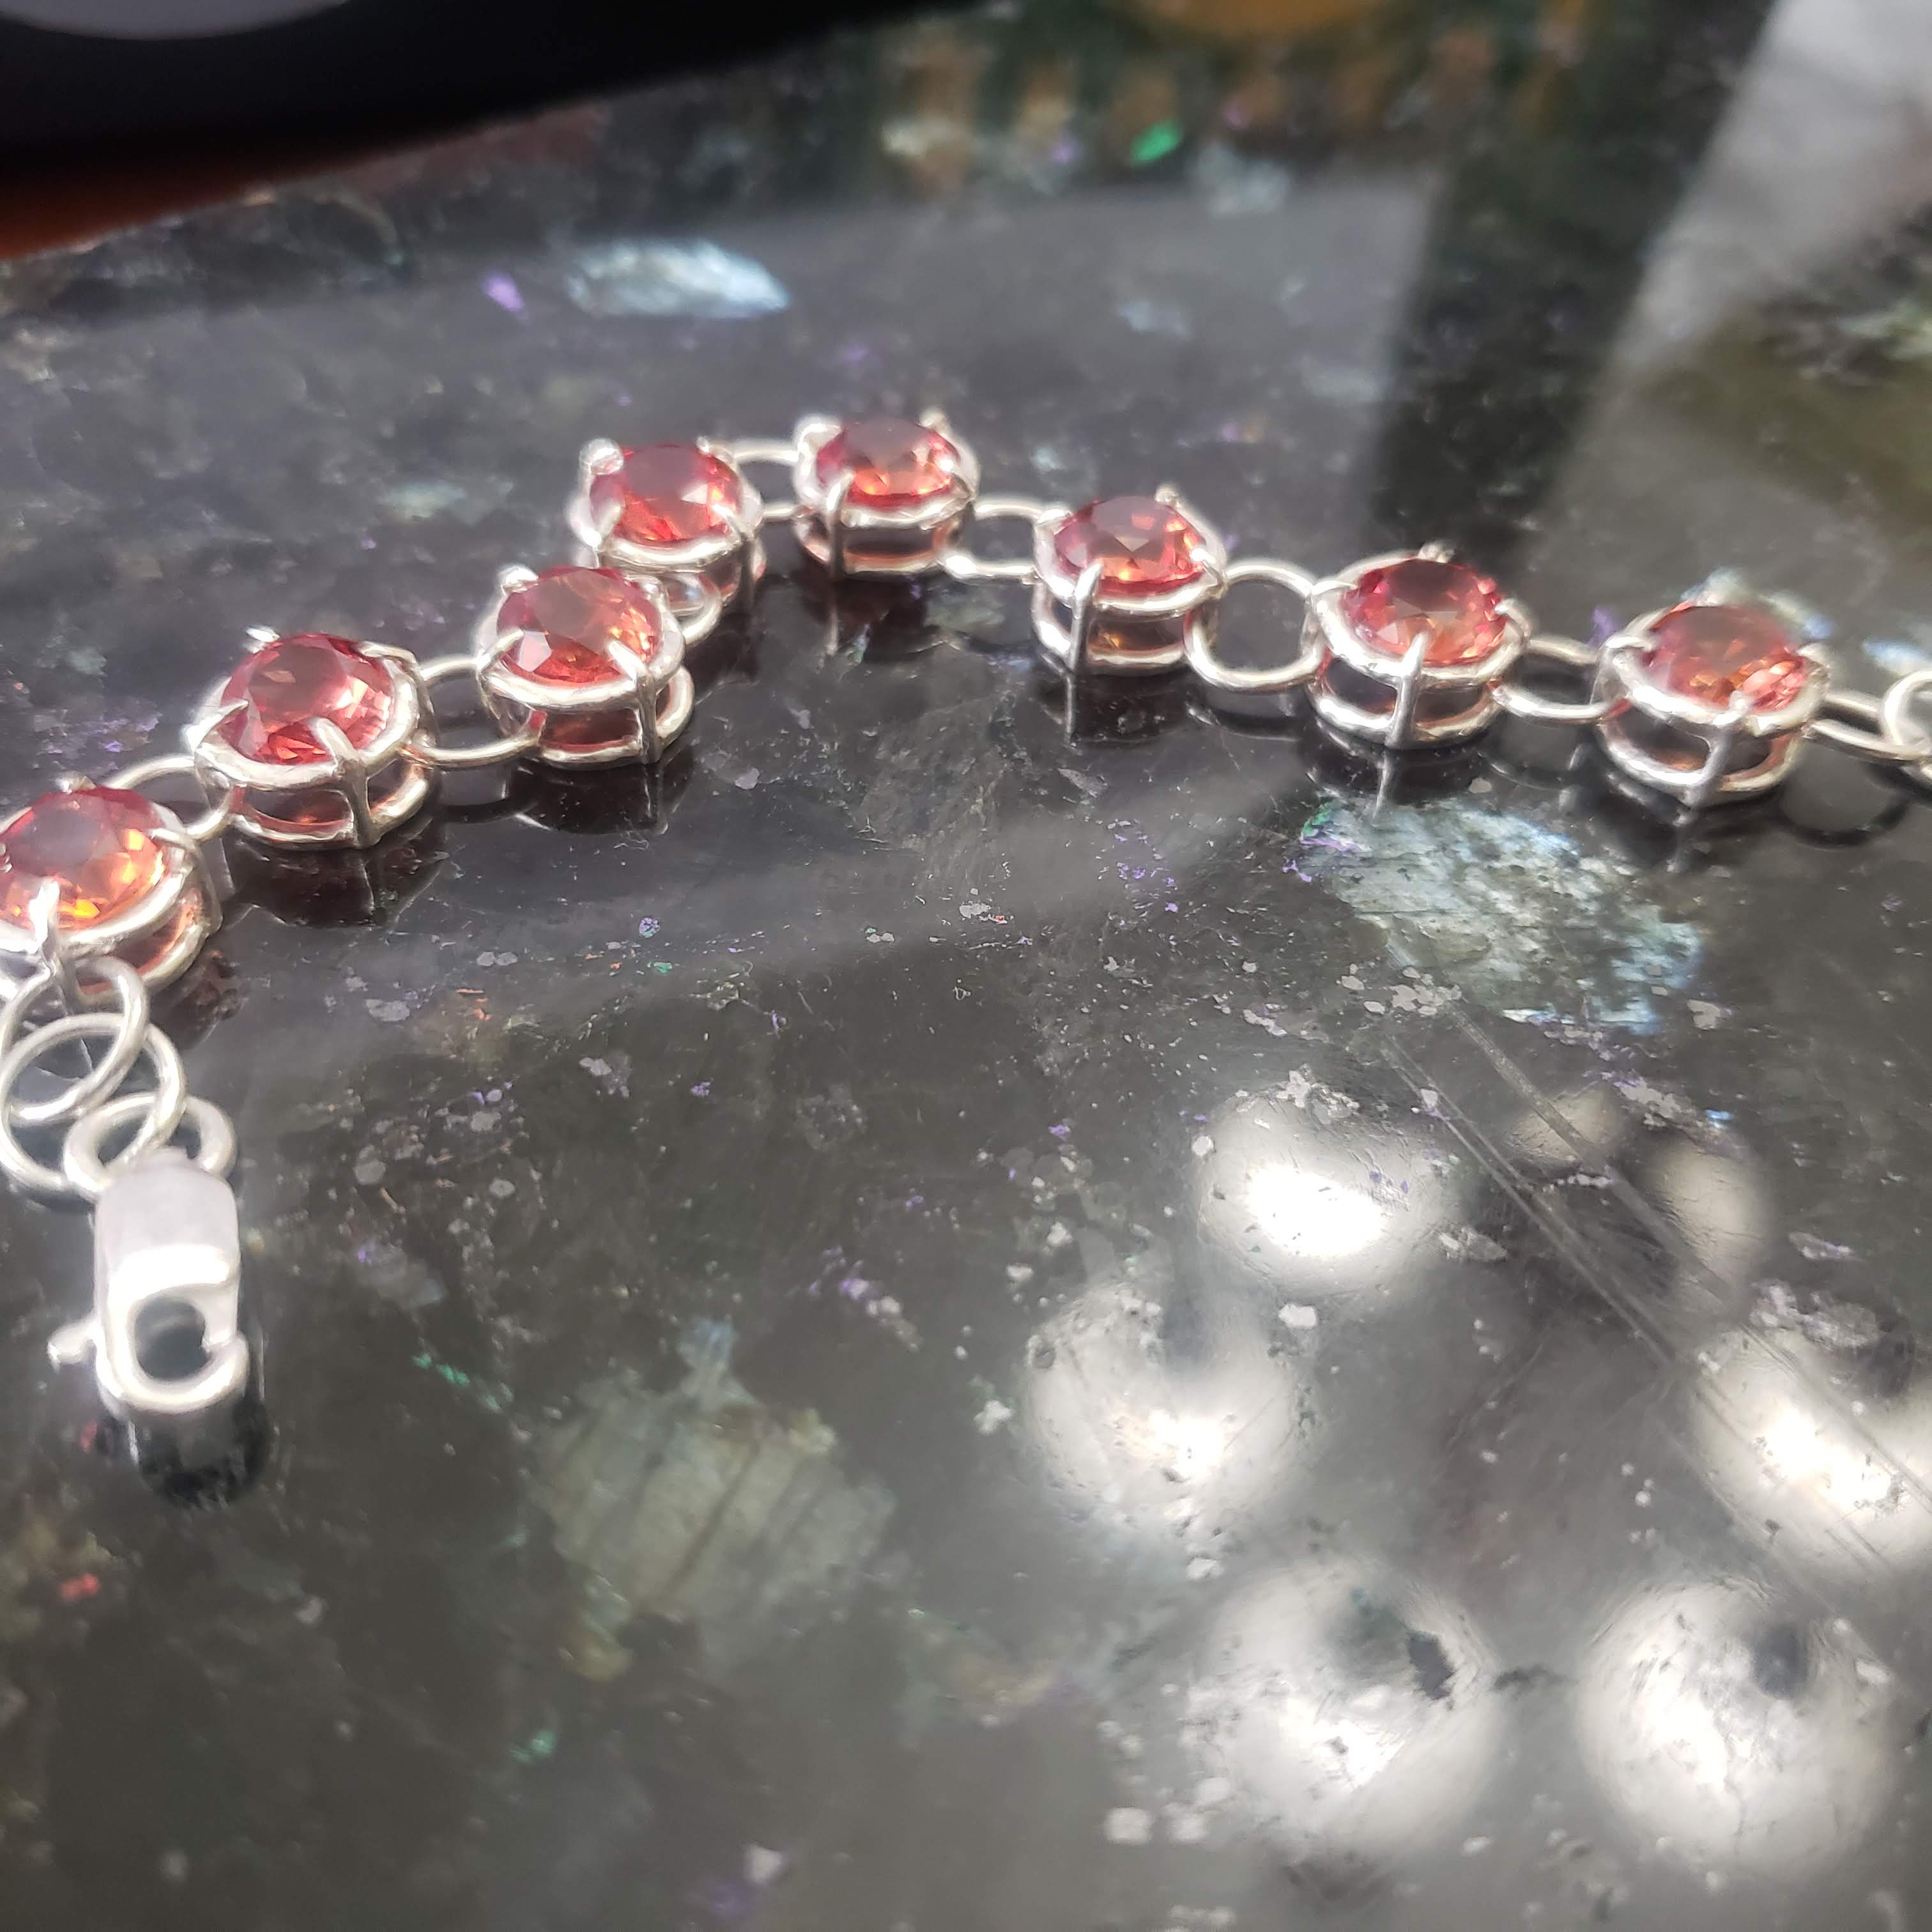
Current jewelry project. A silver bracelet with Padparadscha sapphires.
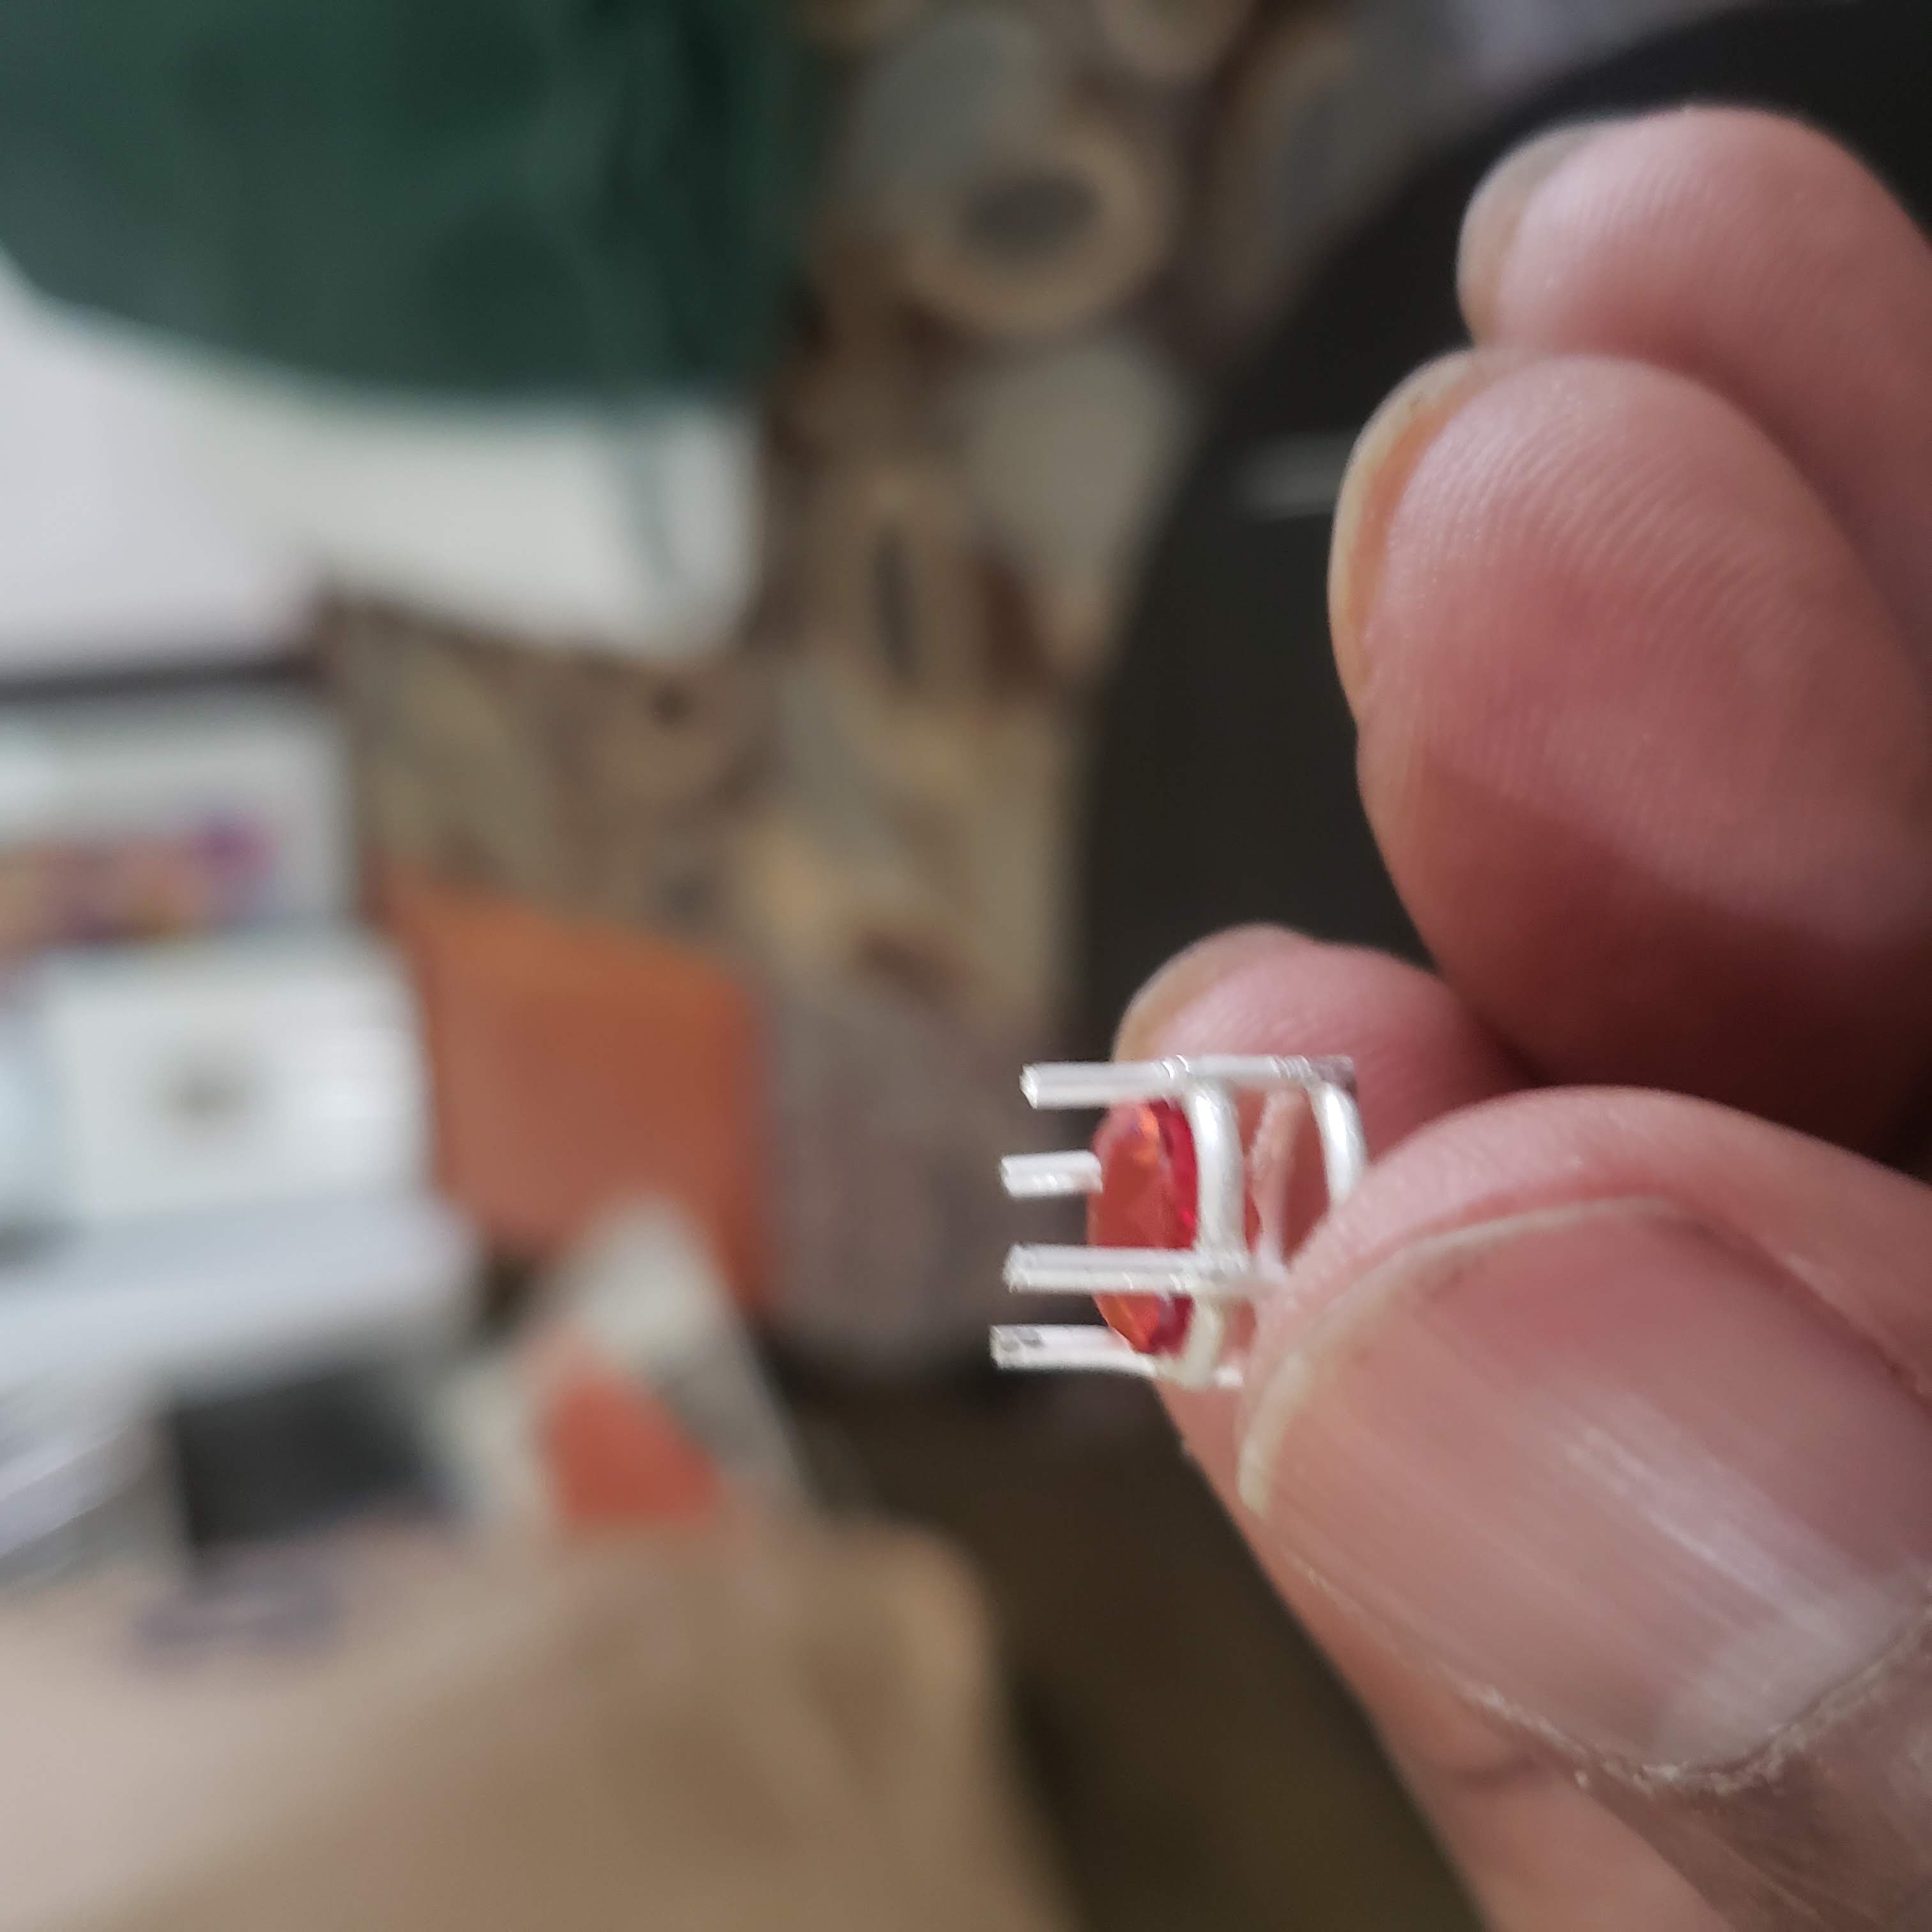
These sapphires are interesting in that they have a beautiful orange color, not the typical blue we are used to seeing in sapphires. I’m setting the stones in double-gallery baskets.
Step 1: Solder rings and prongs for the settings
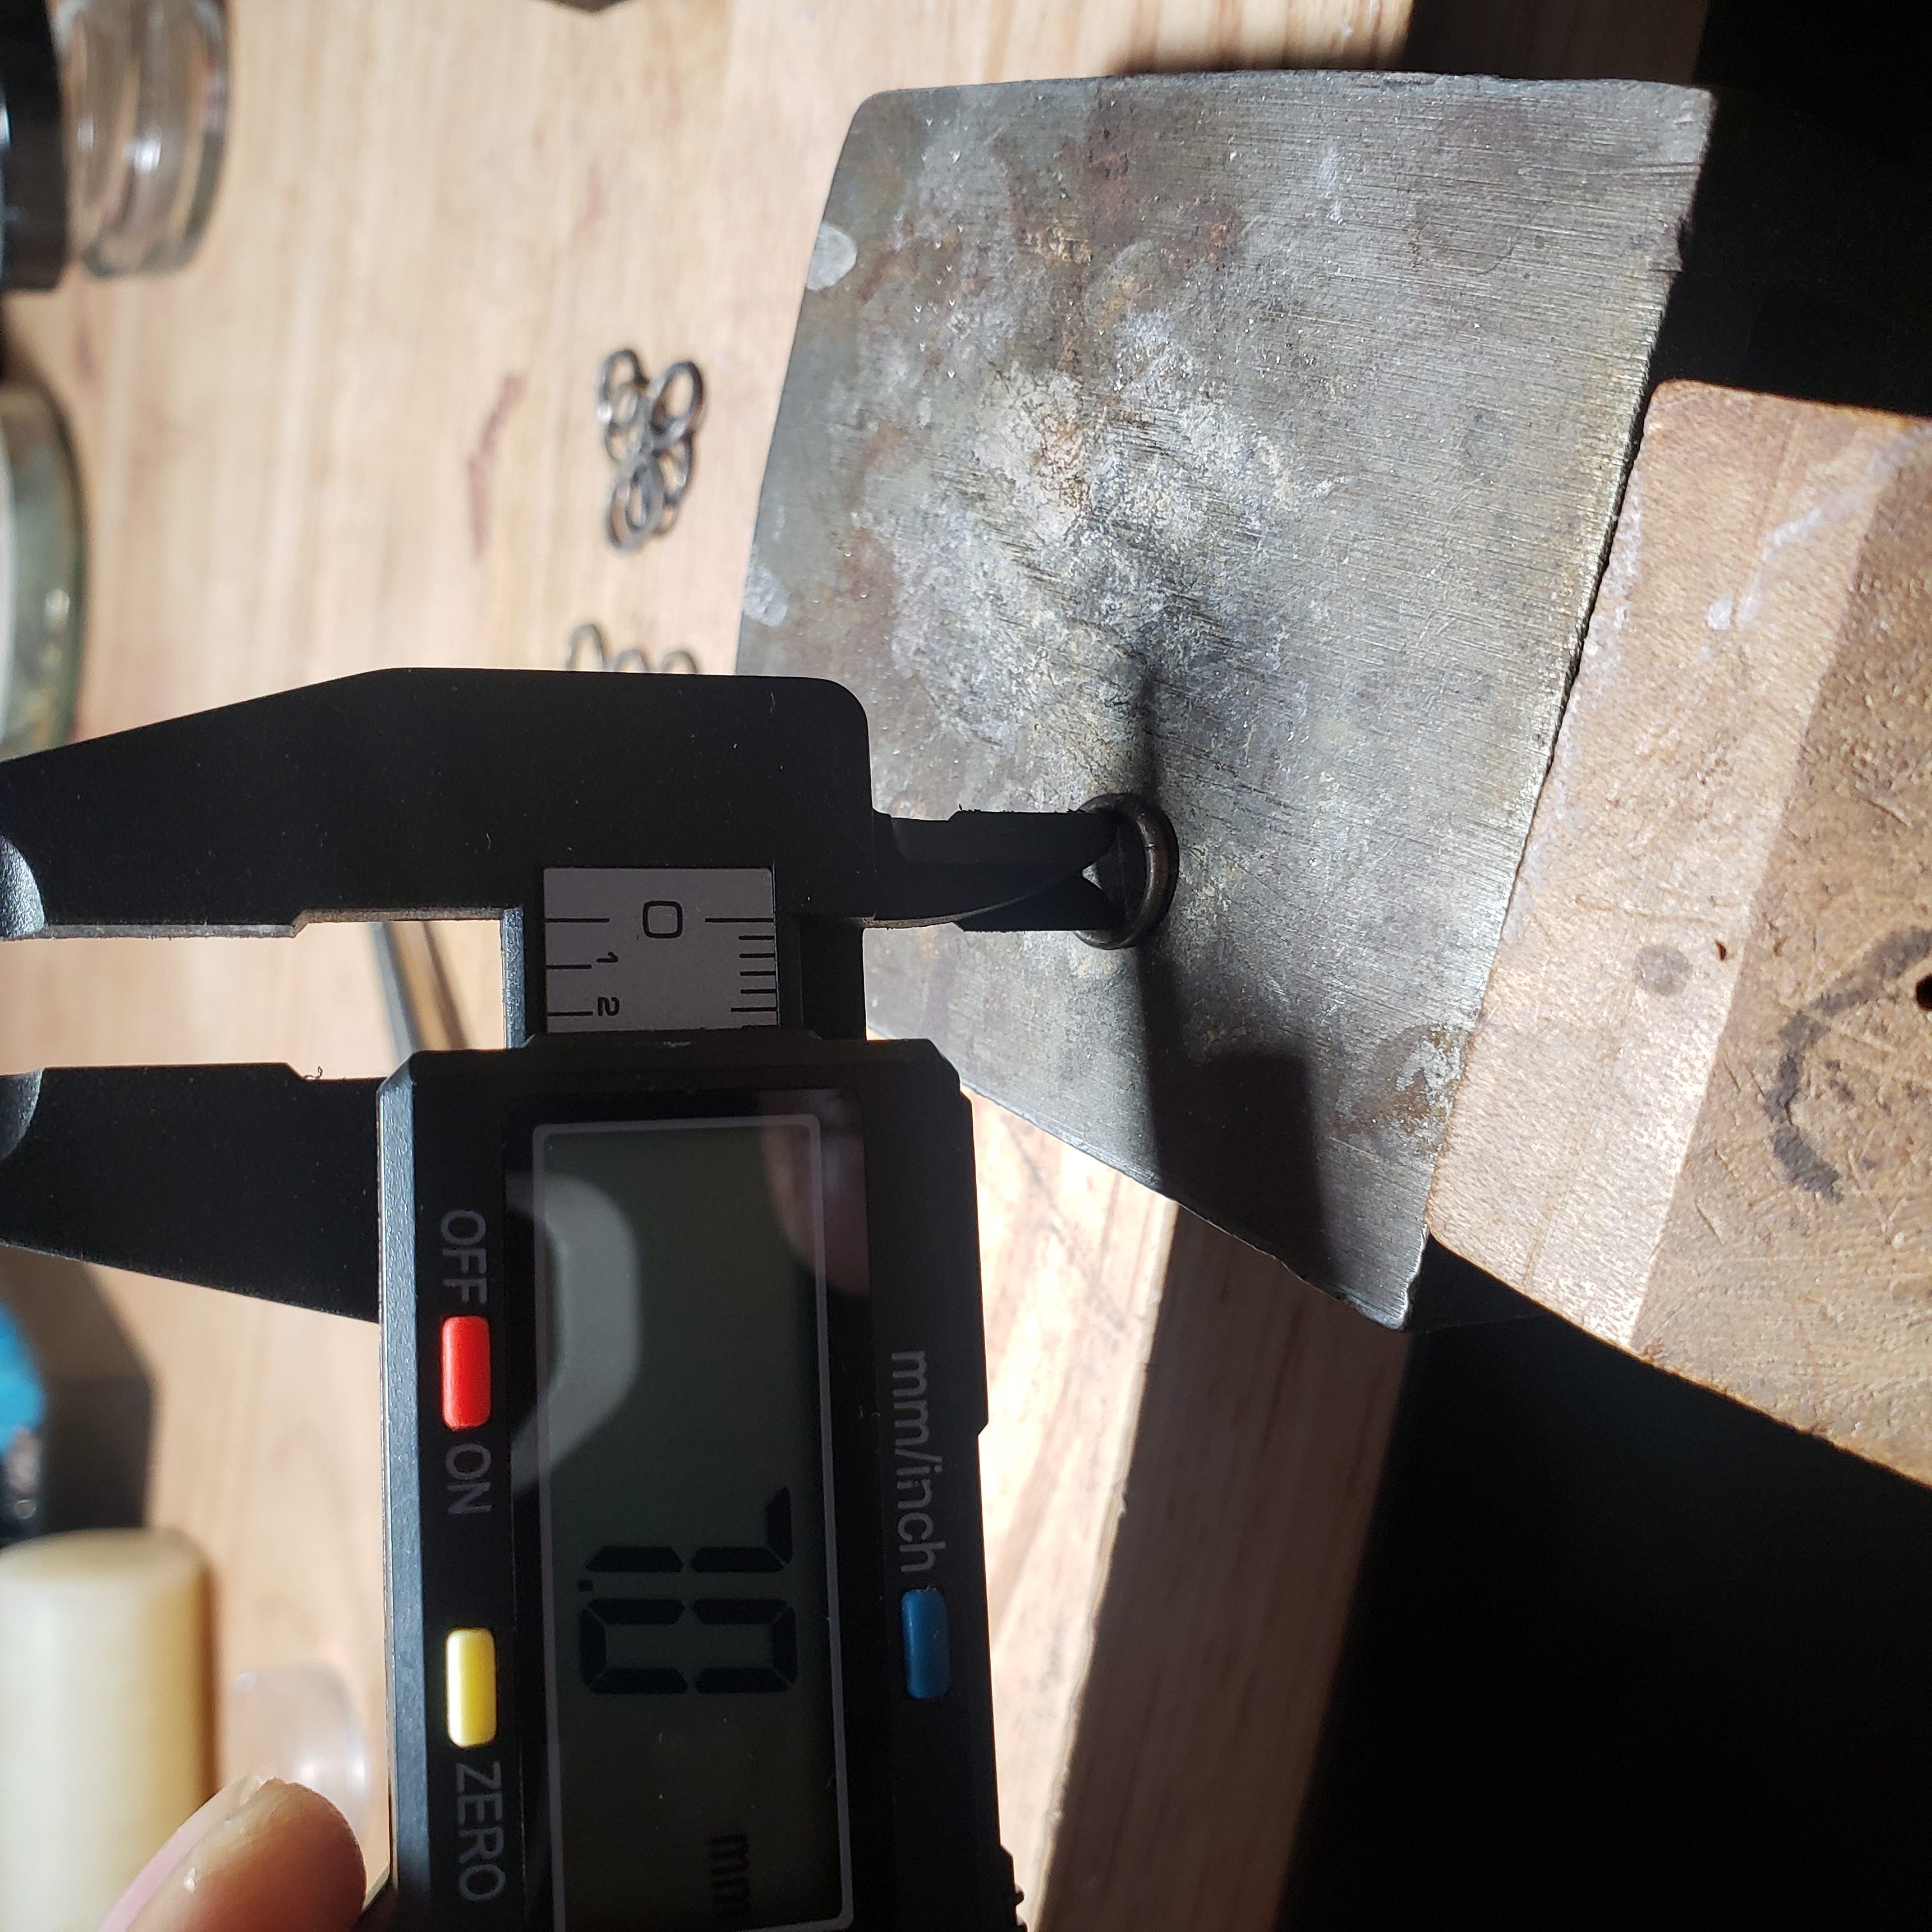
The first step is to size the settings for the stones. Here I use a piece of
scrap copper wire to form what would be the top gallery ring just under the
girdle of the stone. Then I unroll and straighten the wire to measure and get
the length I need for the actual silver rings. In this case it was 25 mm.
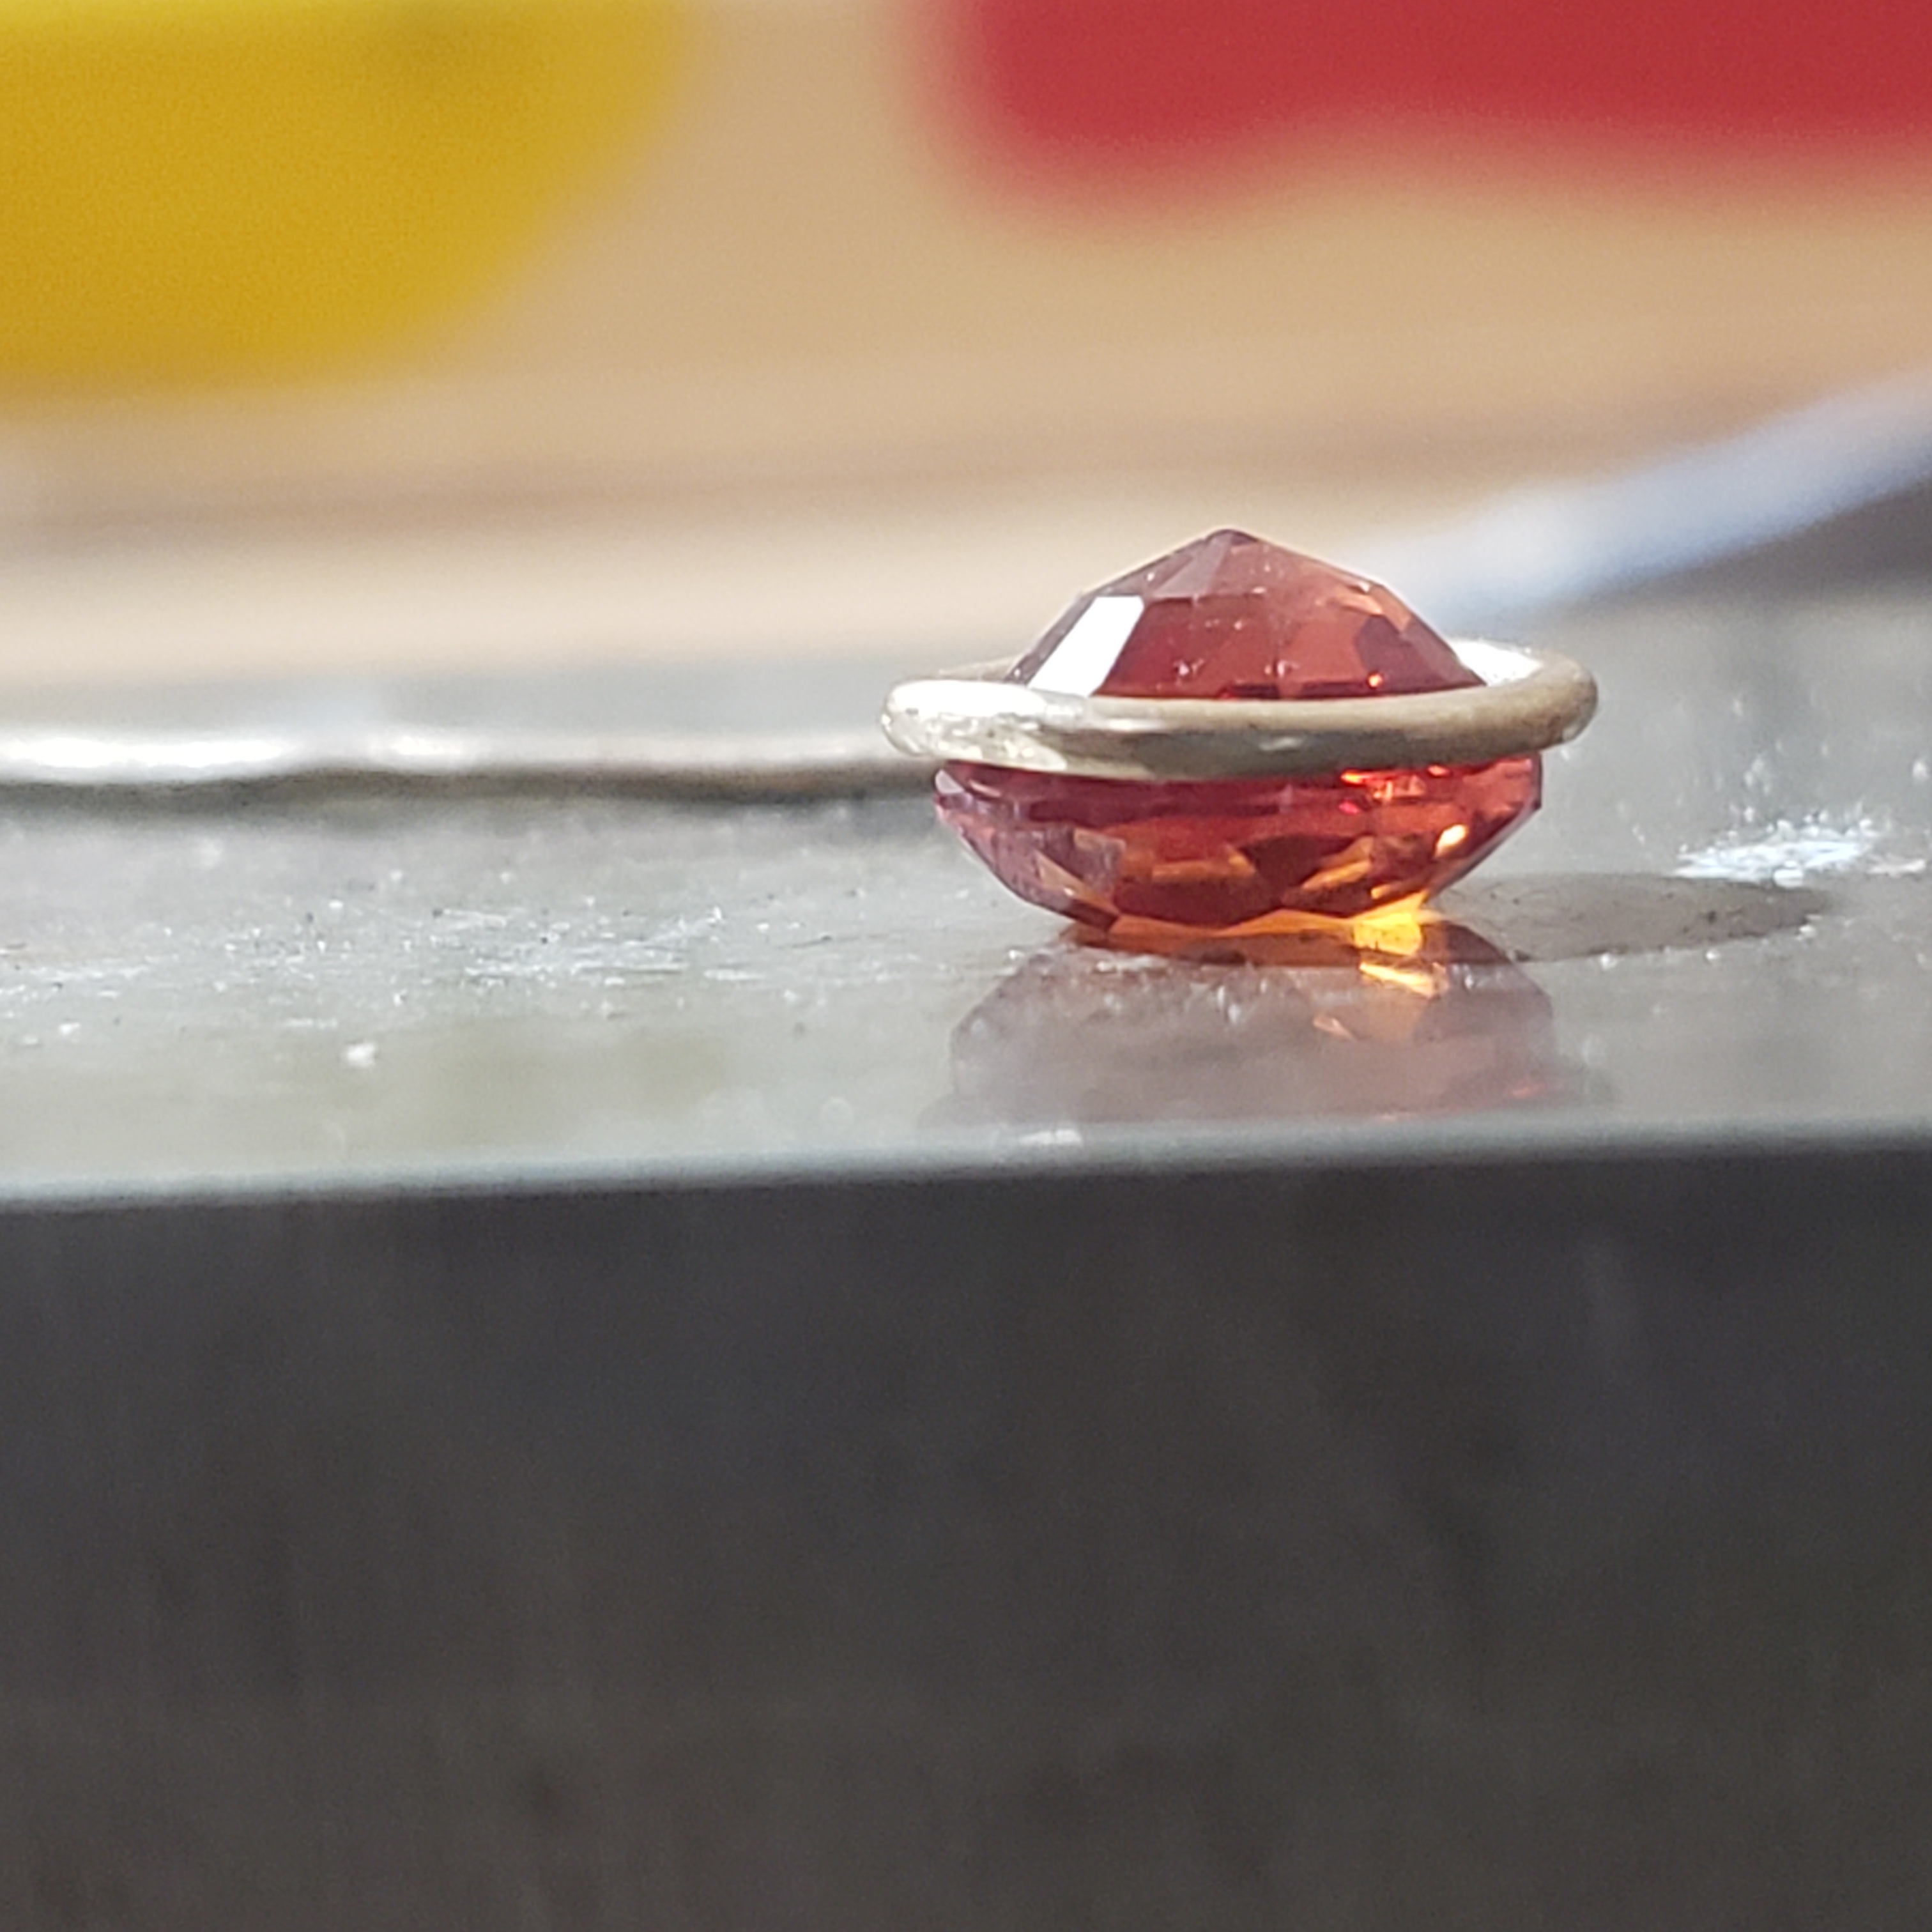
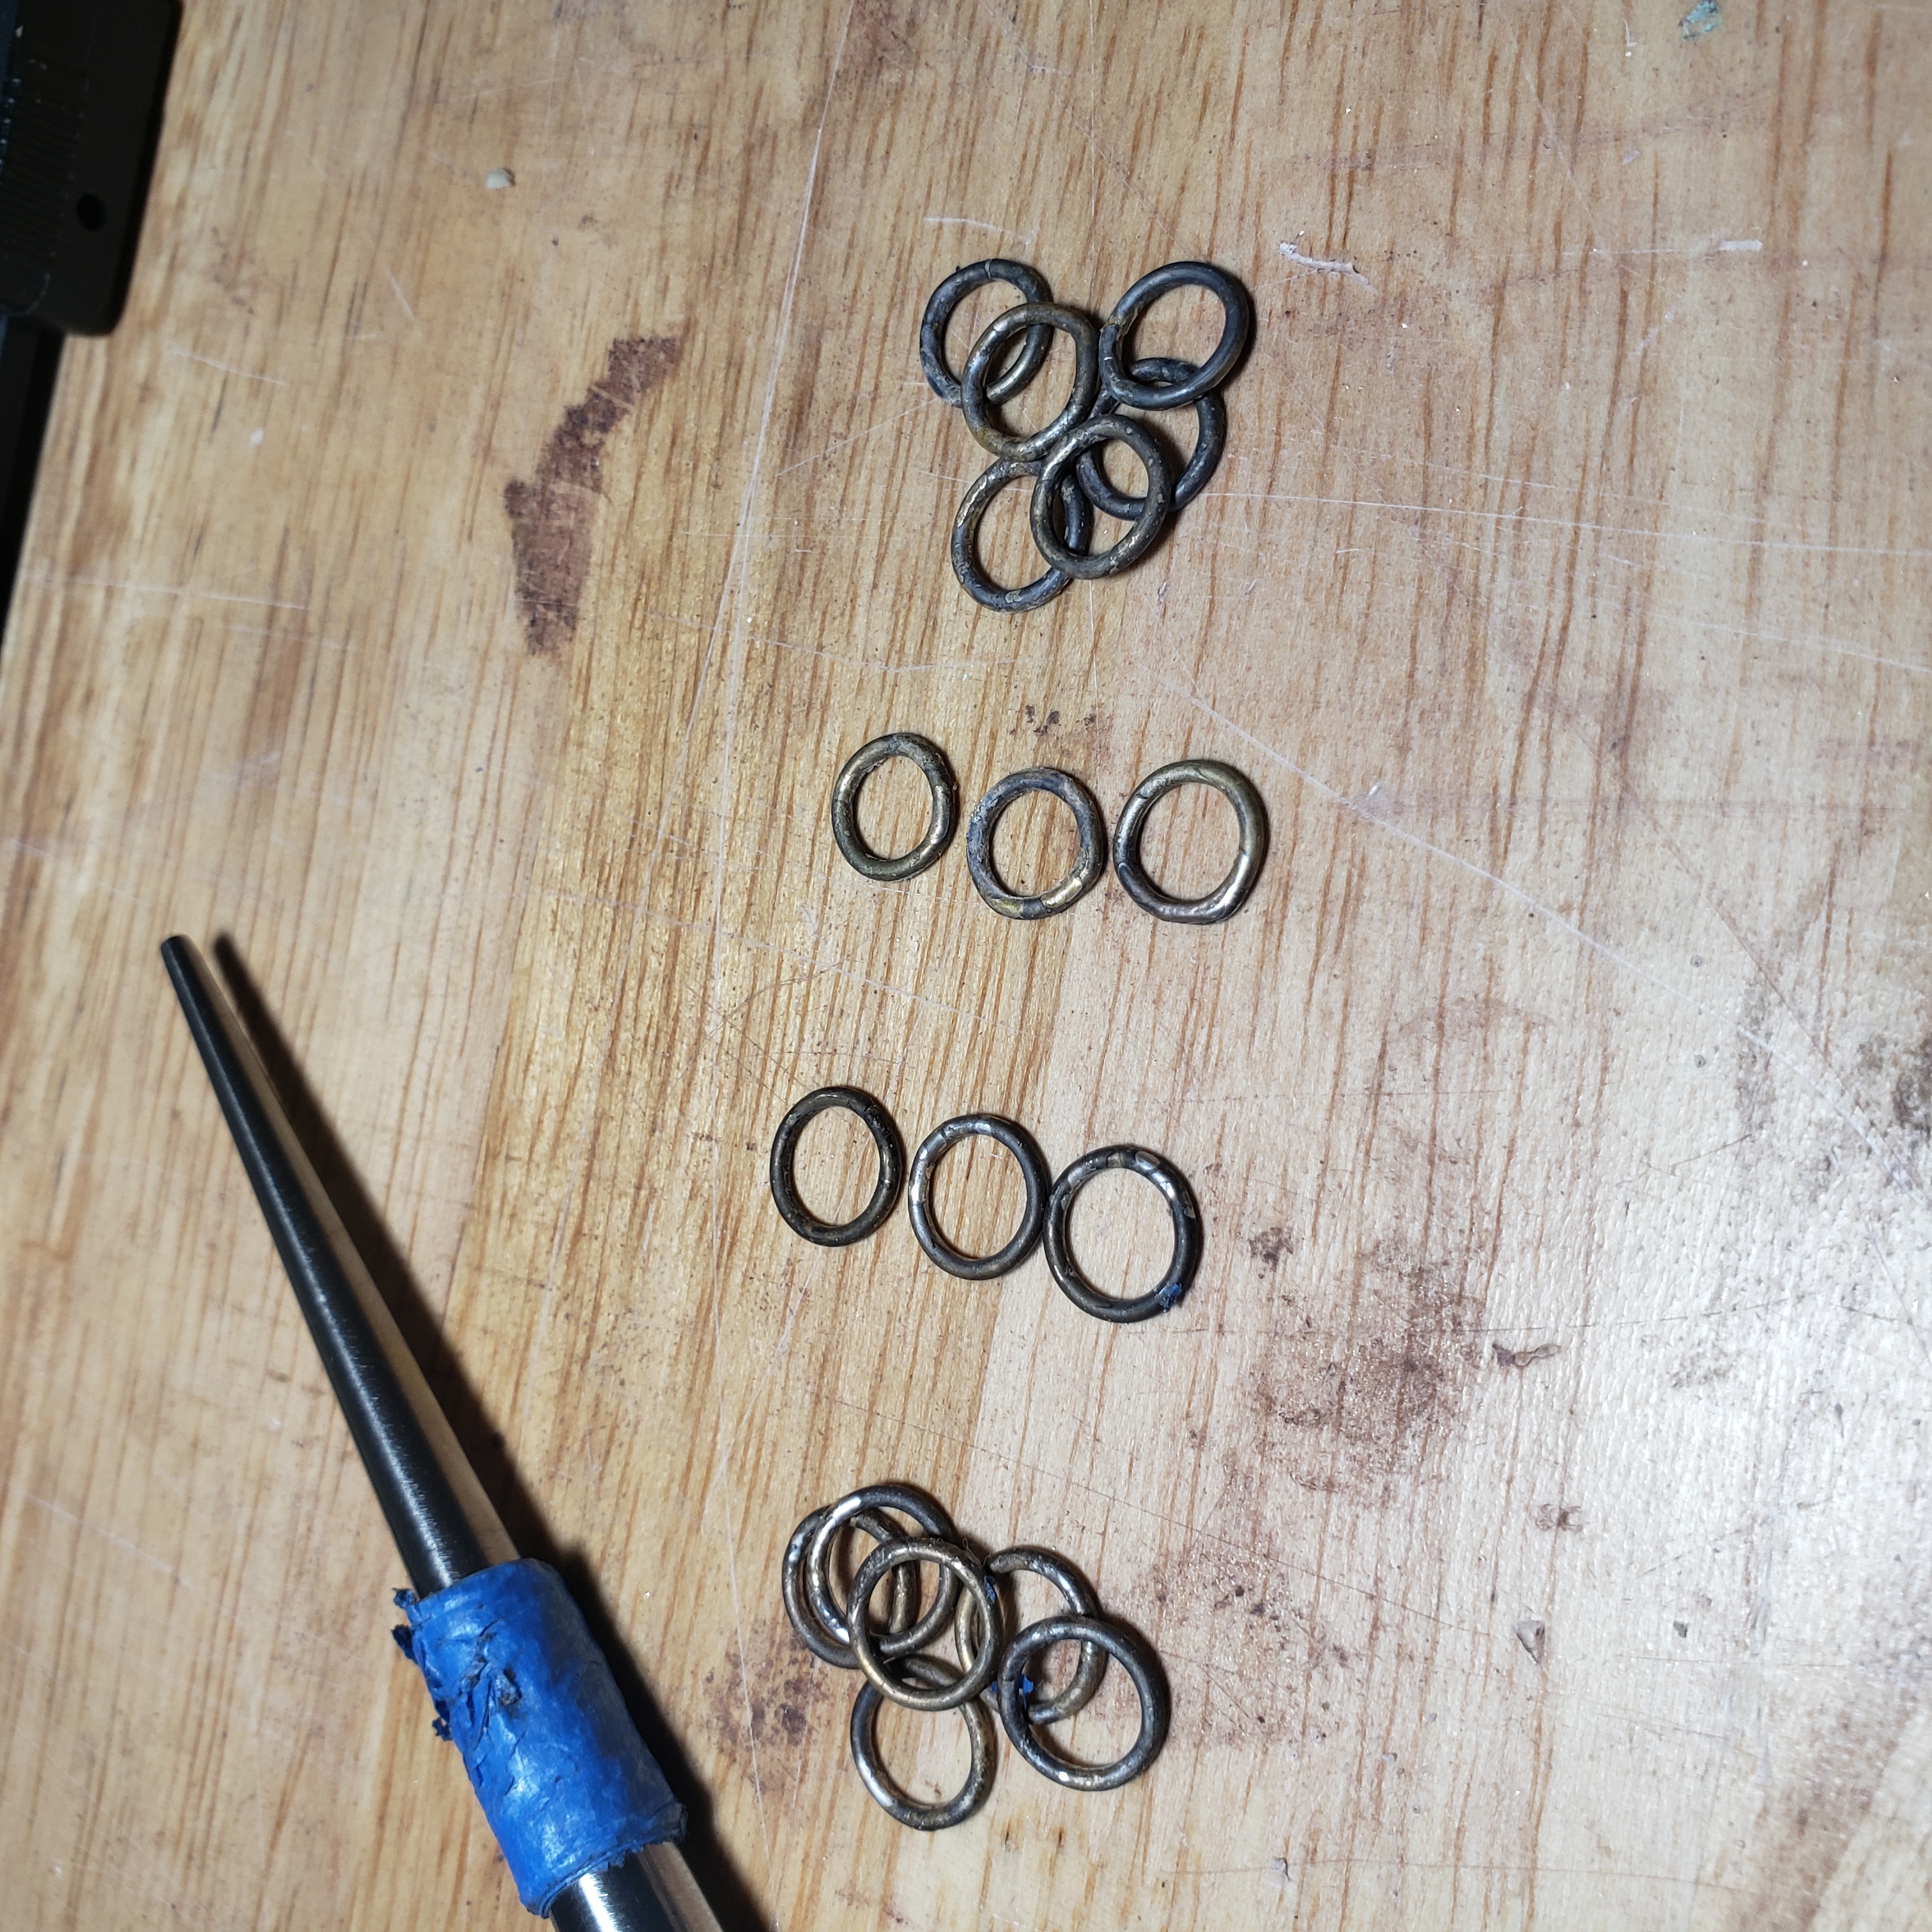
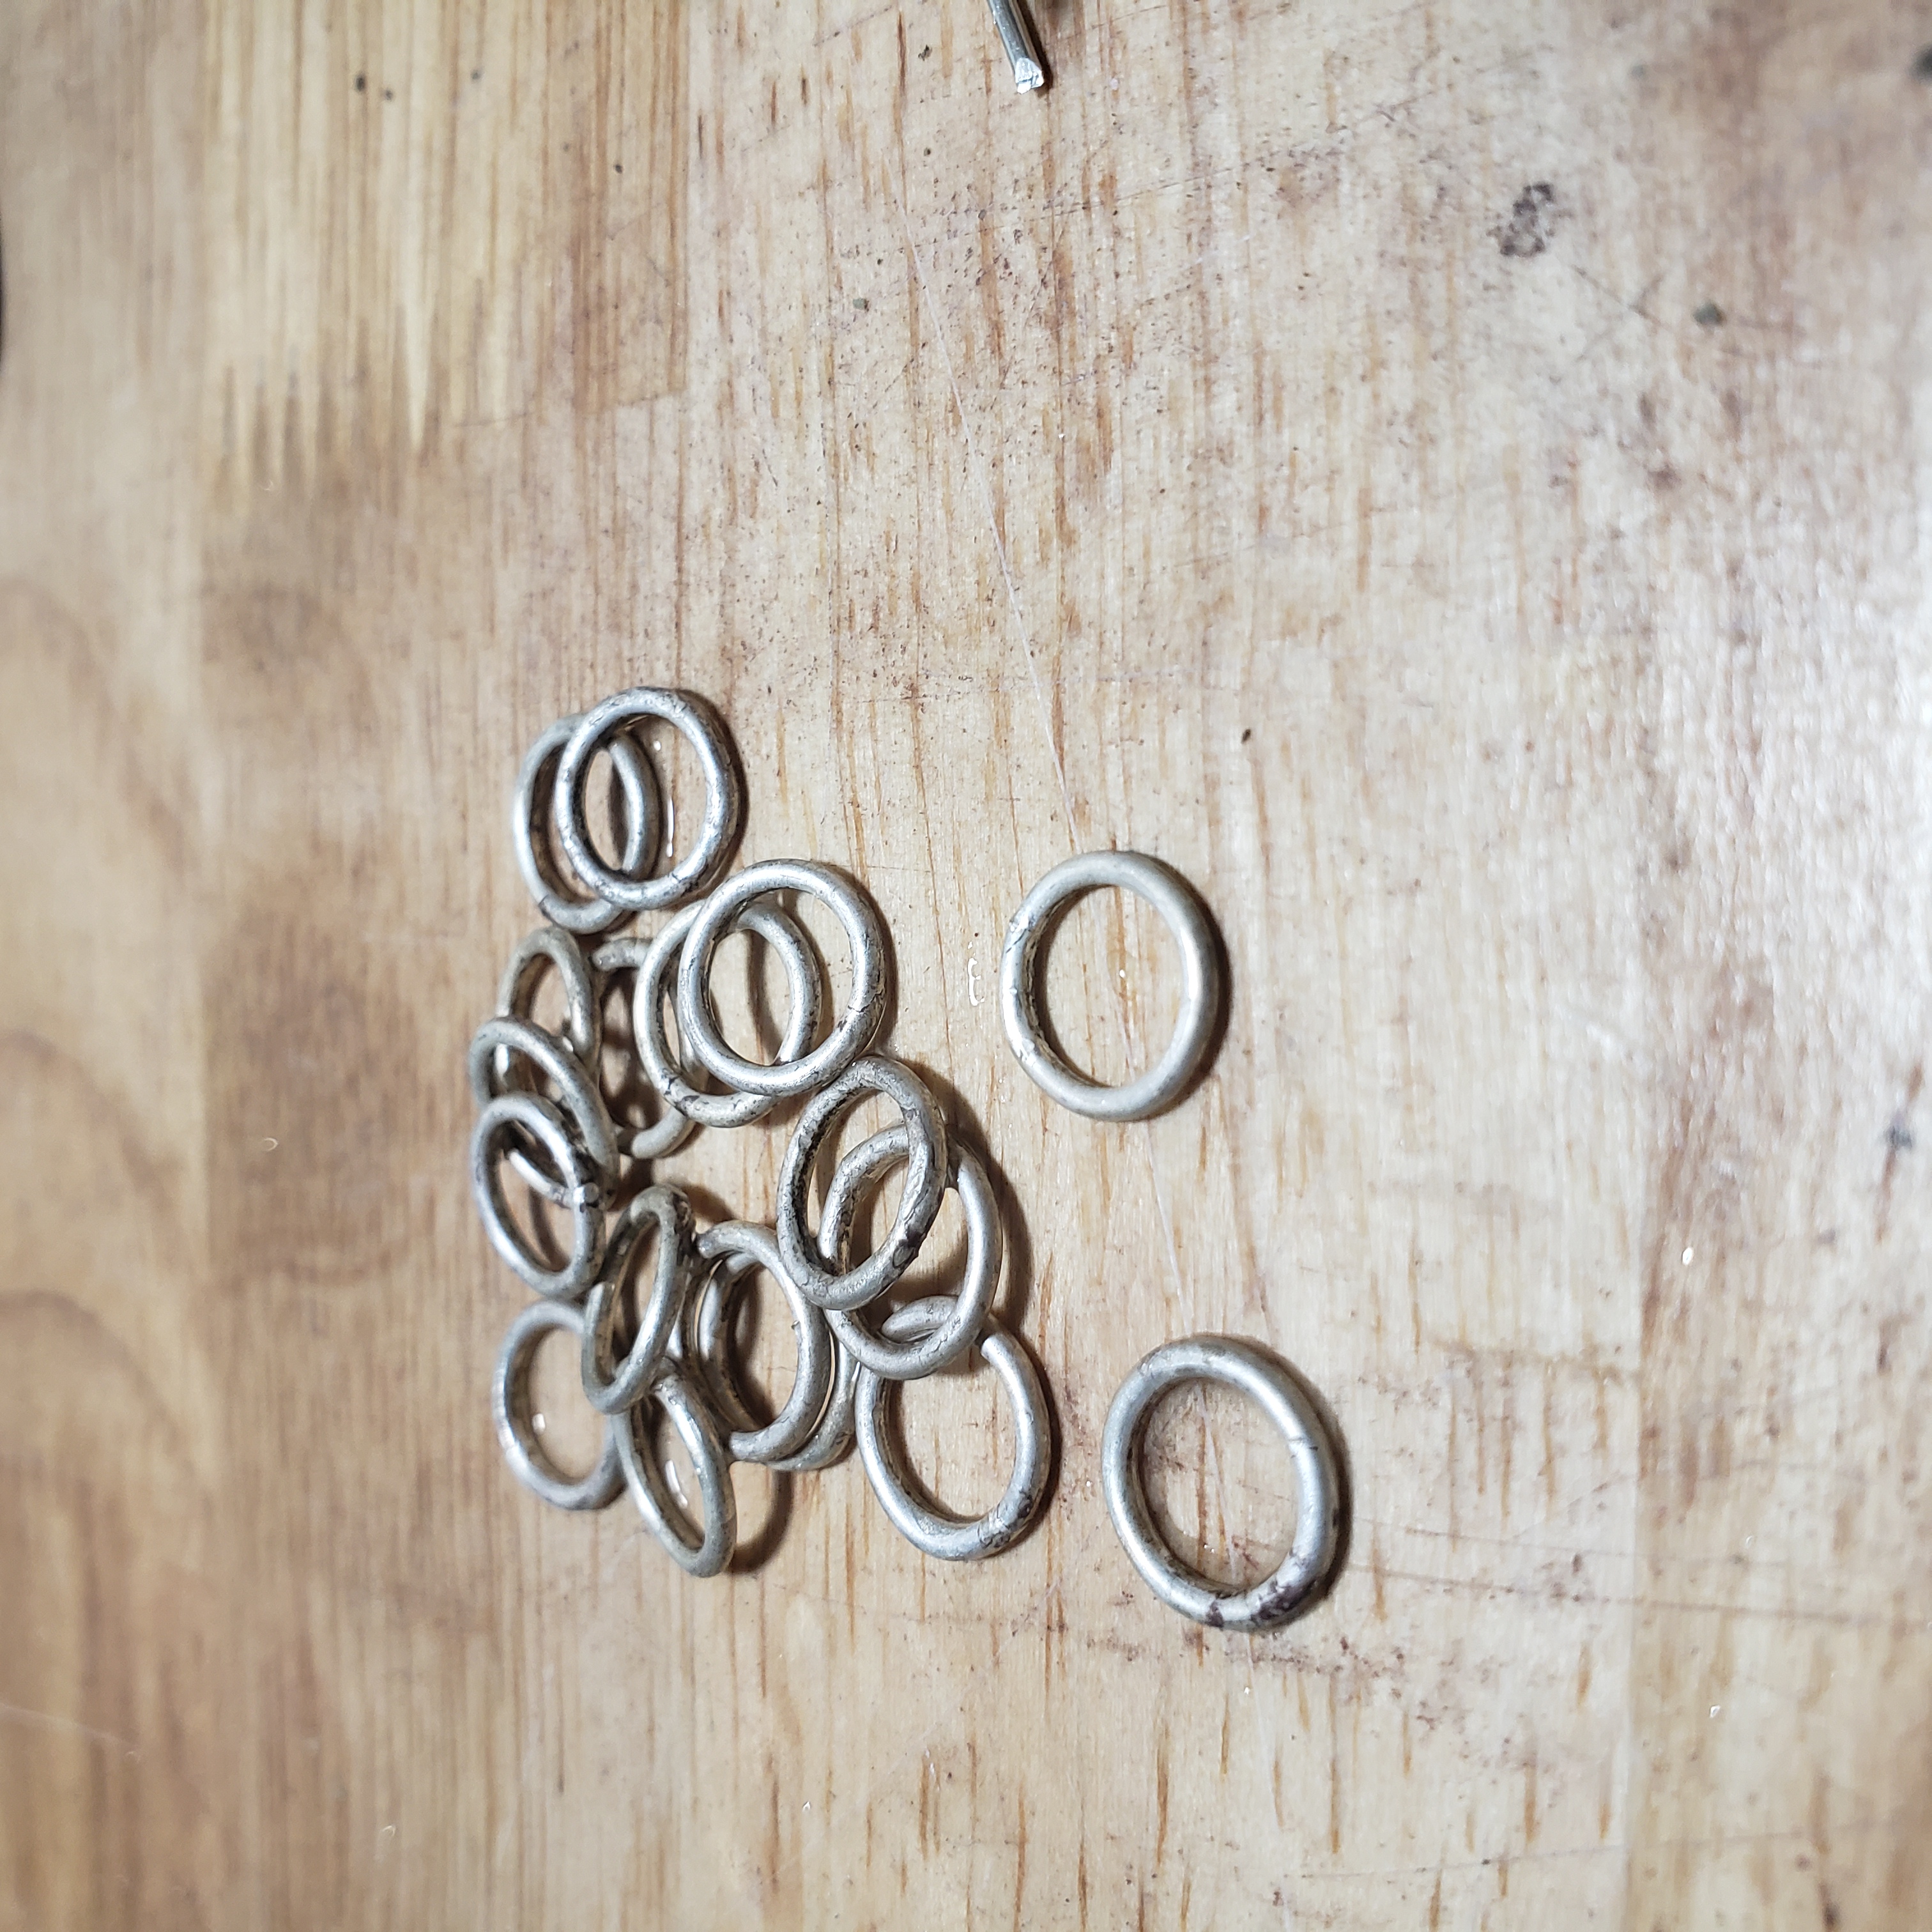
After soldering the rings together (two rings for each stone). I carefully
shape and size them on a ring mandrel to get to the final size I want, here
that is 7mm (my stones are 8mm across.)
Normally, setting the prongs is a pain in the ass for me so I’m trying
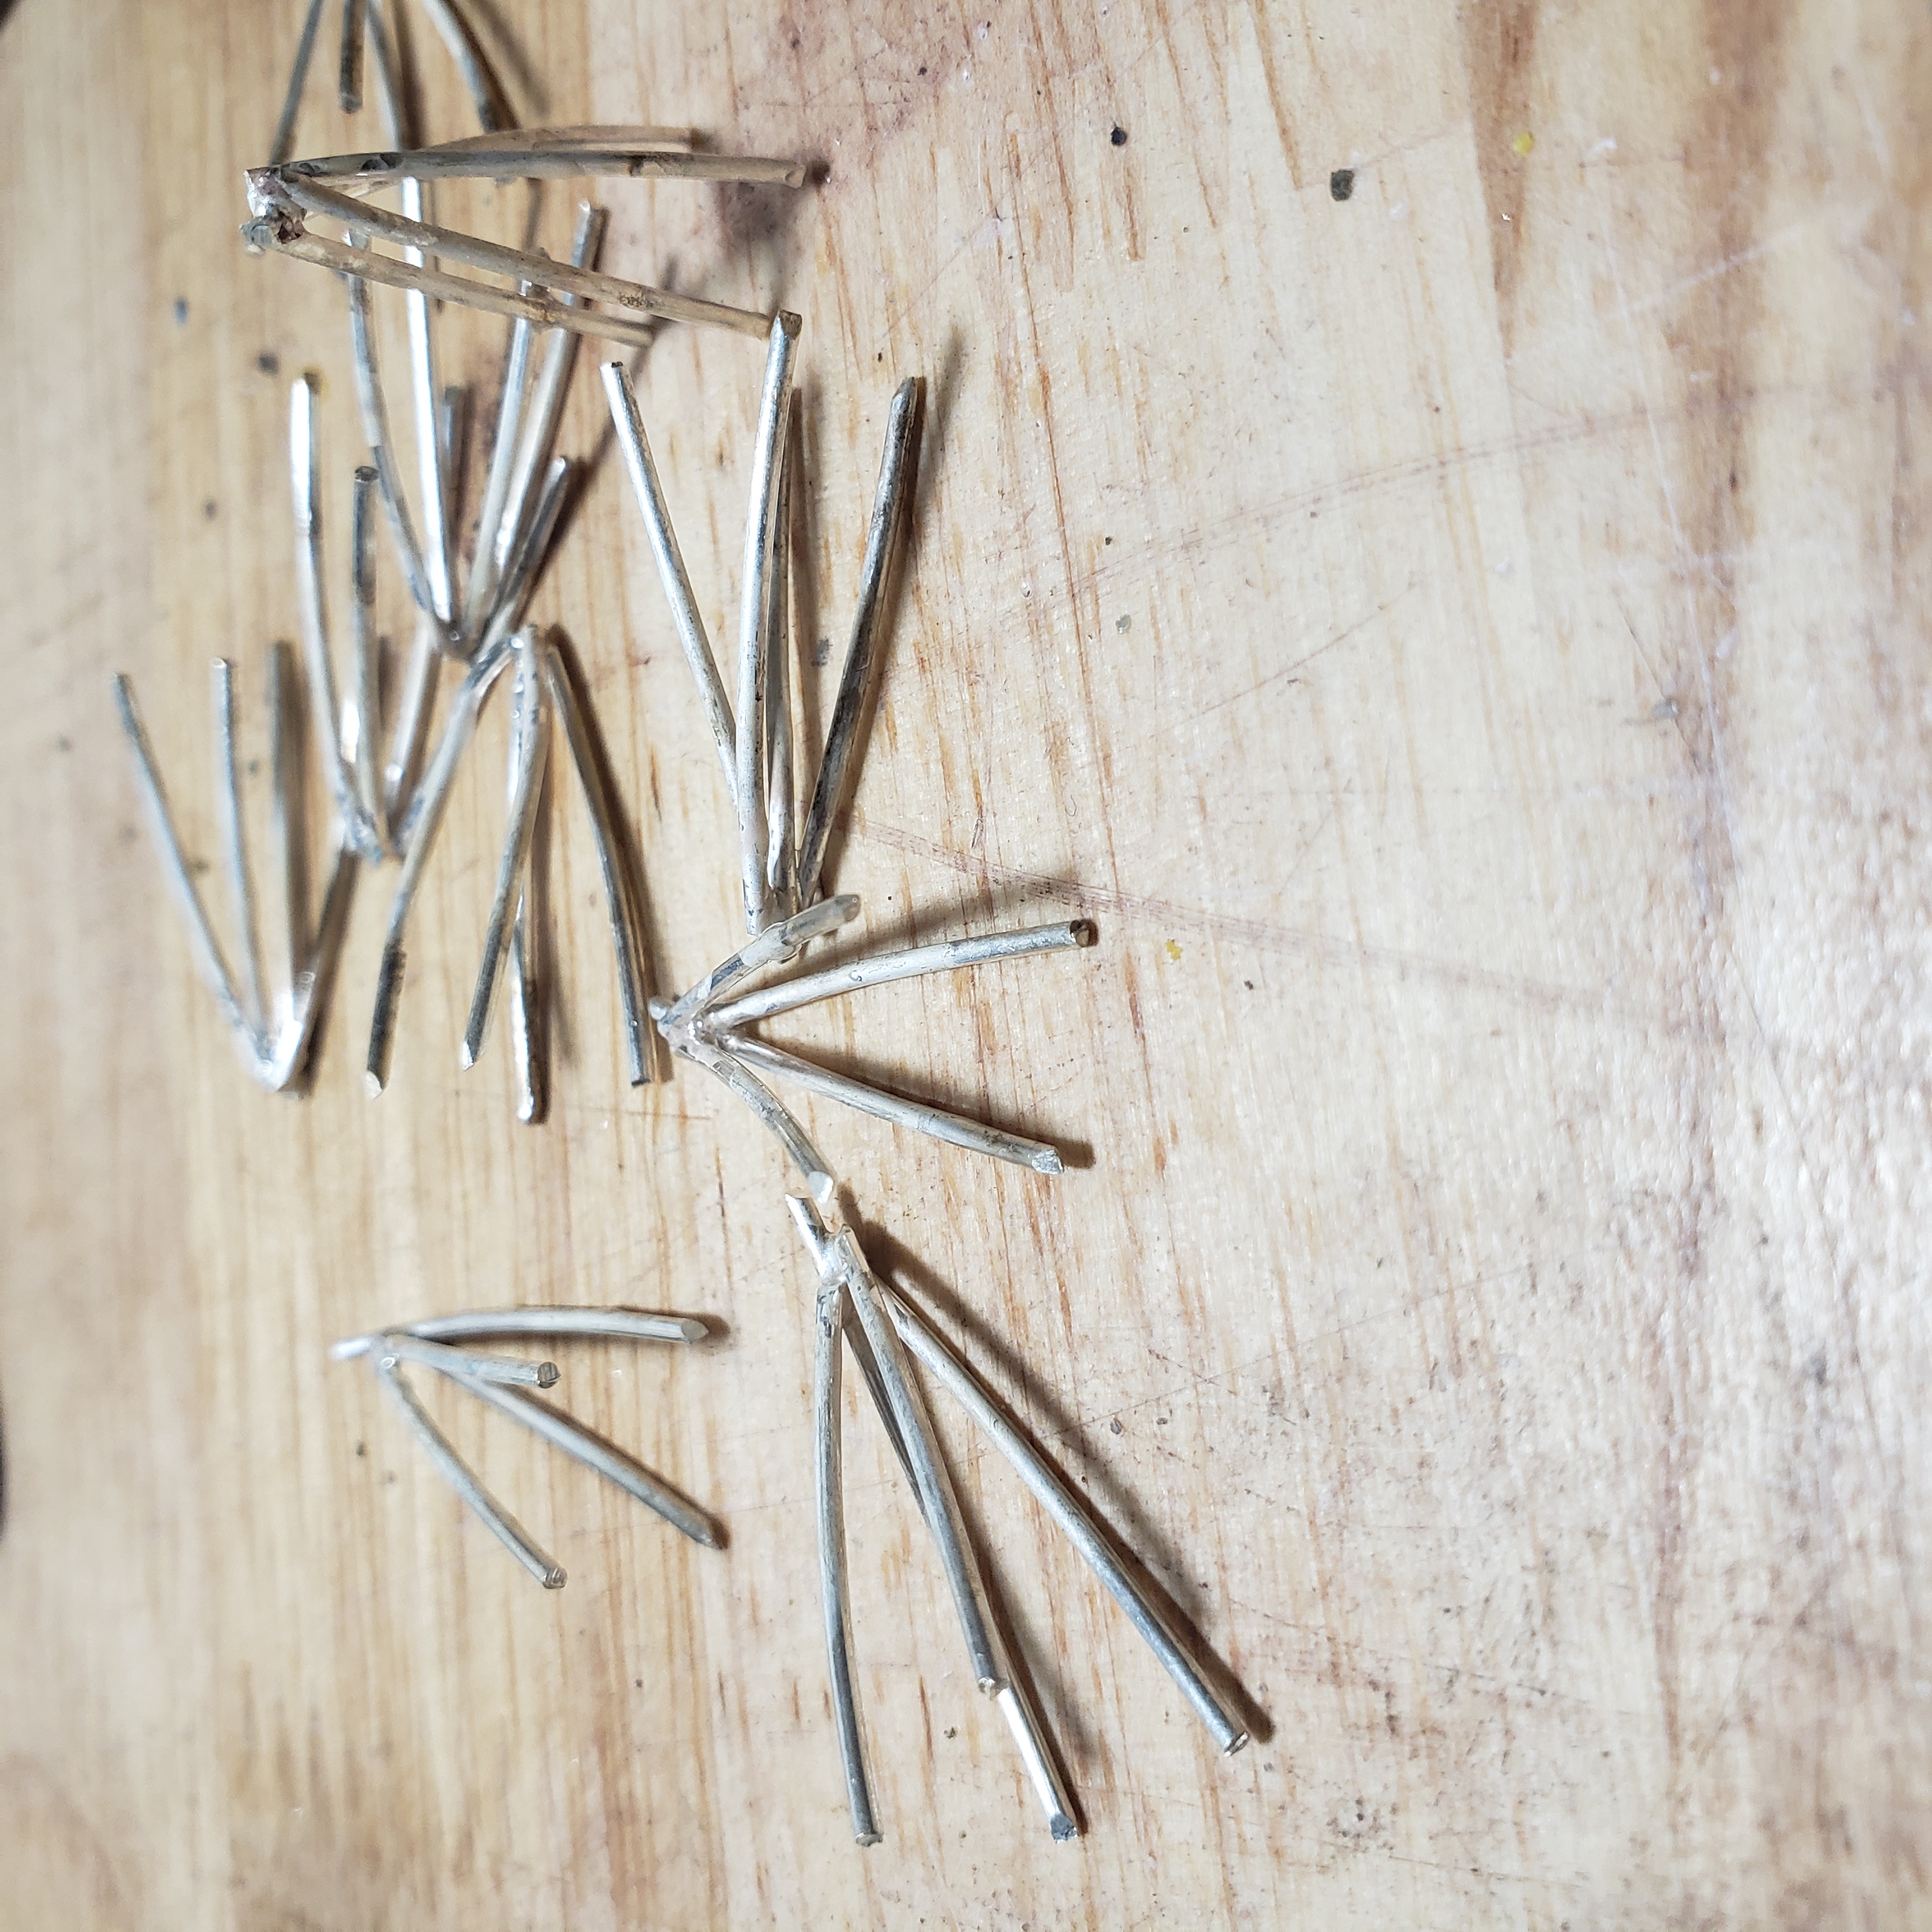
something different. I’ve made a jig with holes where my prongs should be. I
set the jig in some Hold-it putty and place my prongs. They are cut a little
long so I can solder them together. Then I solder them into small pyramids.
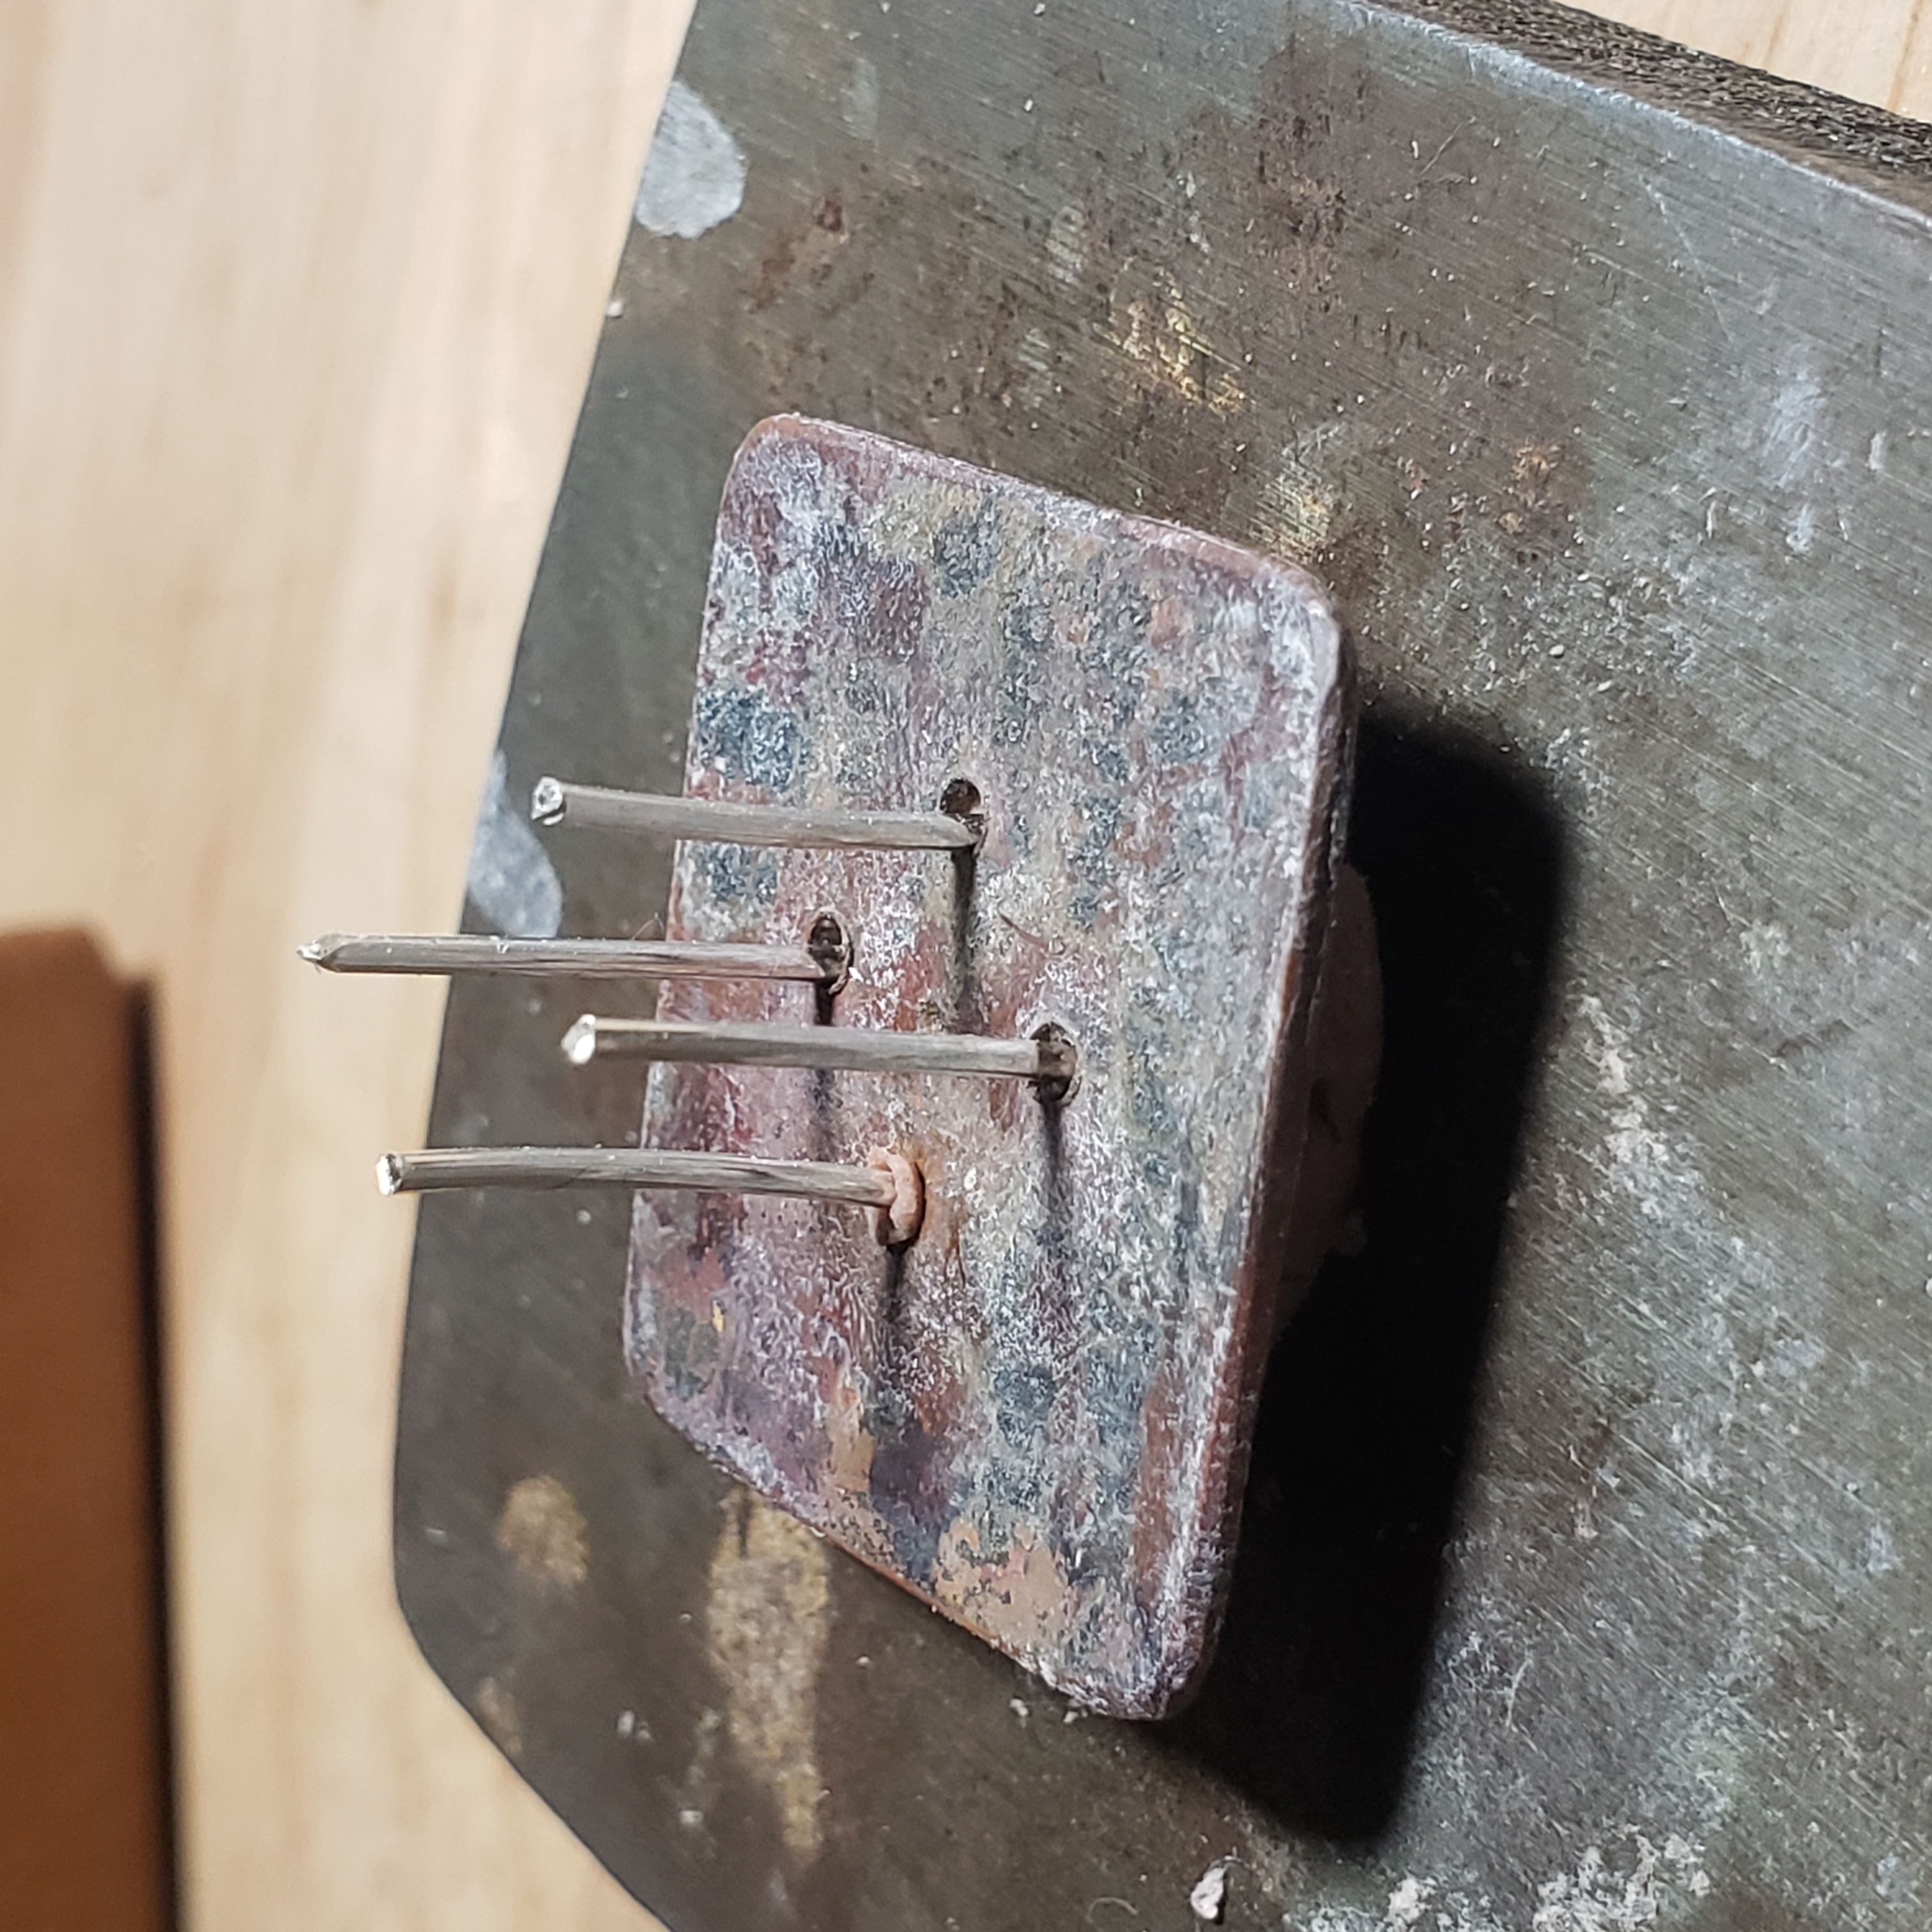
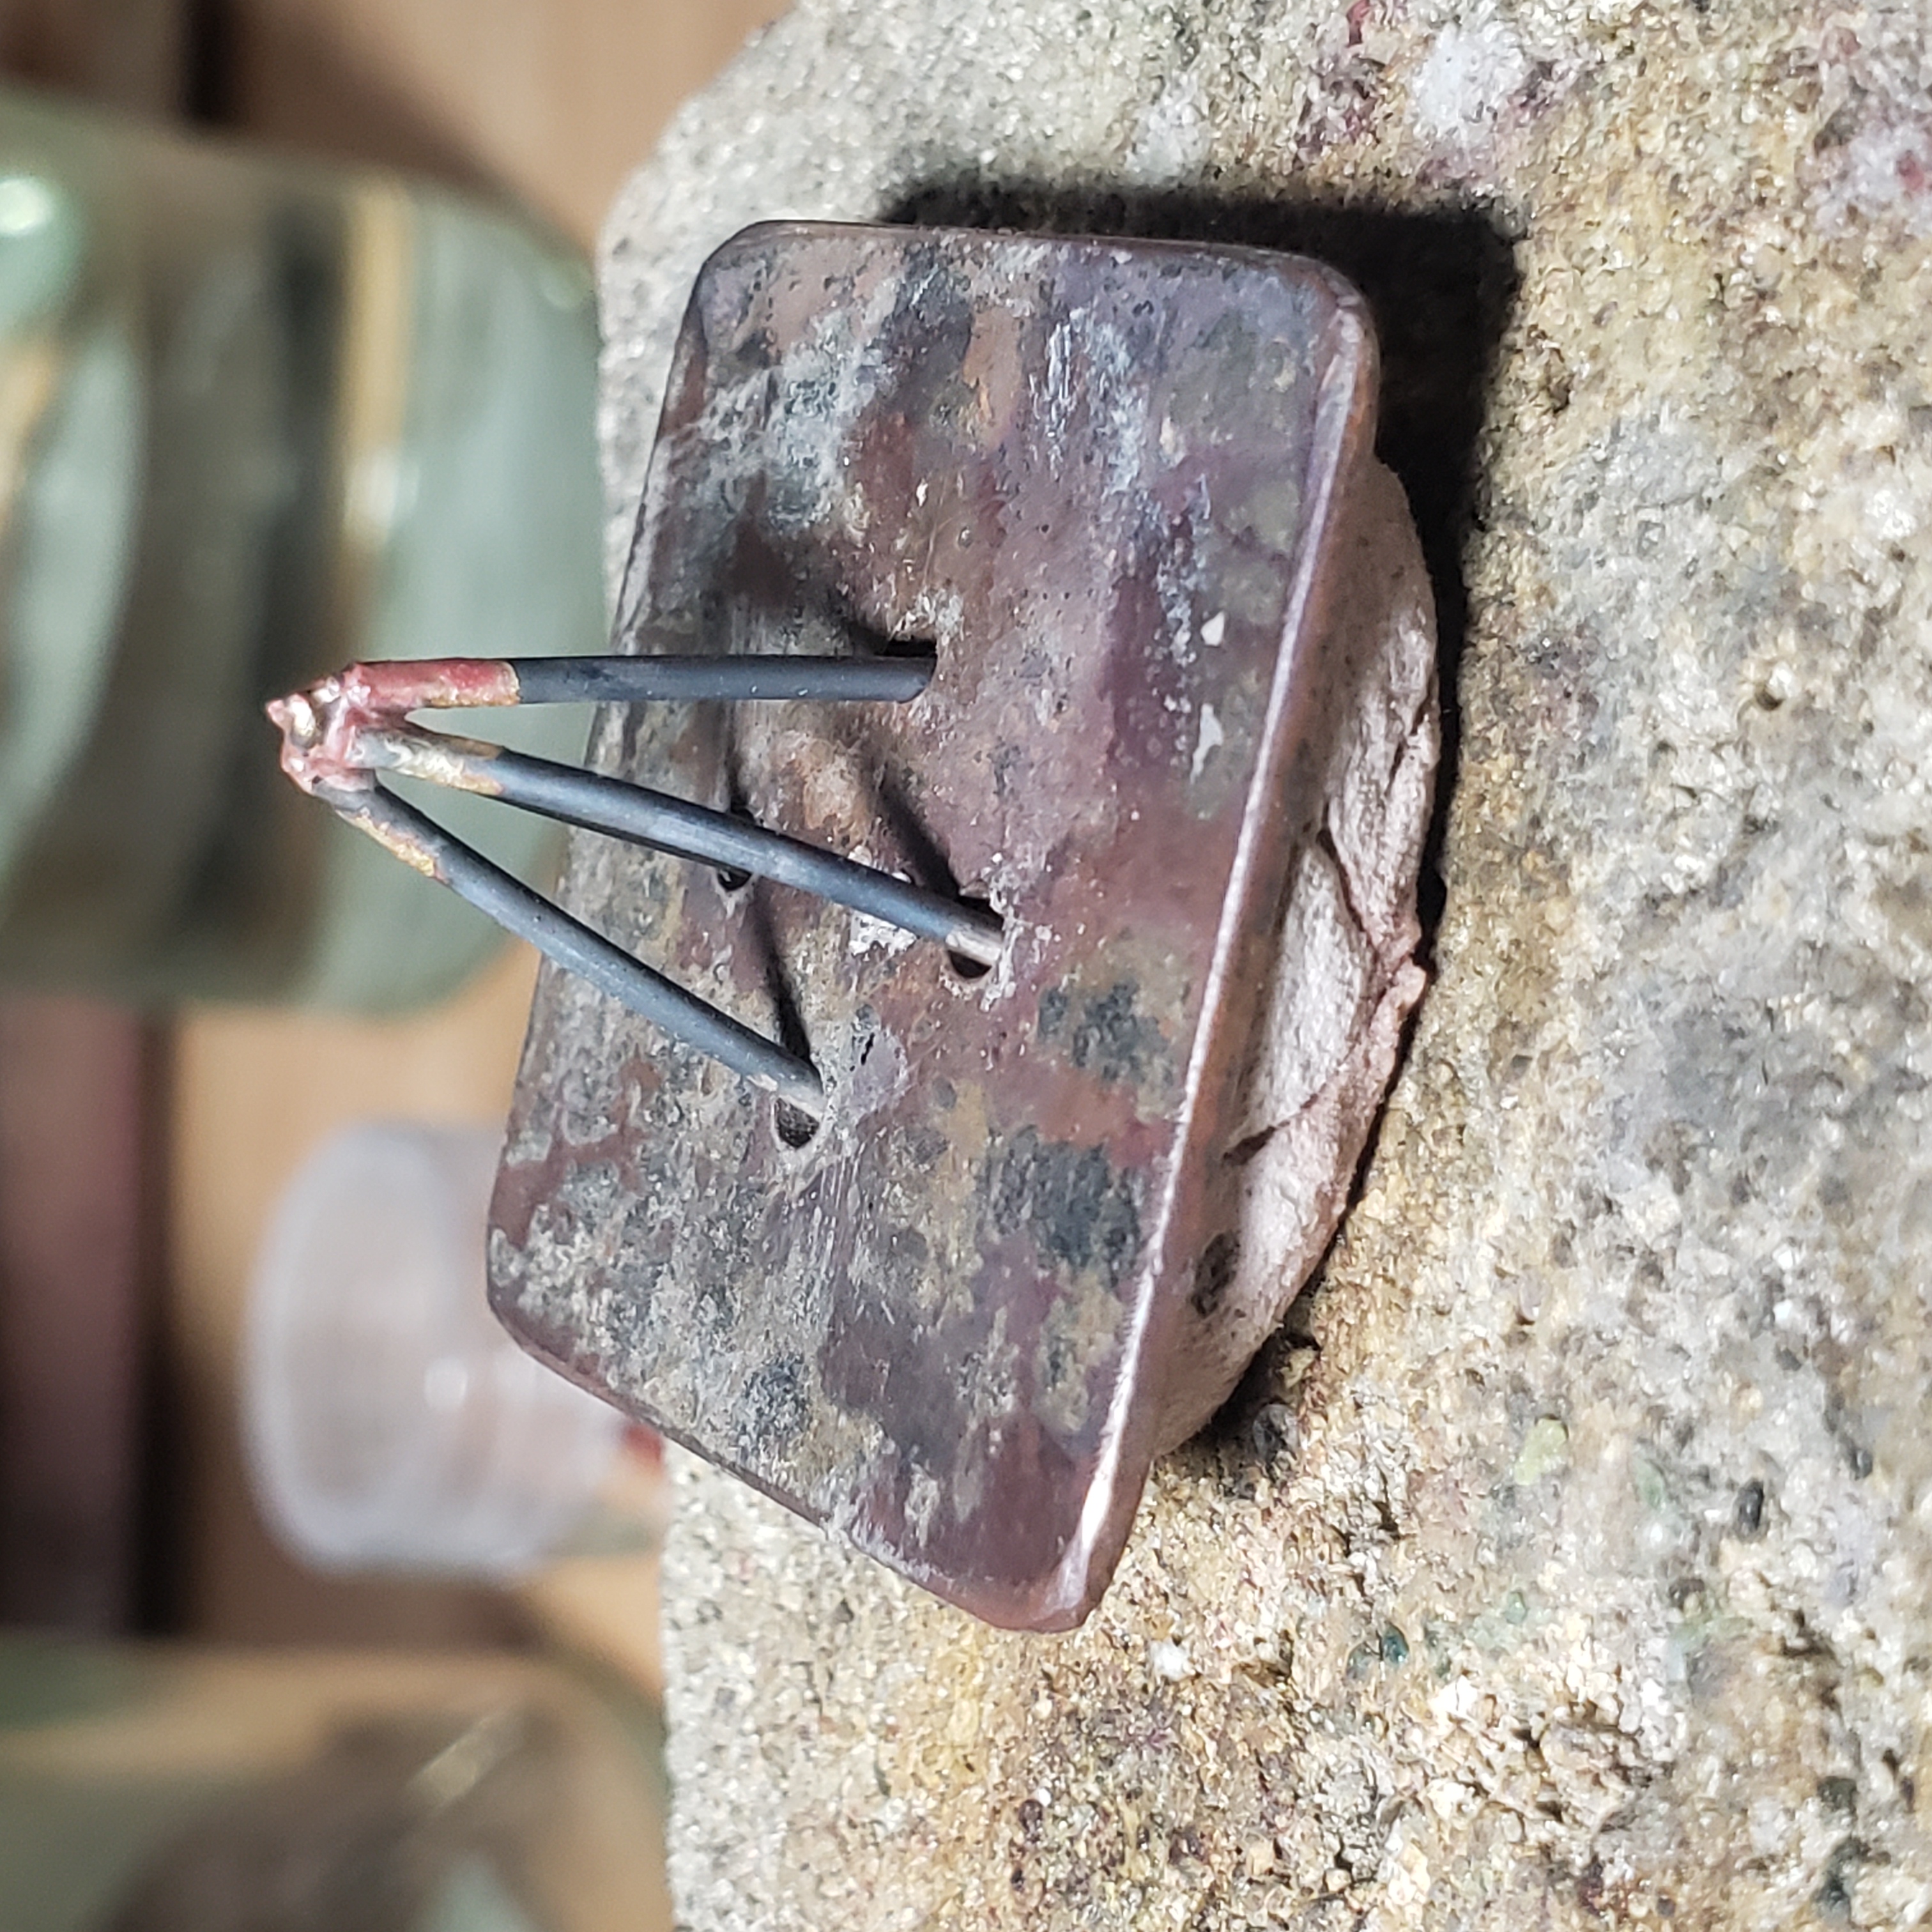
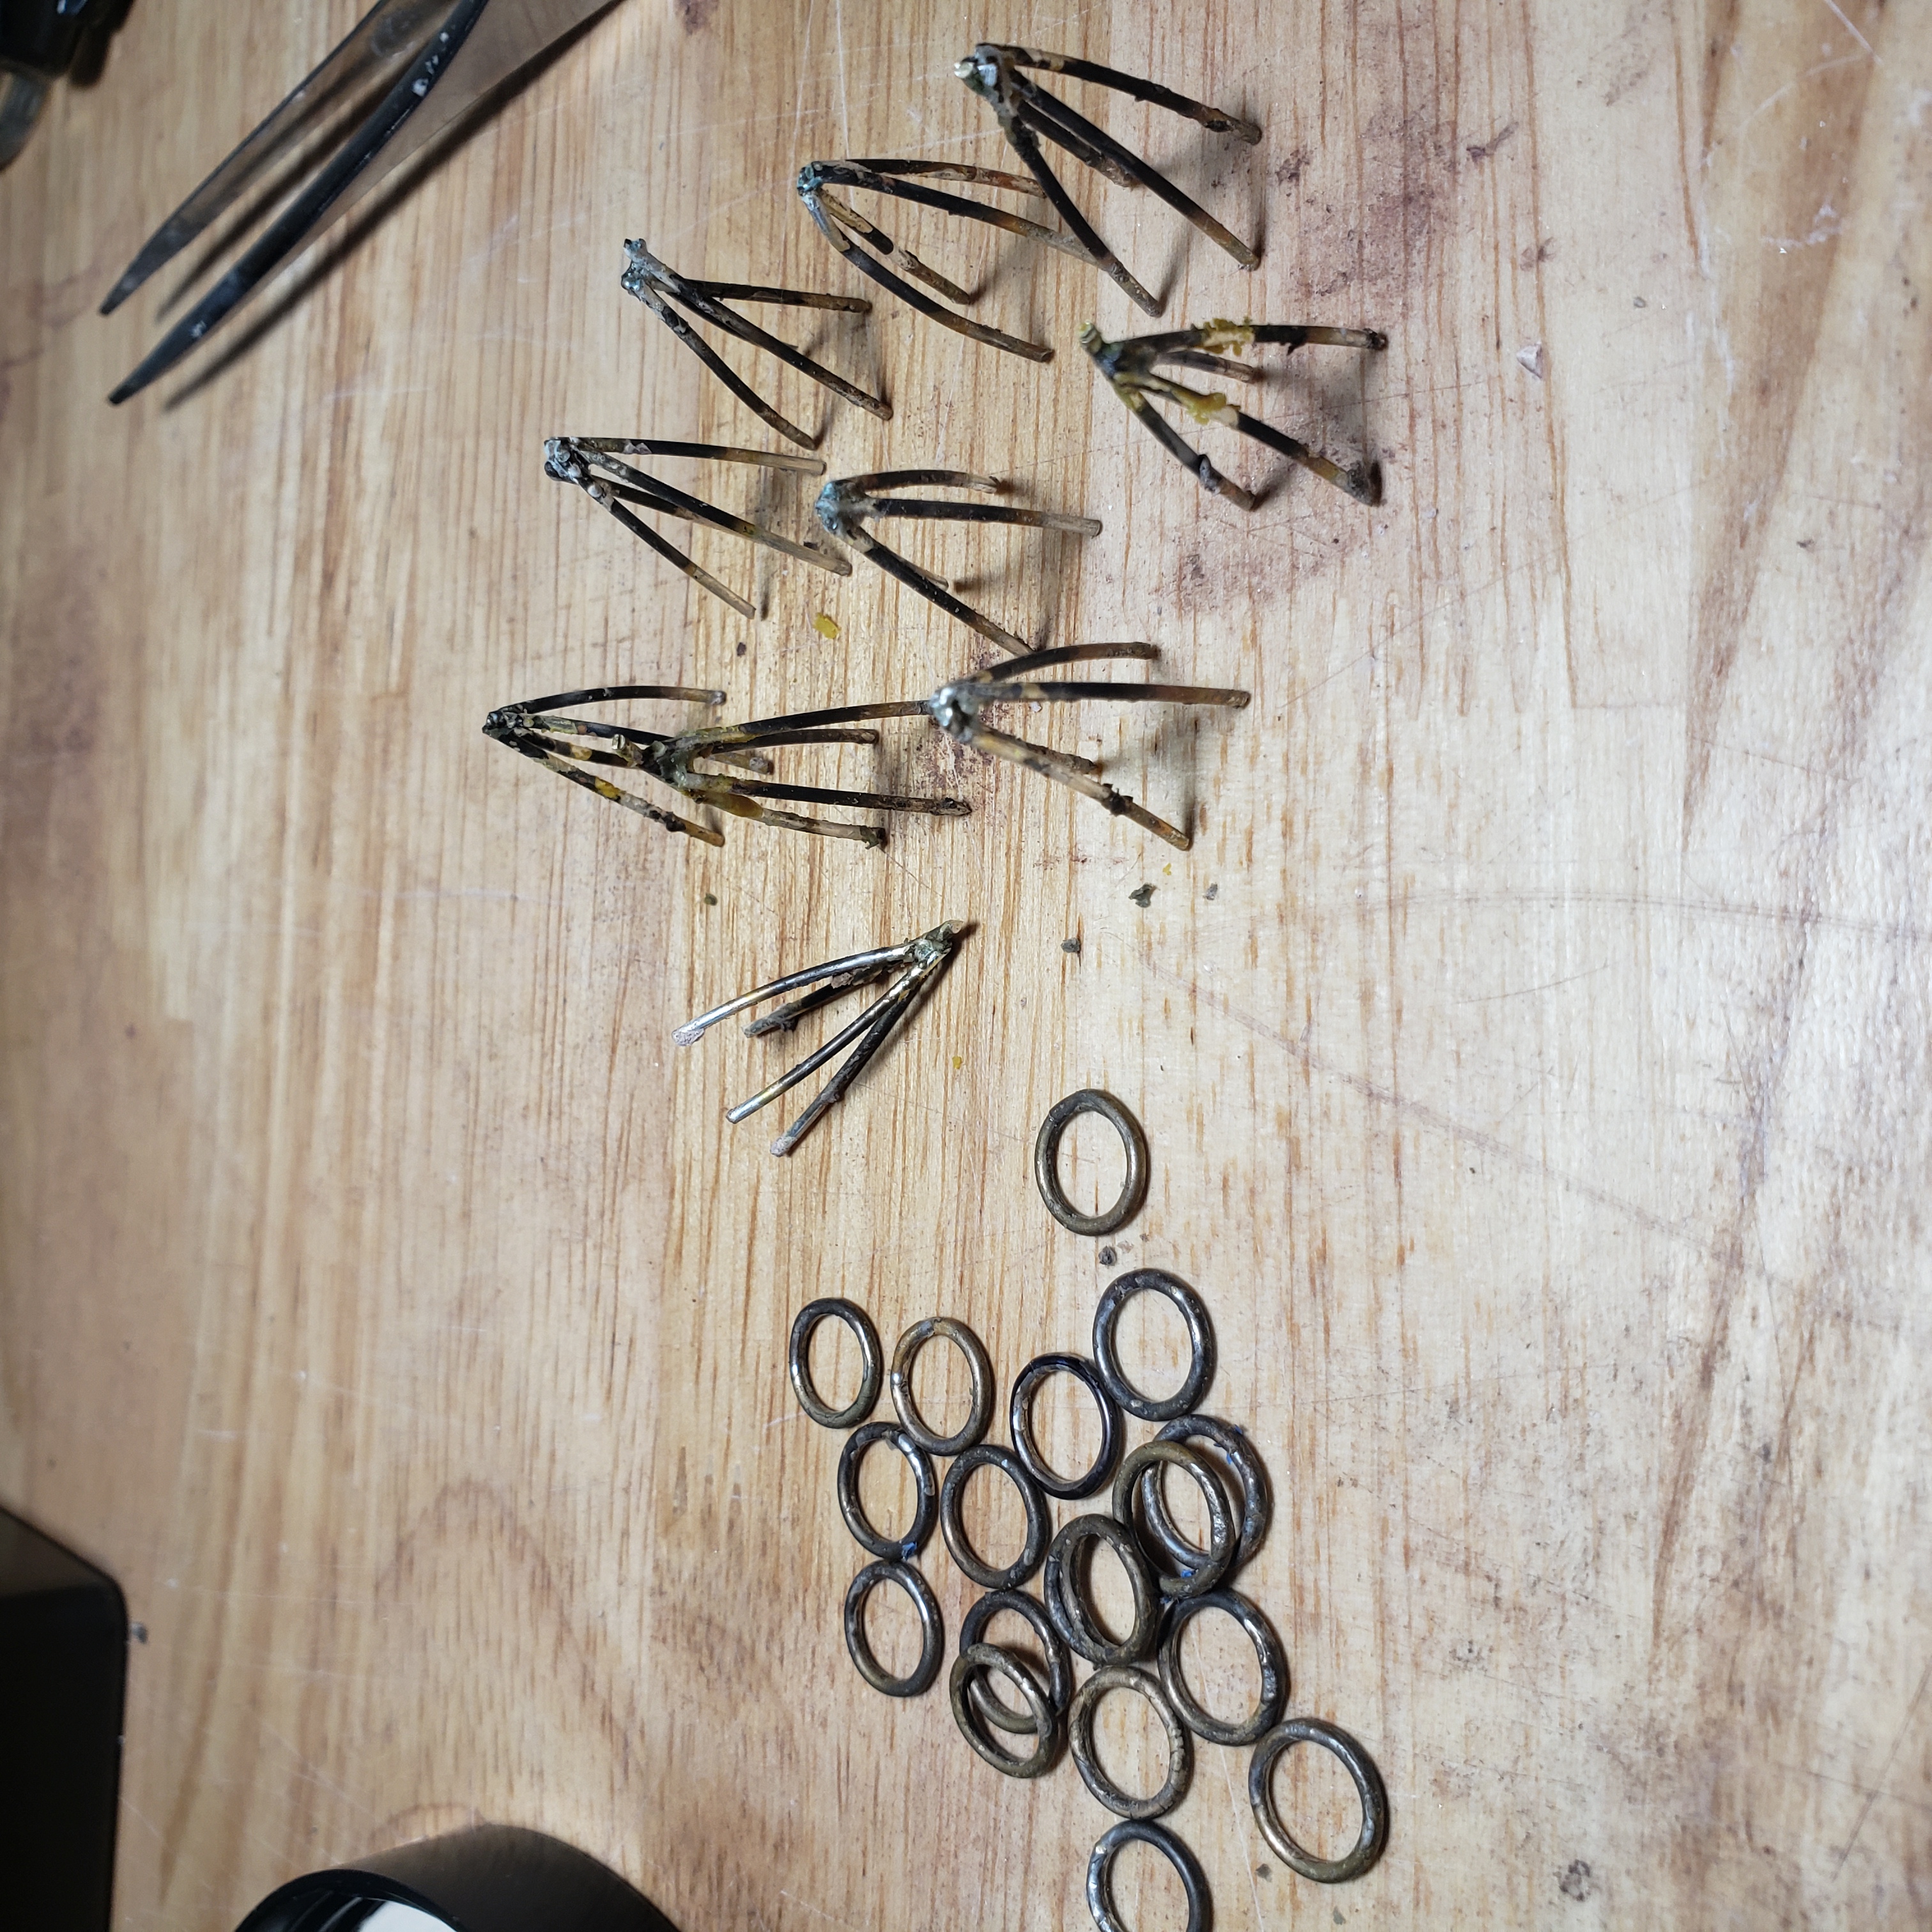
Once I’ve got all my rings shaped and sized, and the prongs for the baskets
made, I pickle everything for the next step.
Step 2: Notch the rings and prongs
The rings need to have notches cut into the sides to accept the prongs. I also
want the prongs to lie straight so the notches have to line up, which can be
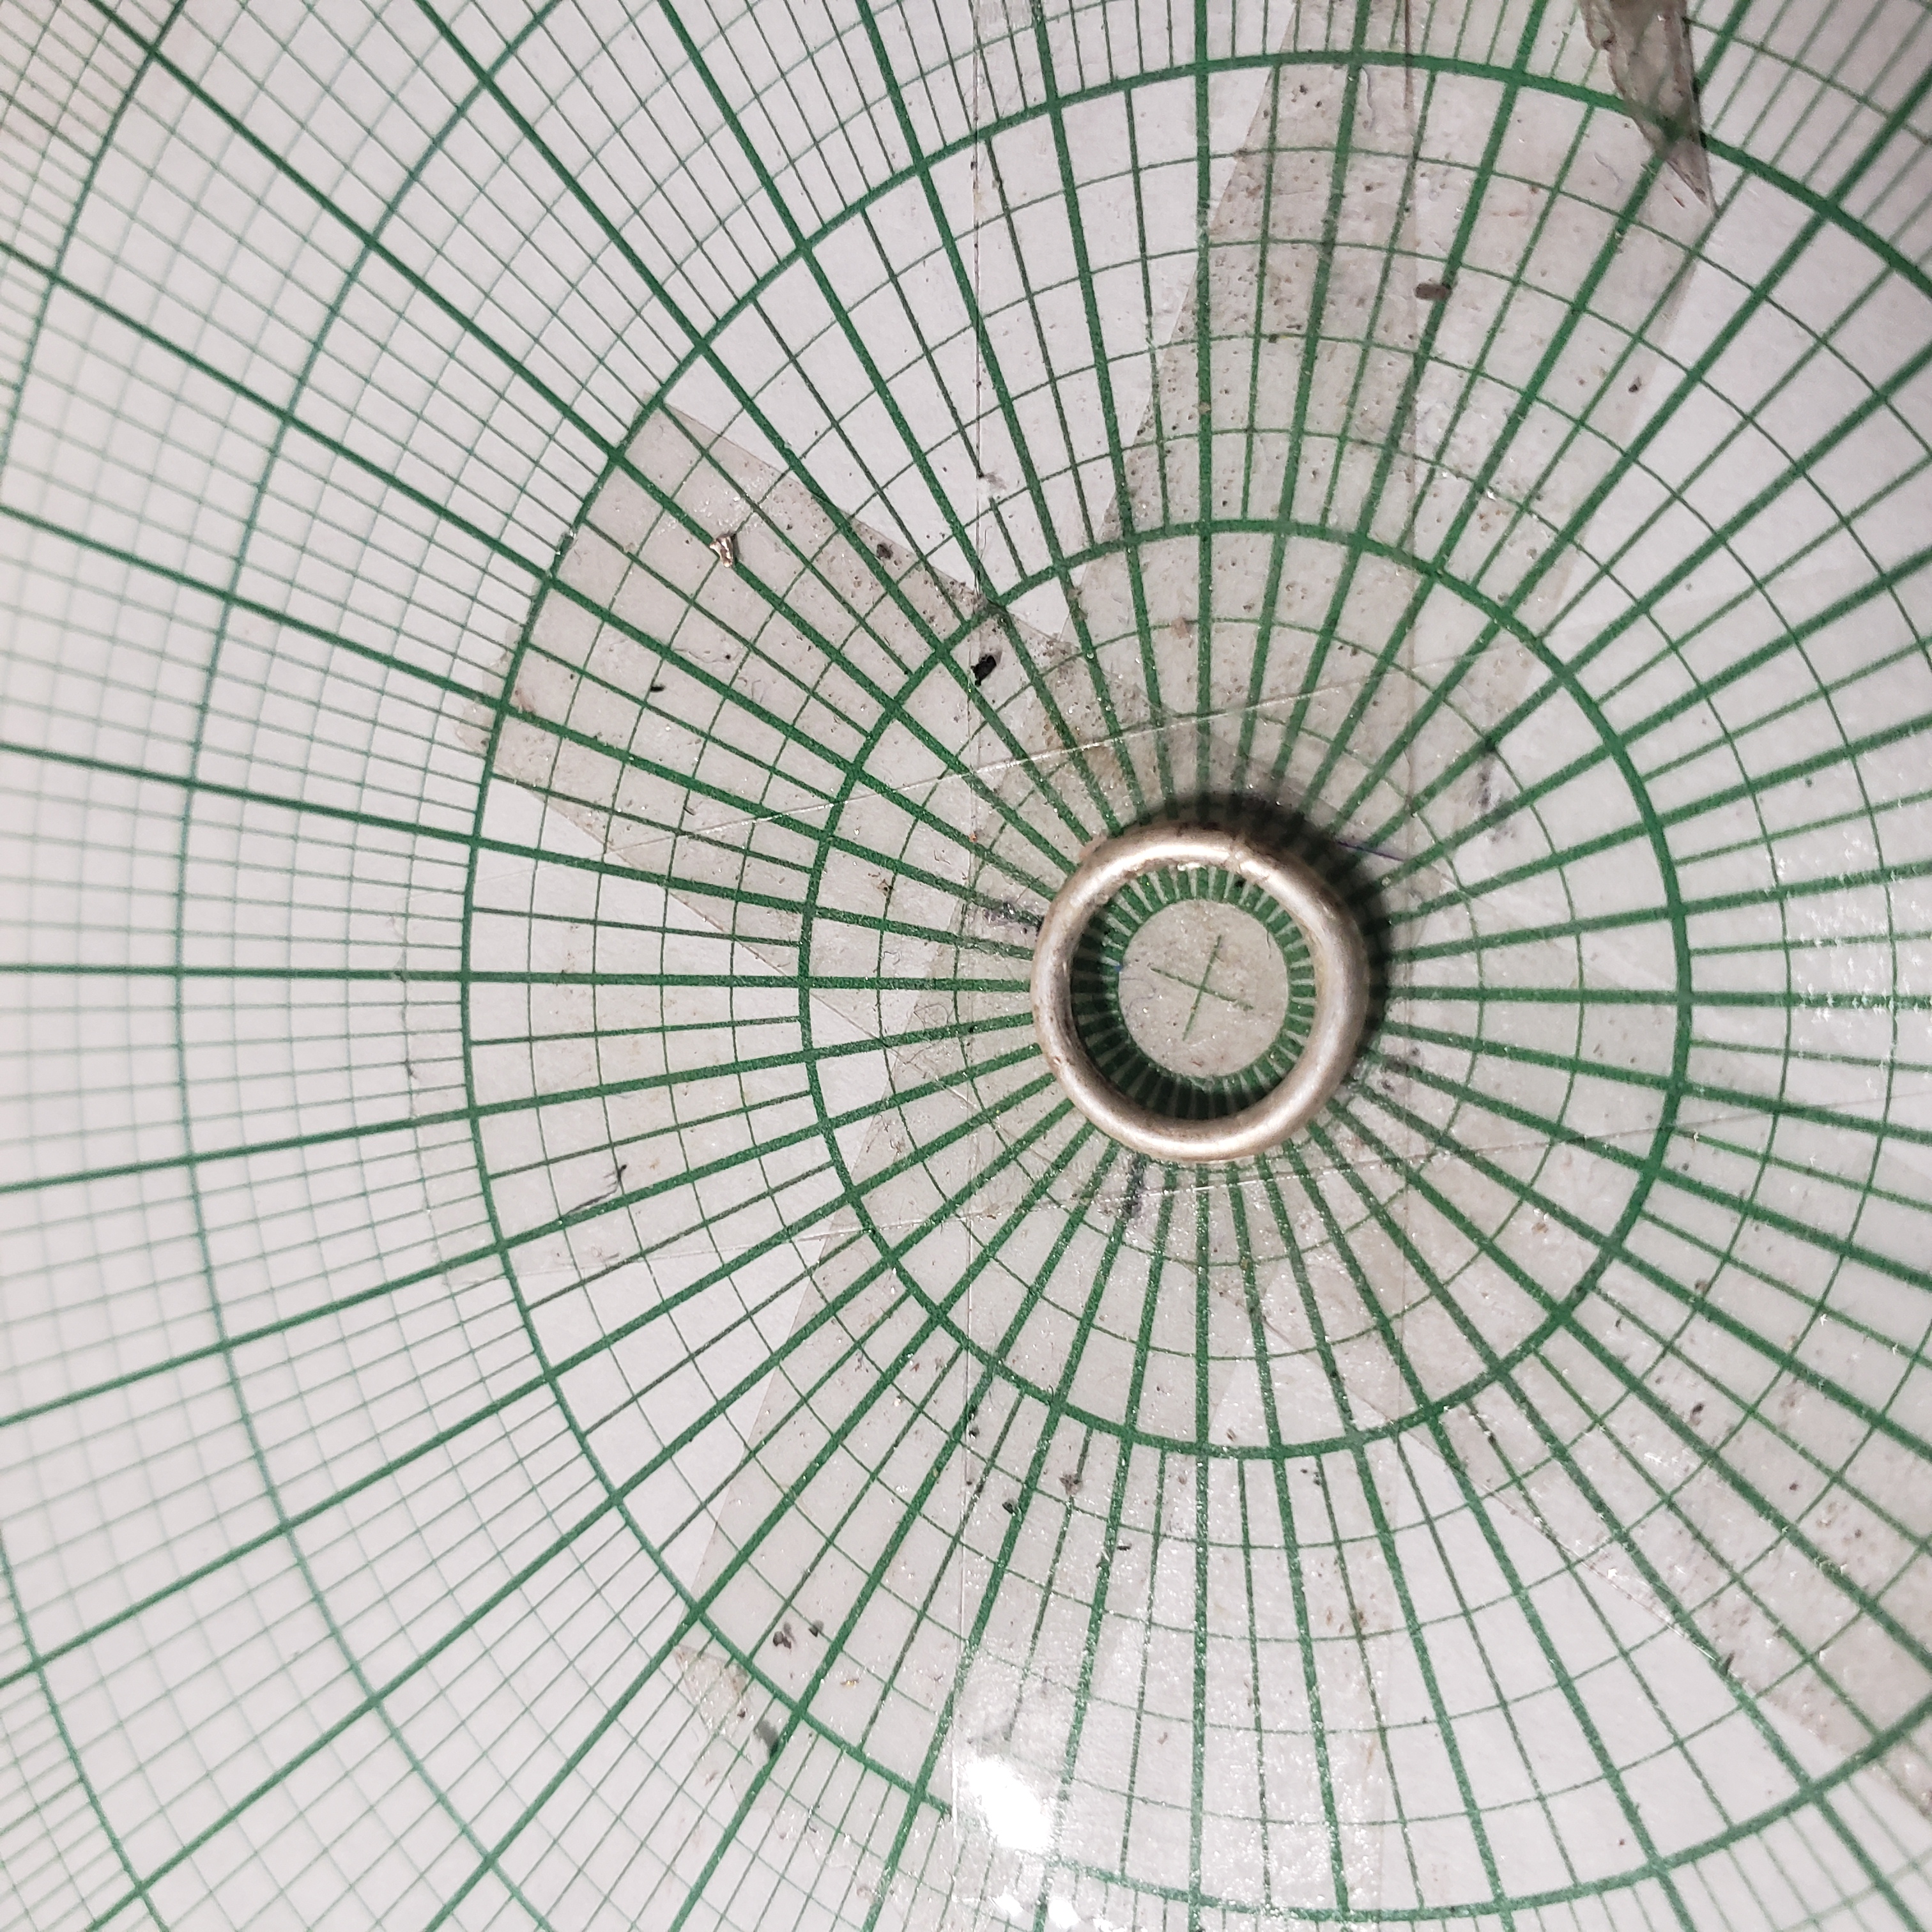
trickier than it sounds. To do this I first layout where the prongs should be
with graph paper, then scribe marks using a straight-edge (I just use a saw
blade.)
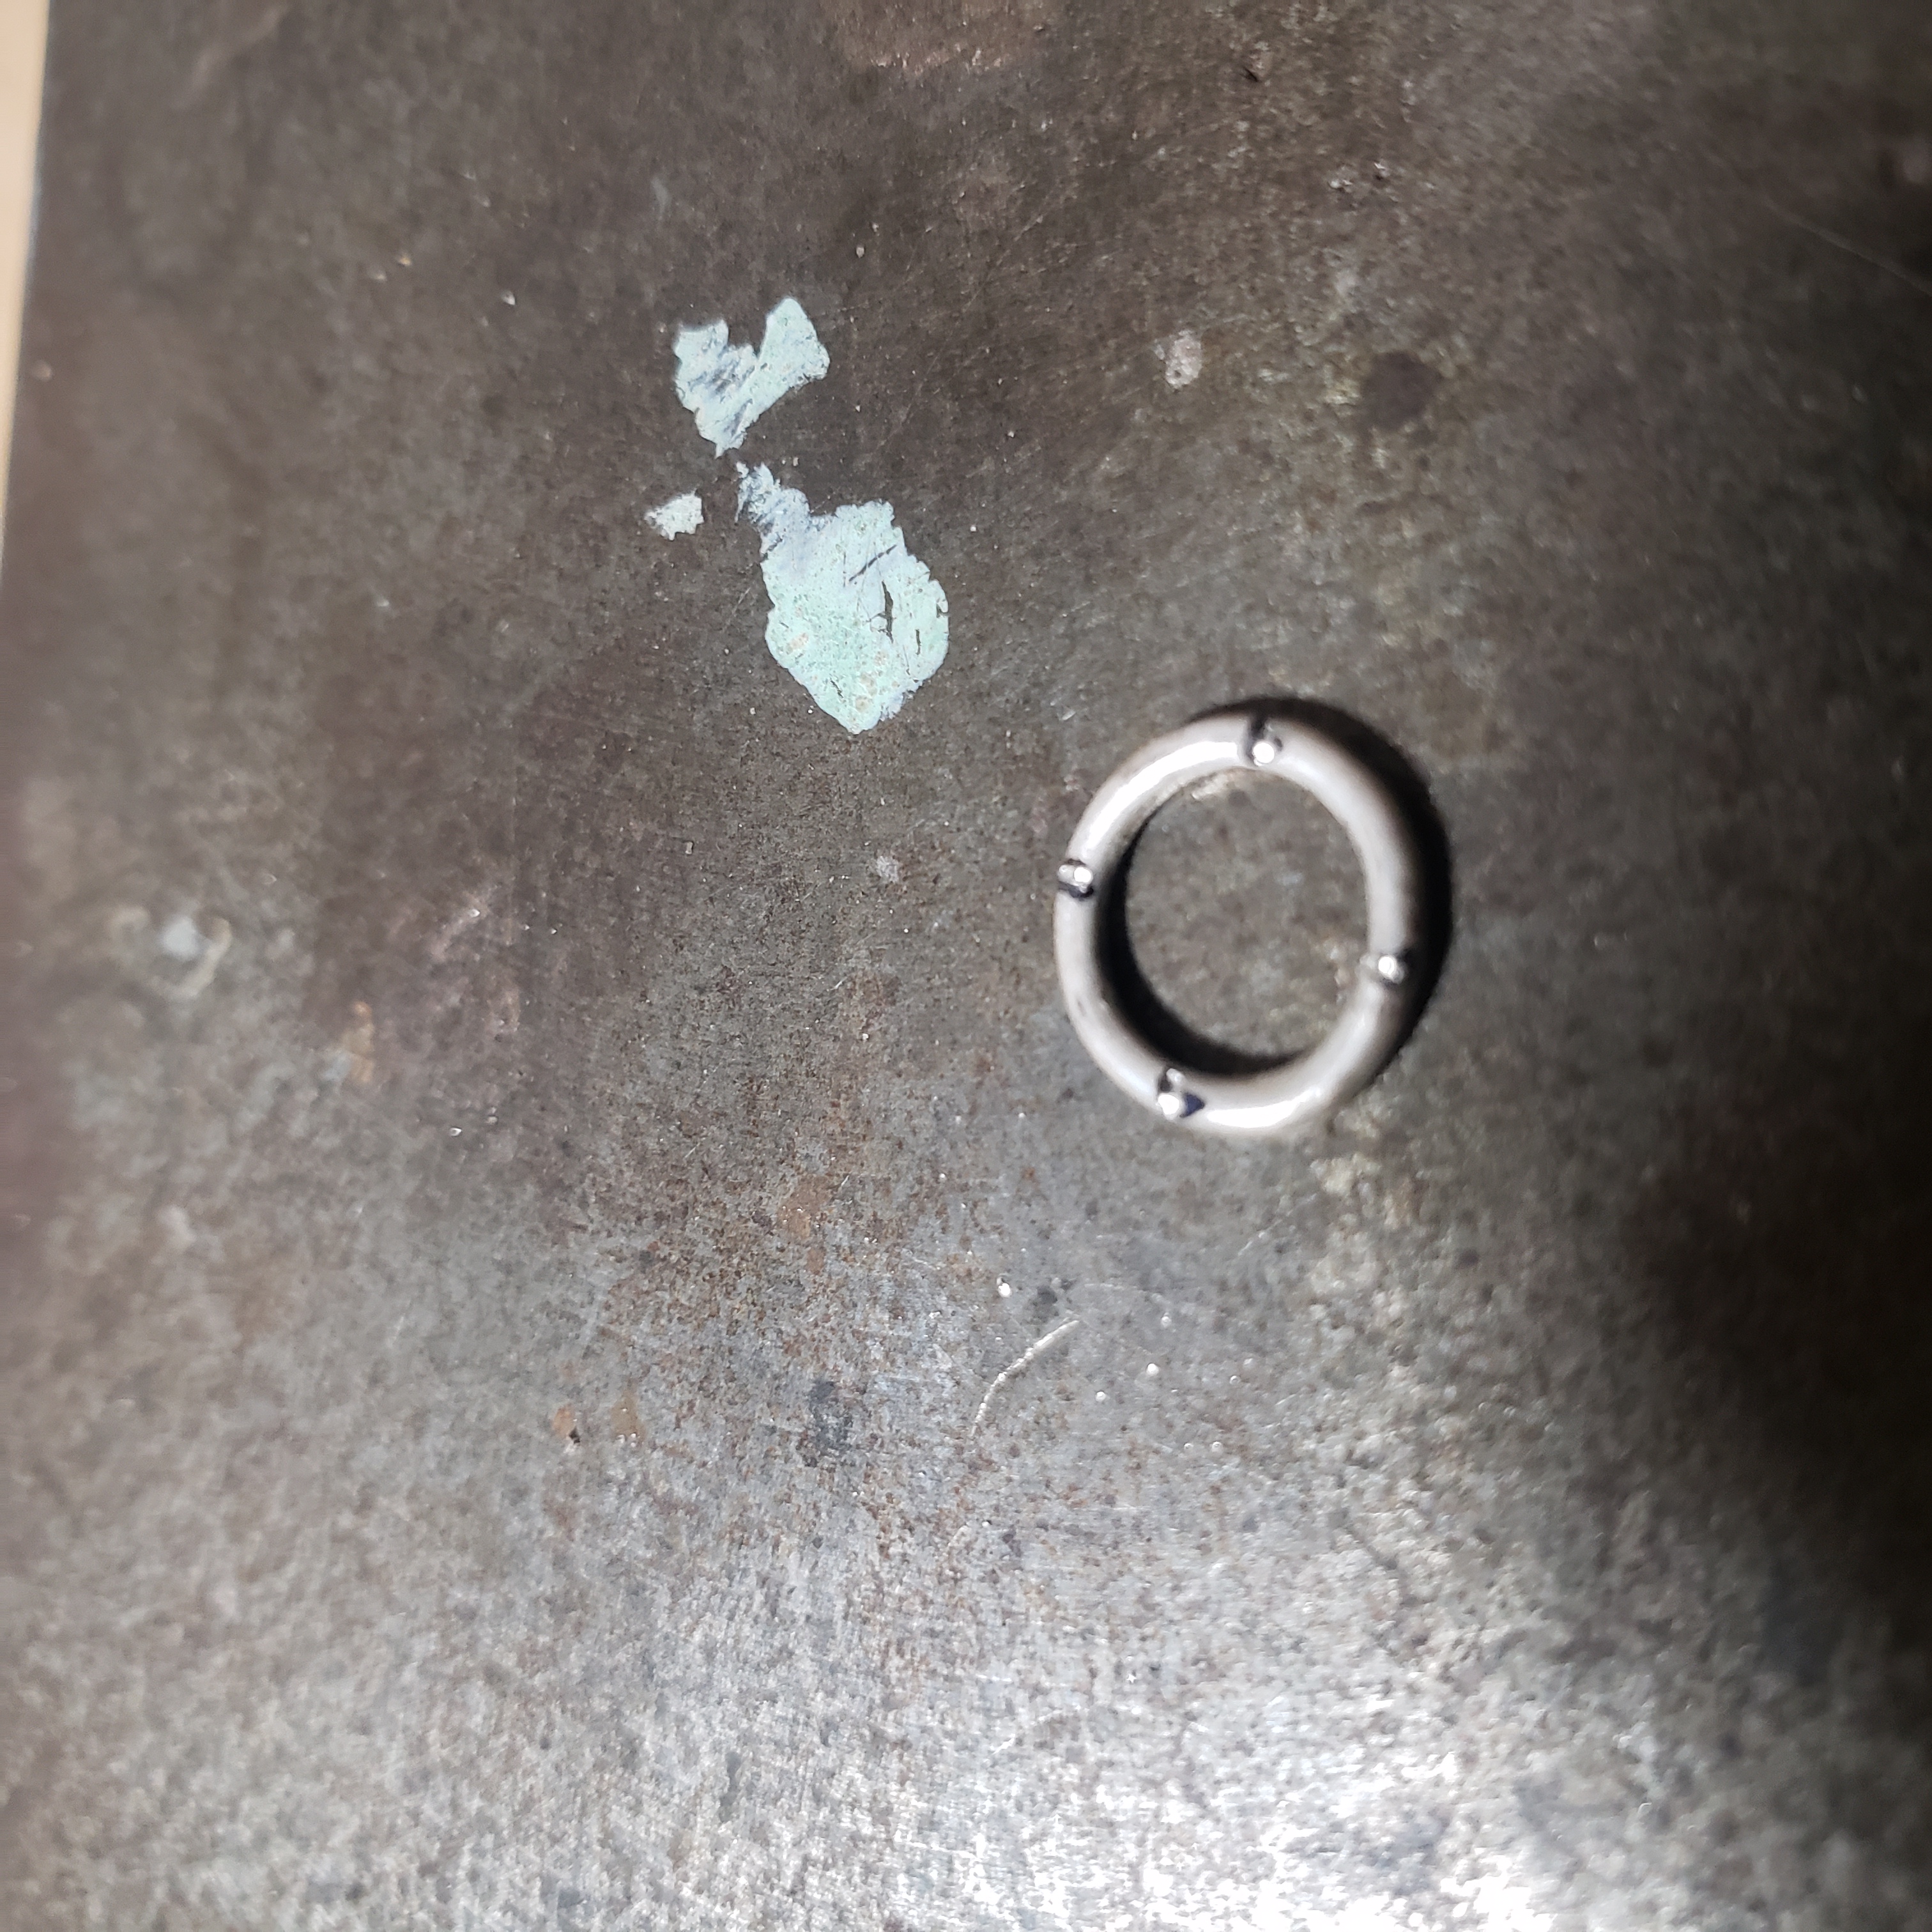
A trick I have to get the notches to line up is to initially only notch half of
the rings. I then pair them up with un-notched rings and superglue them
together.
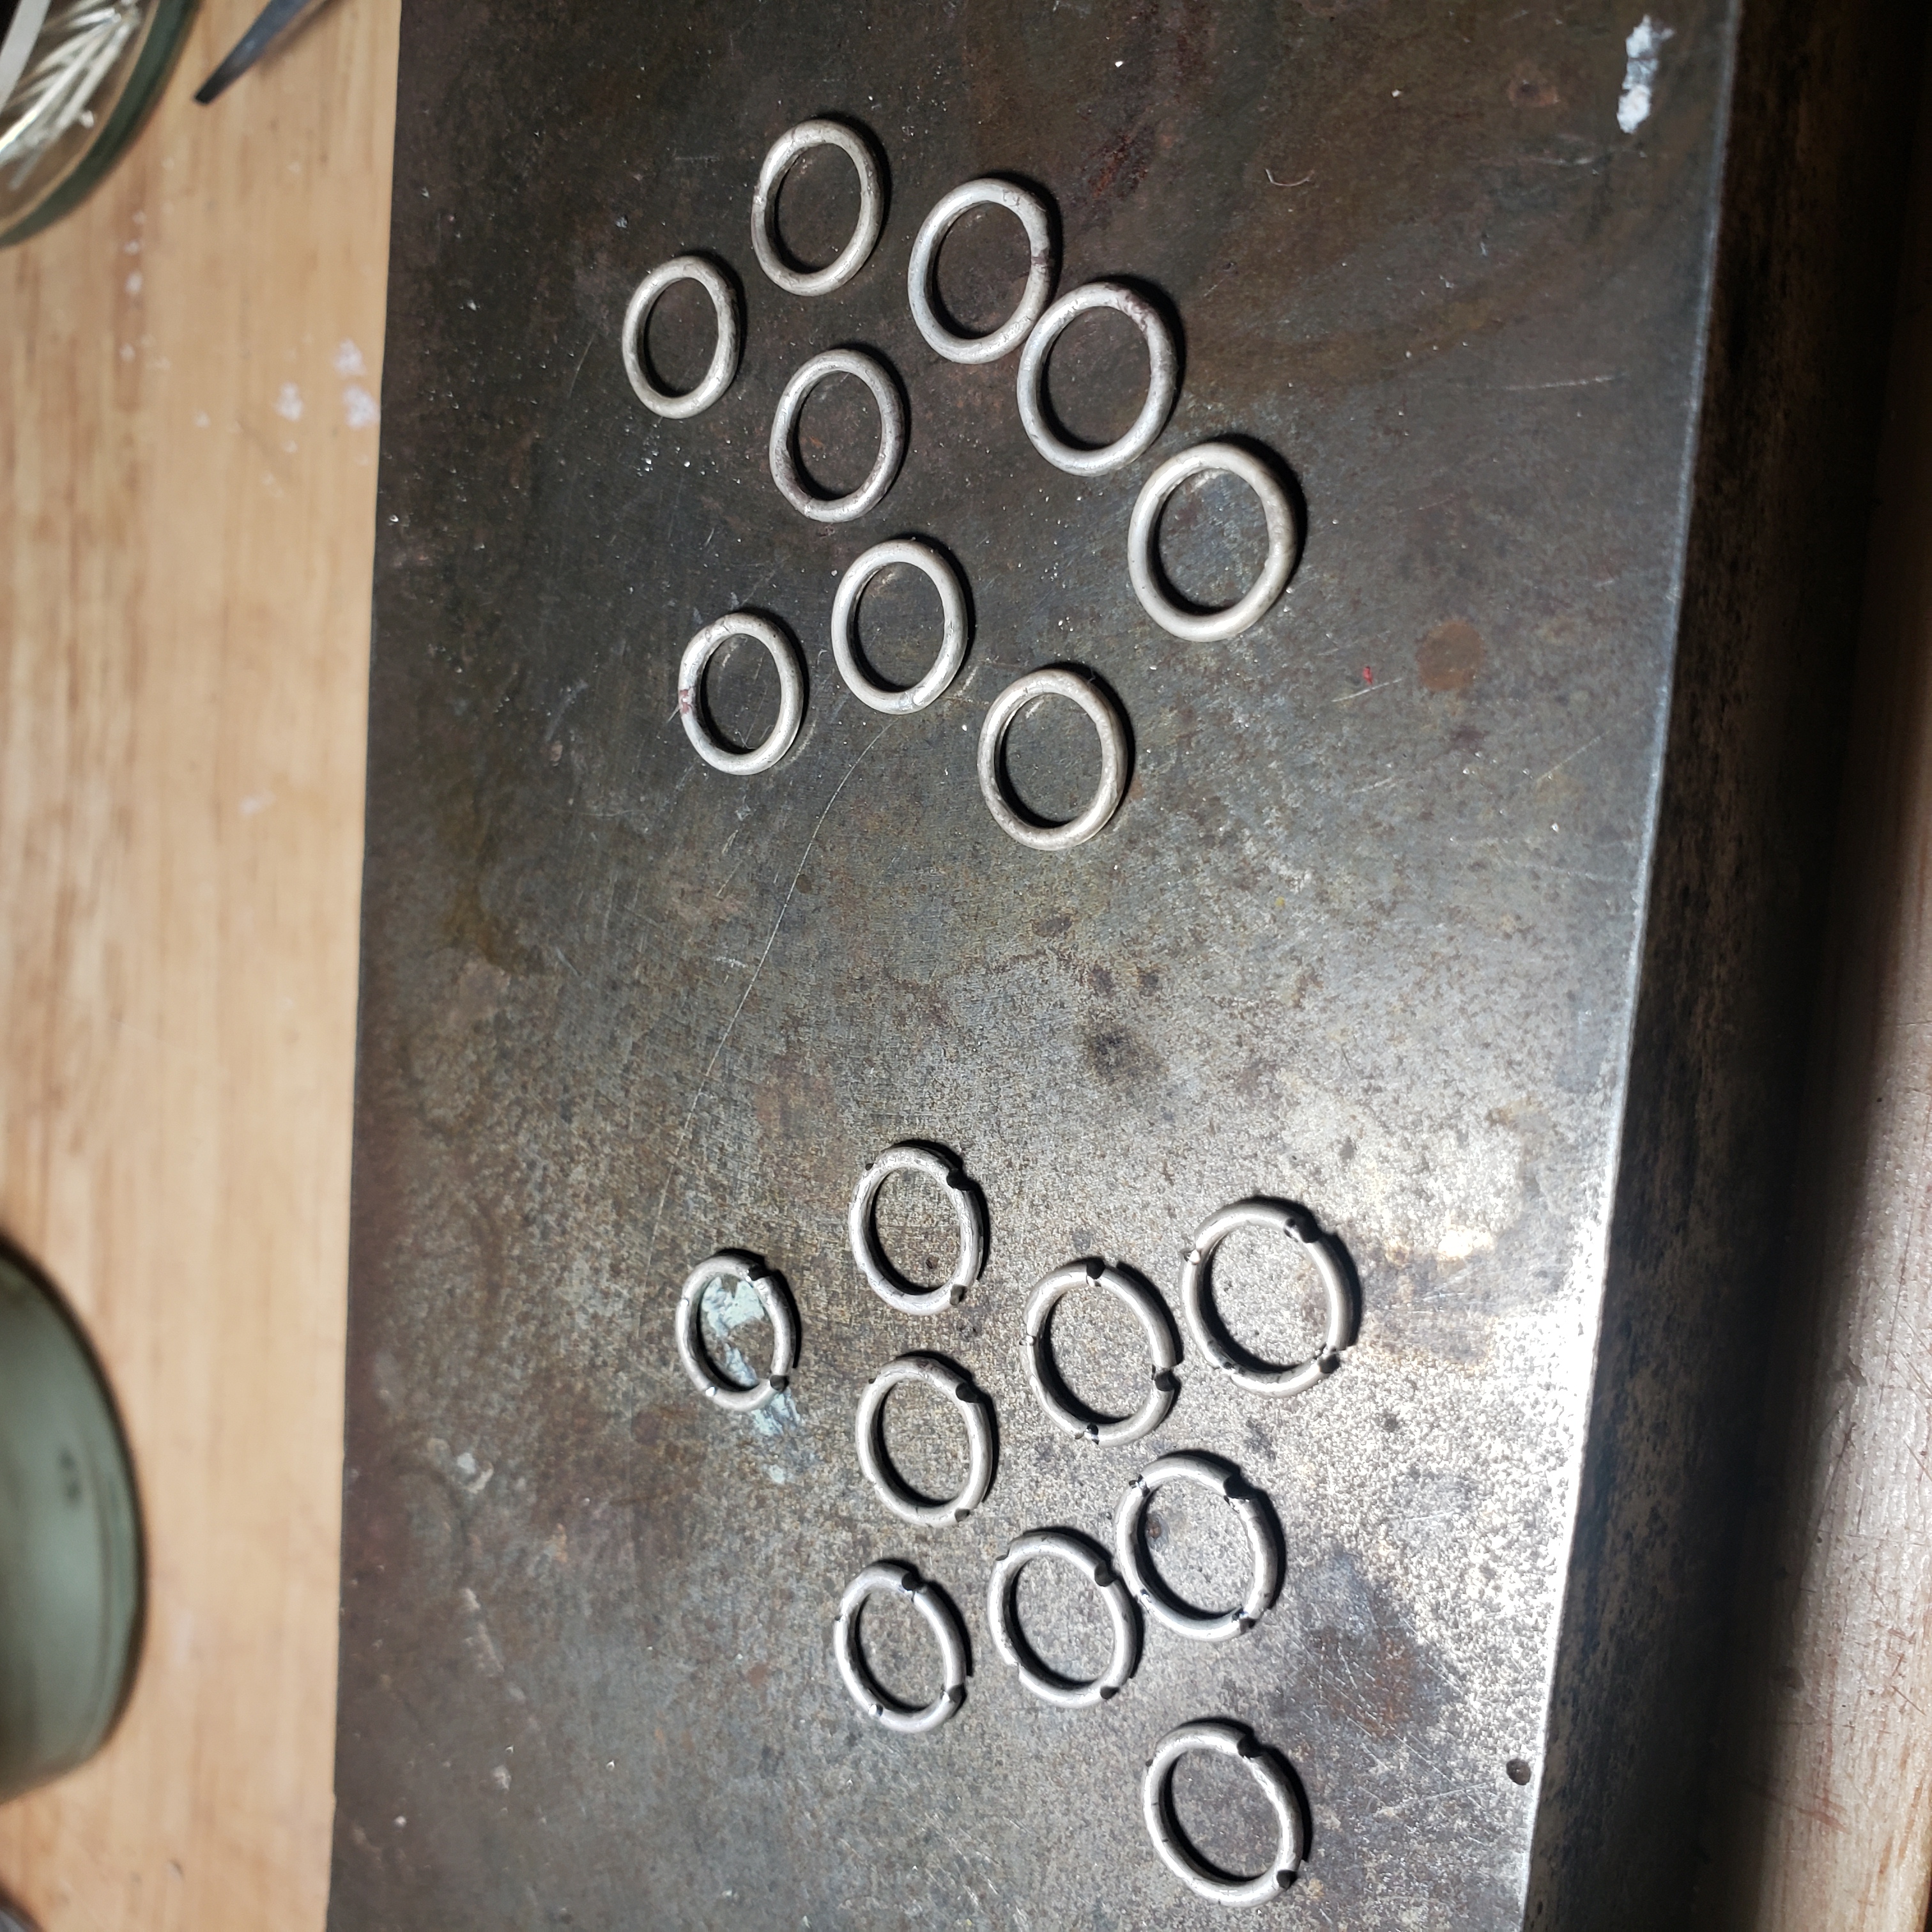
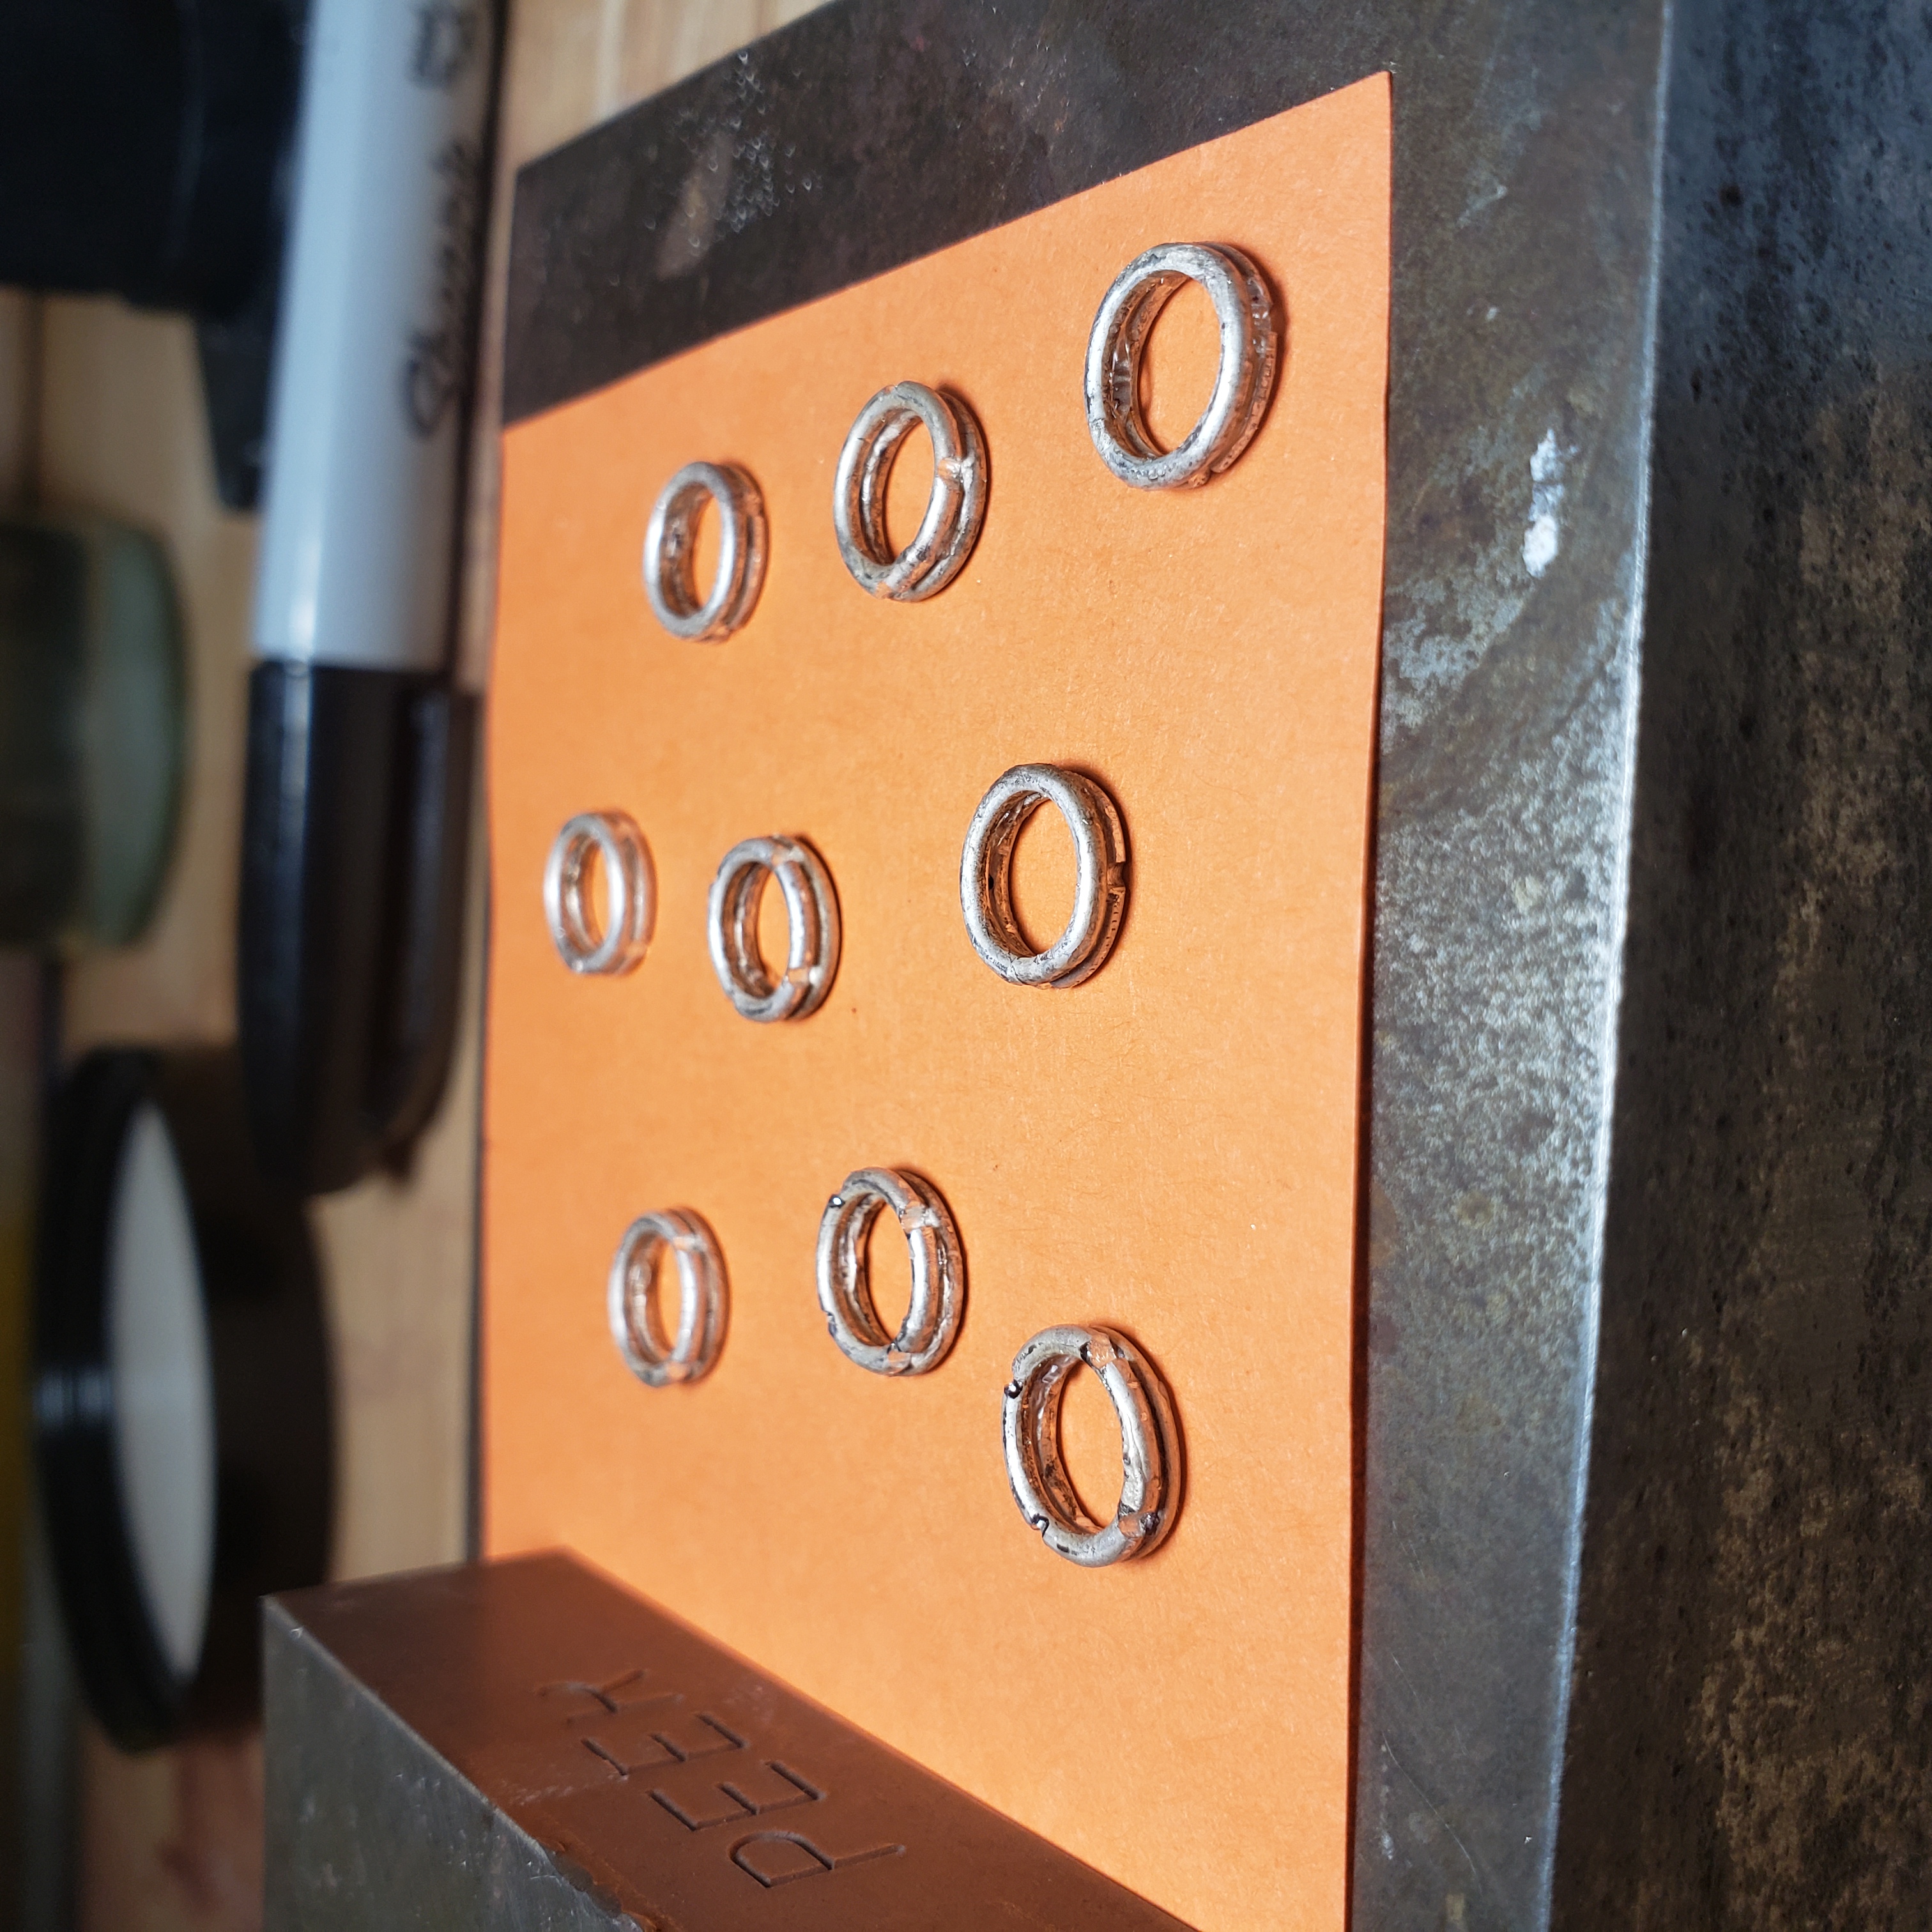
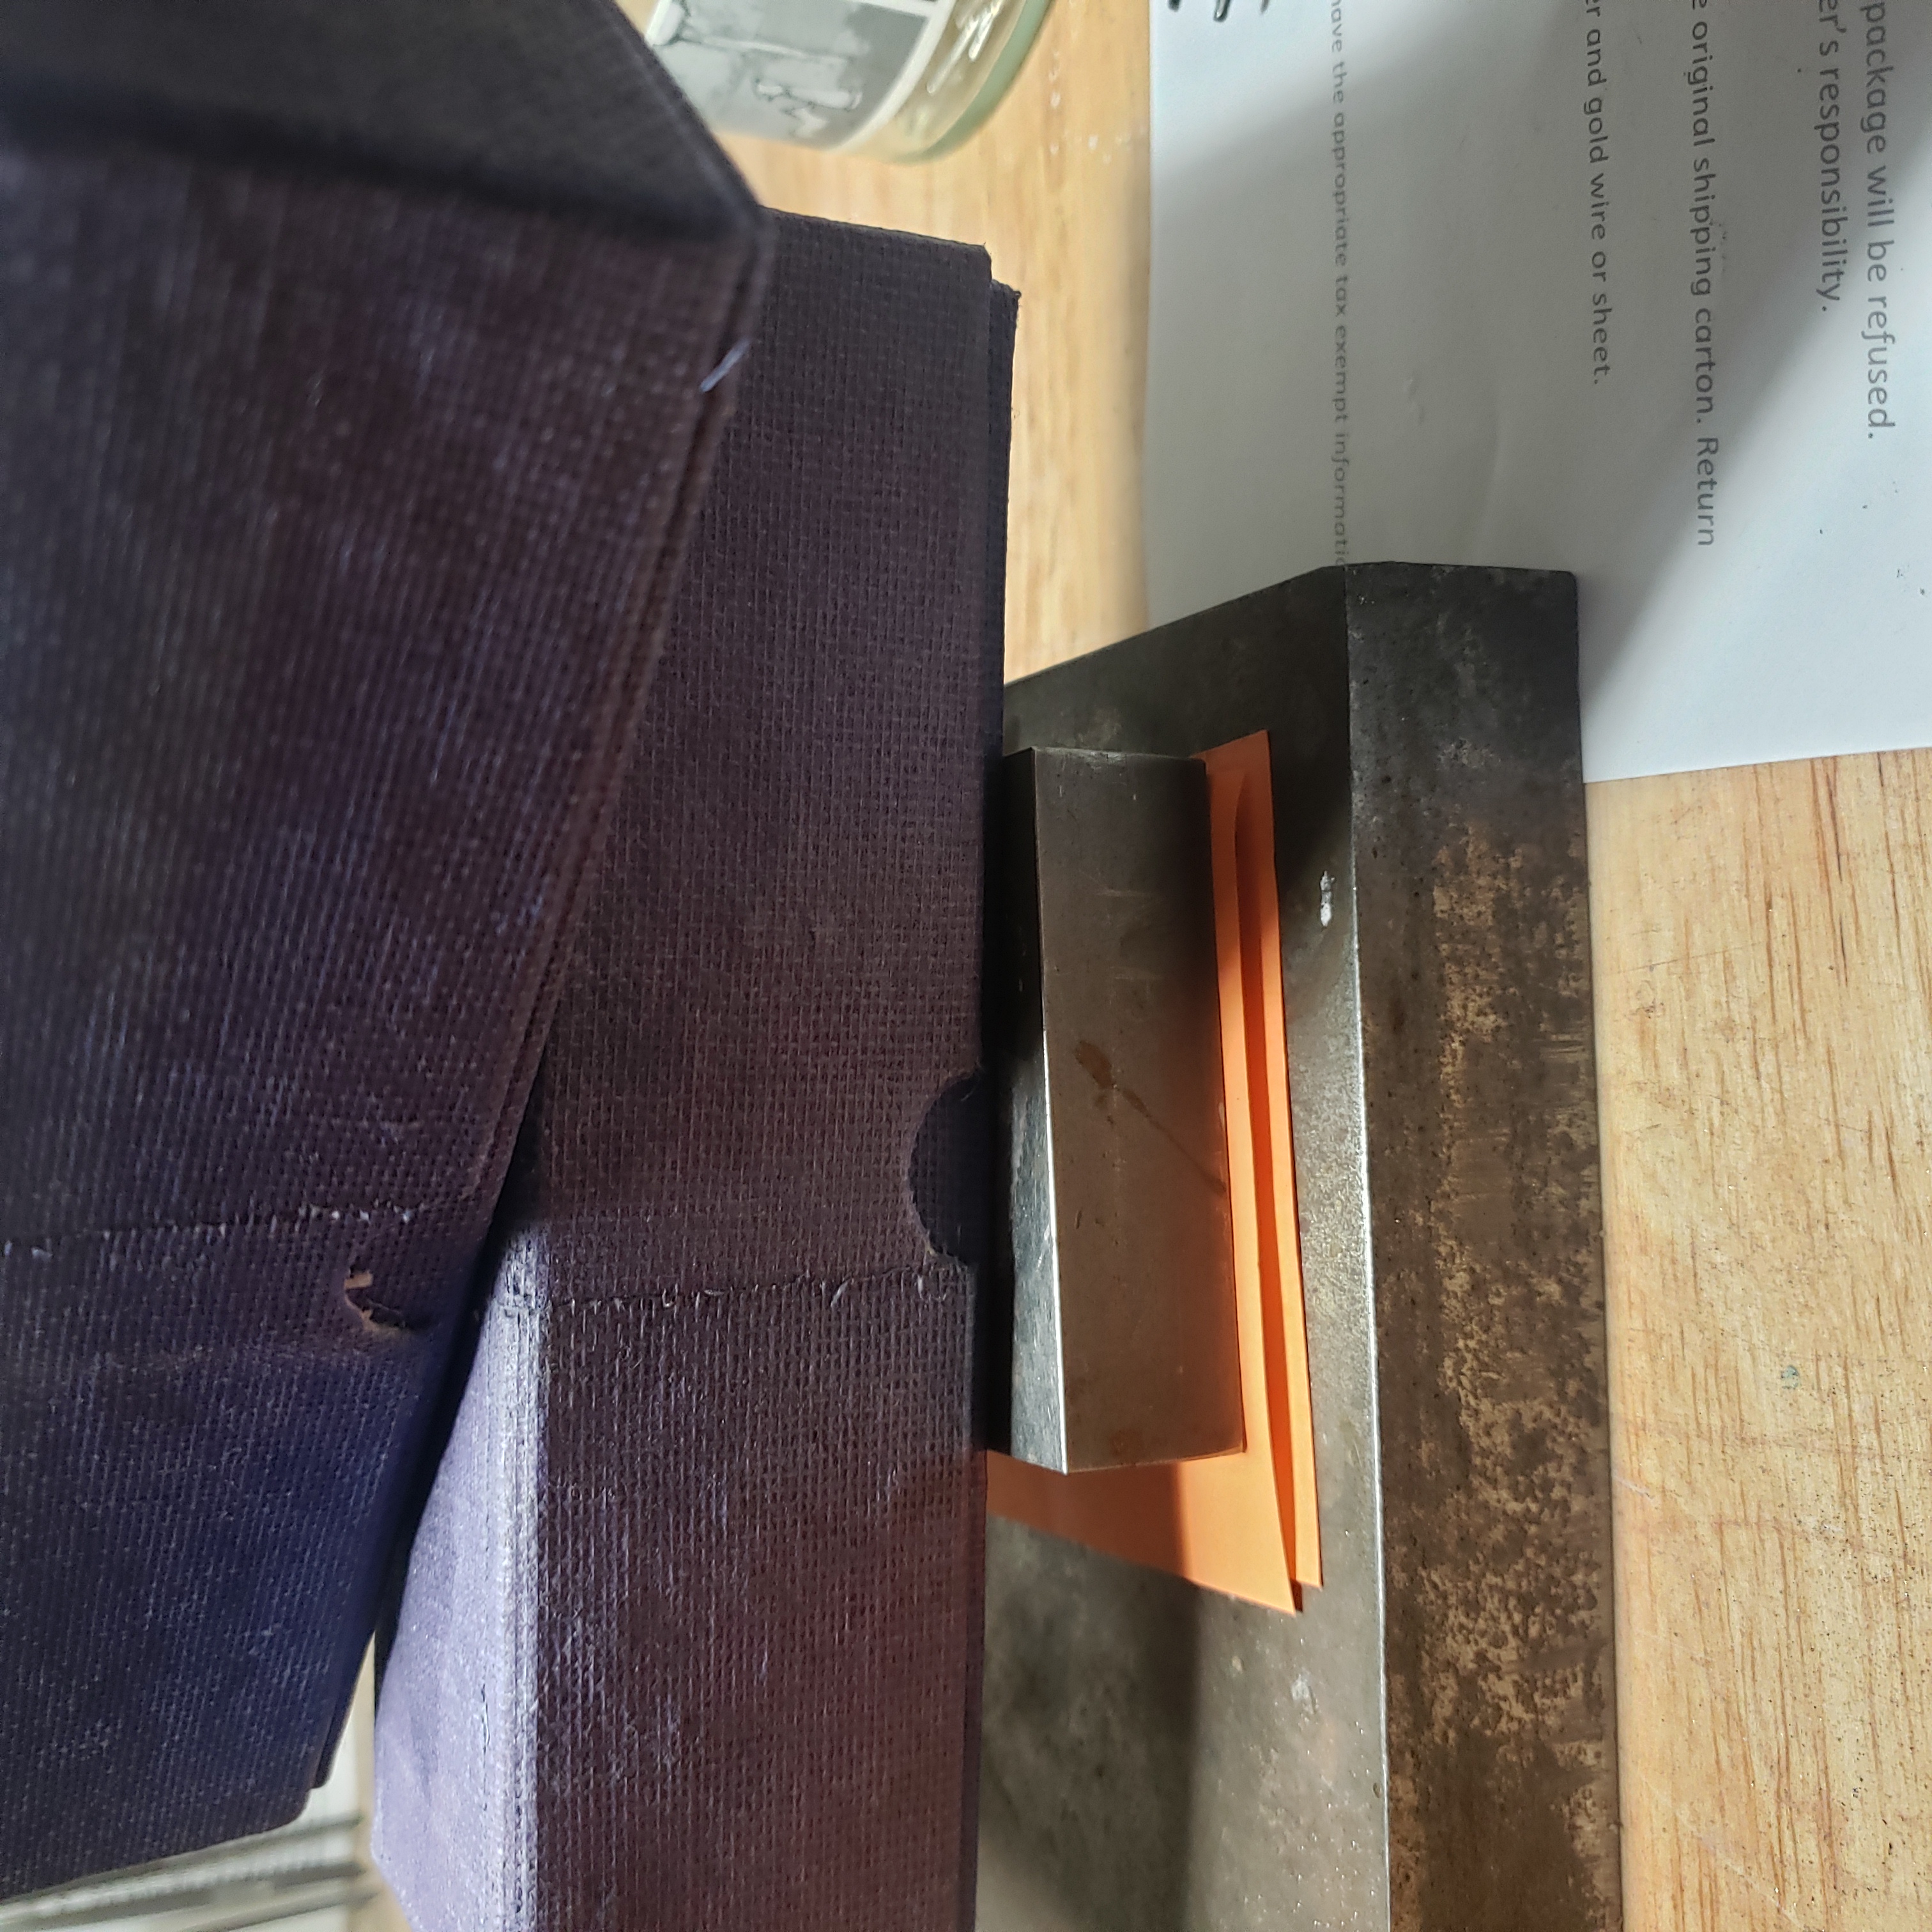
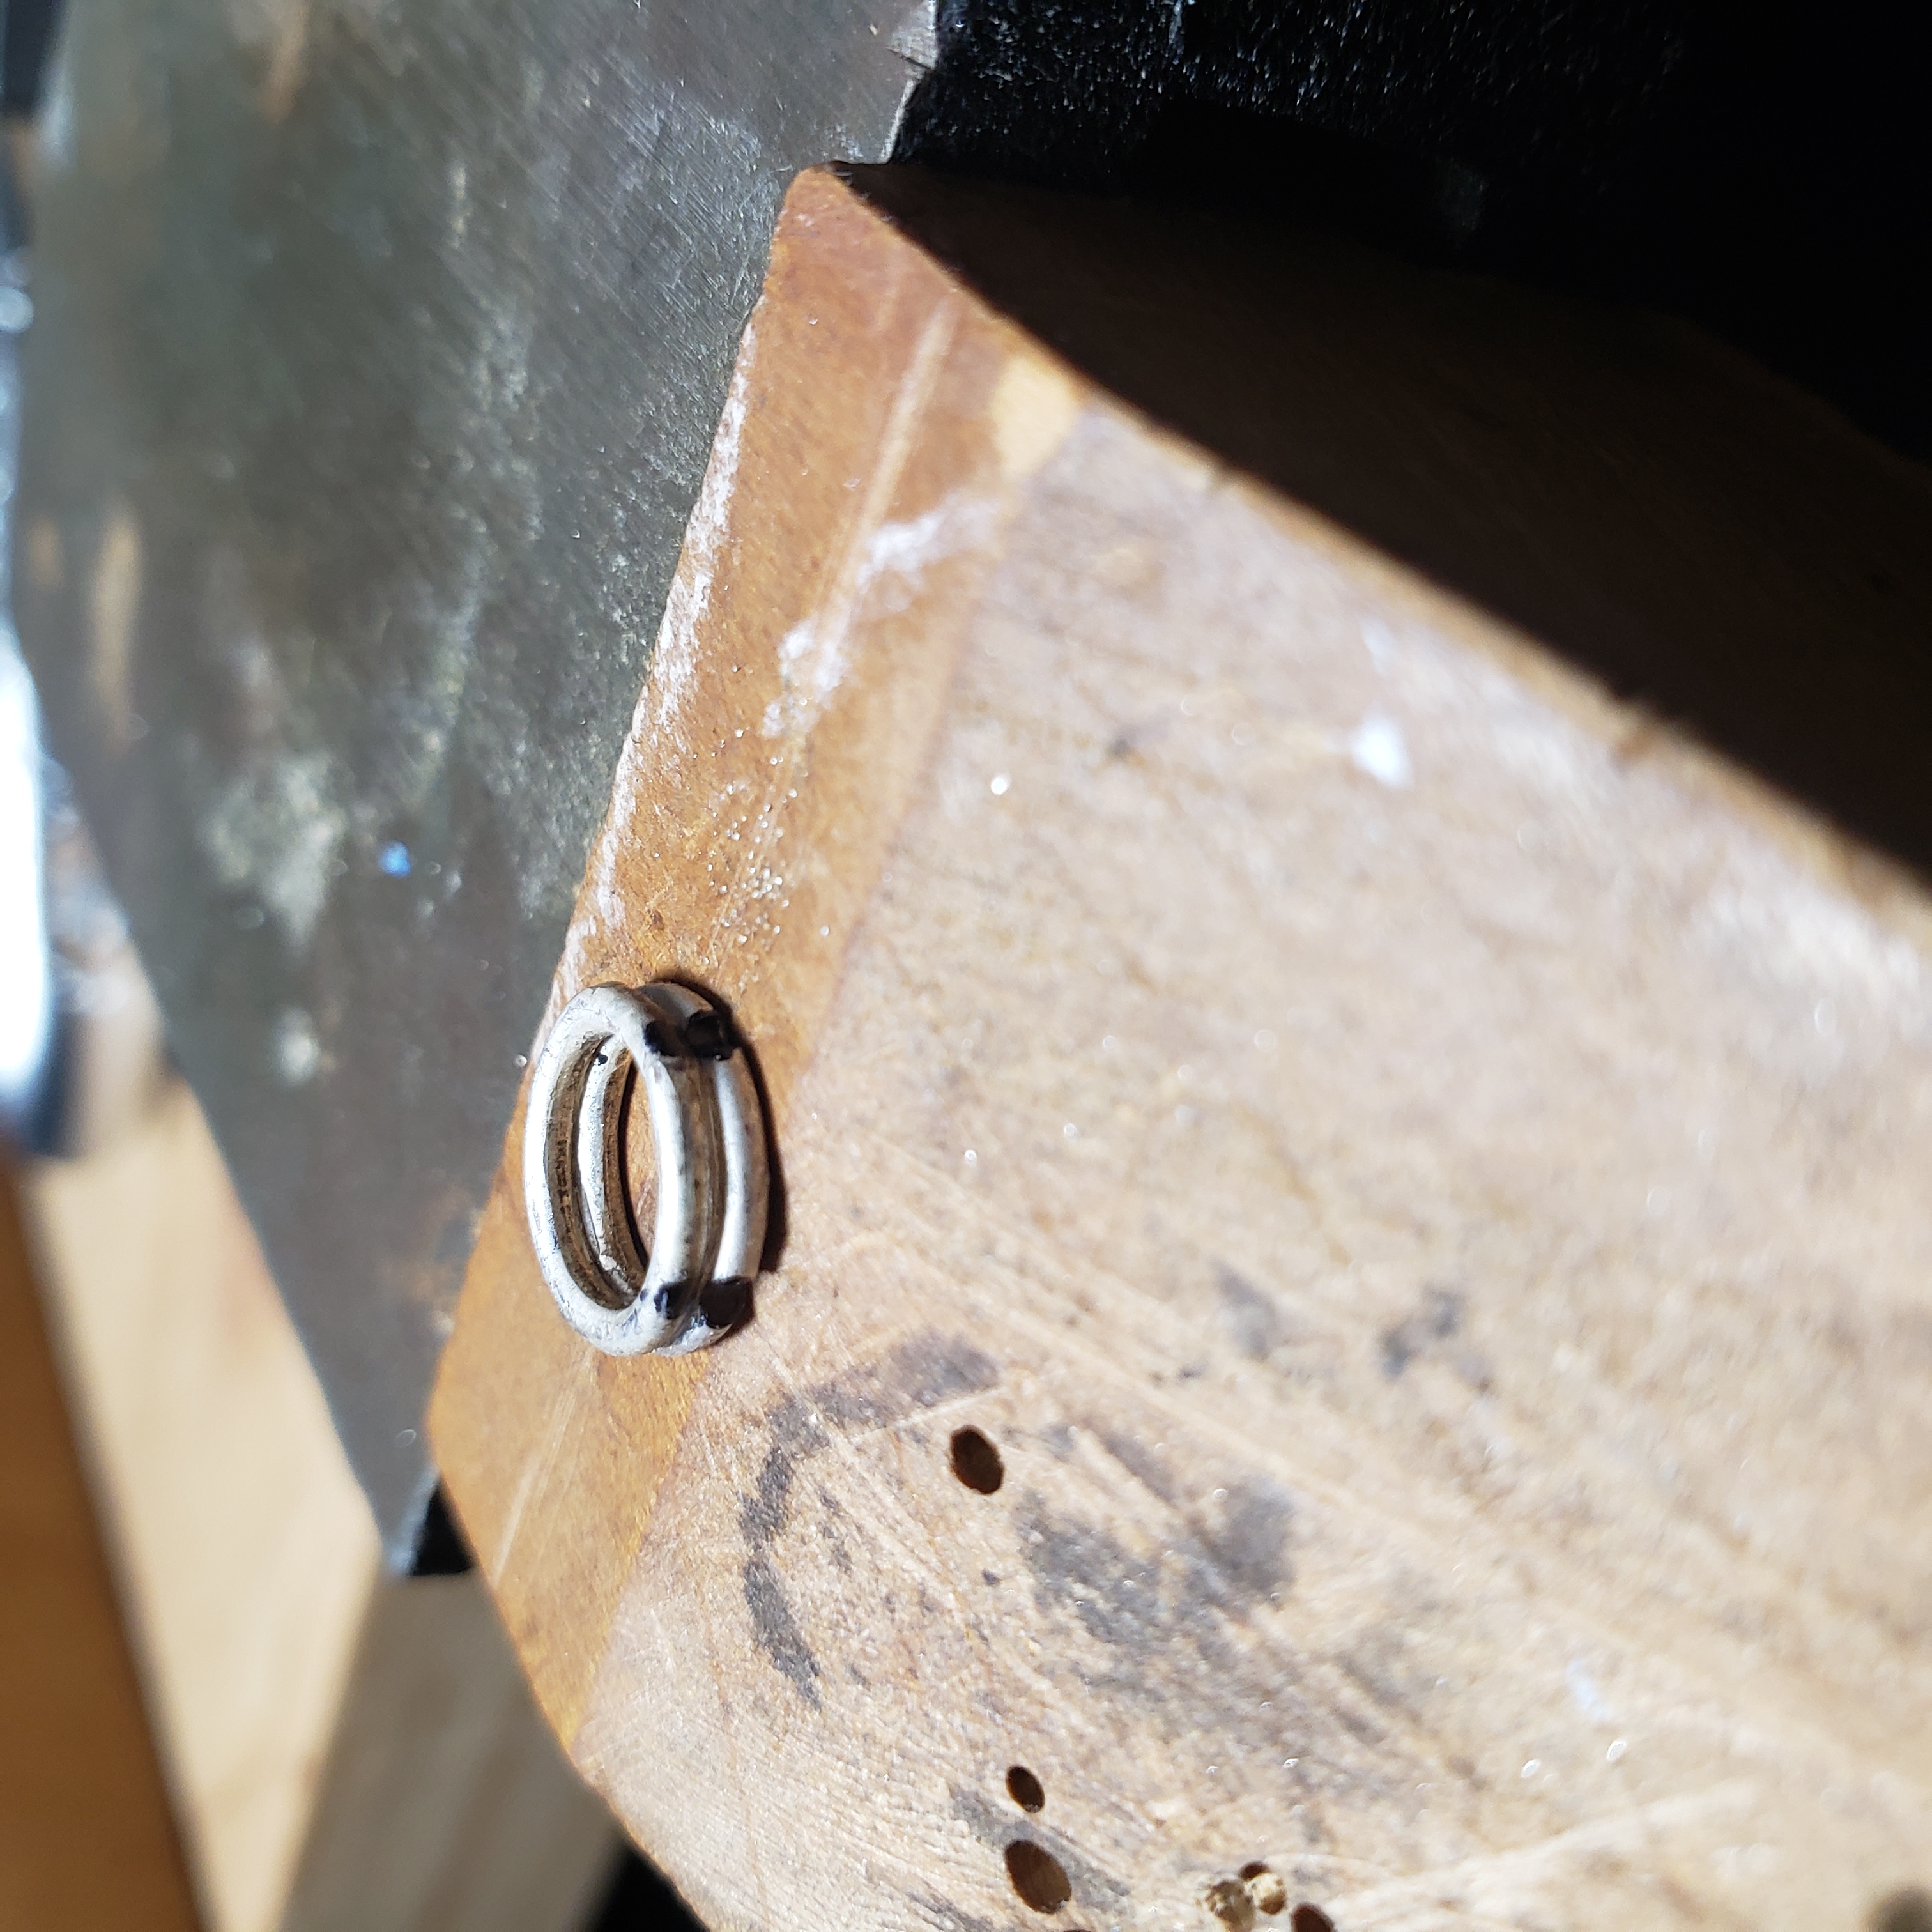
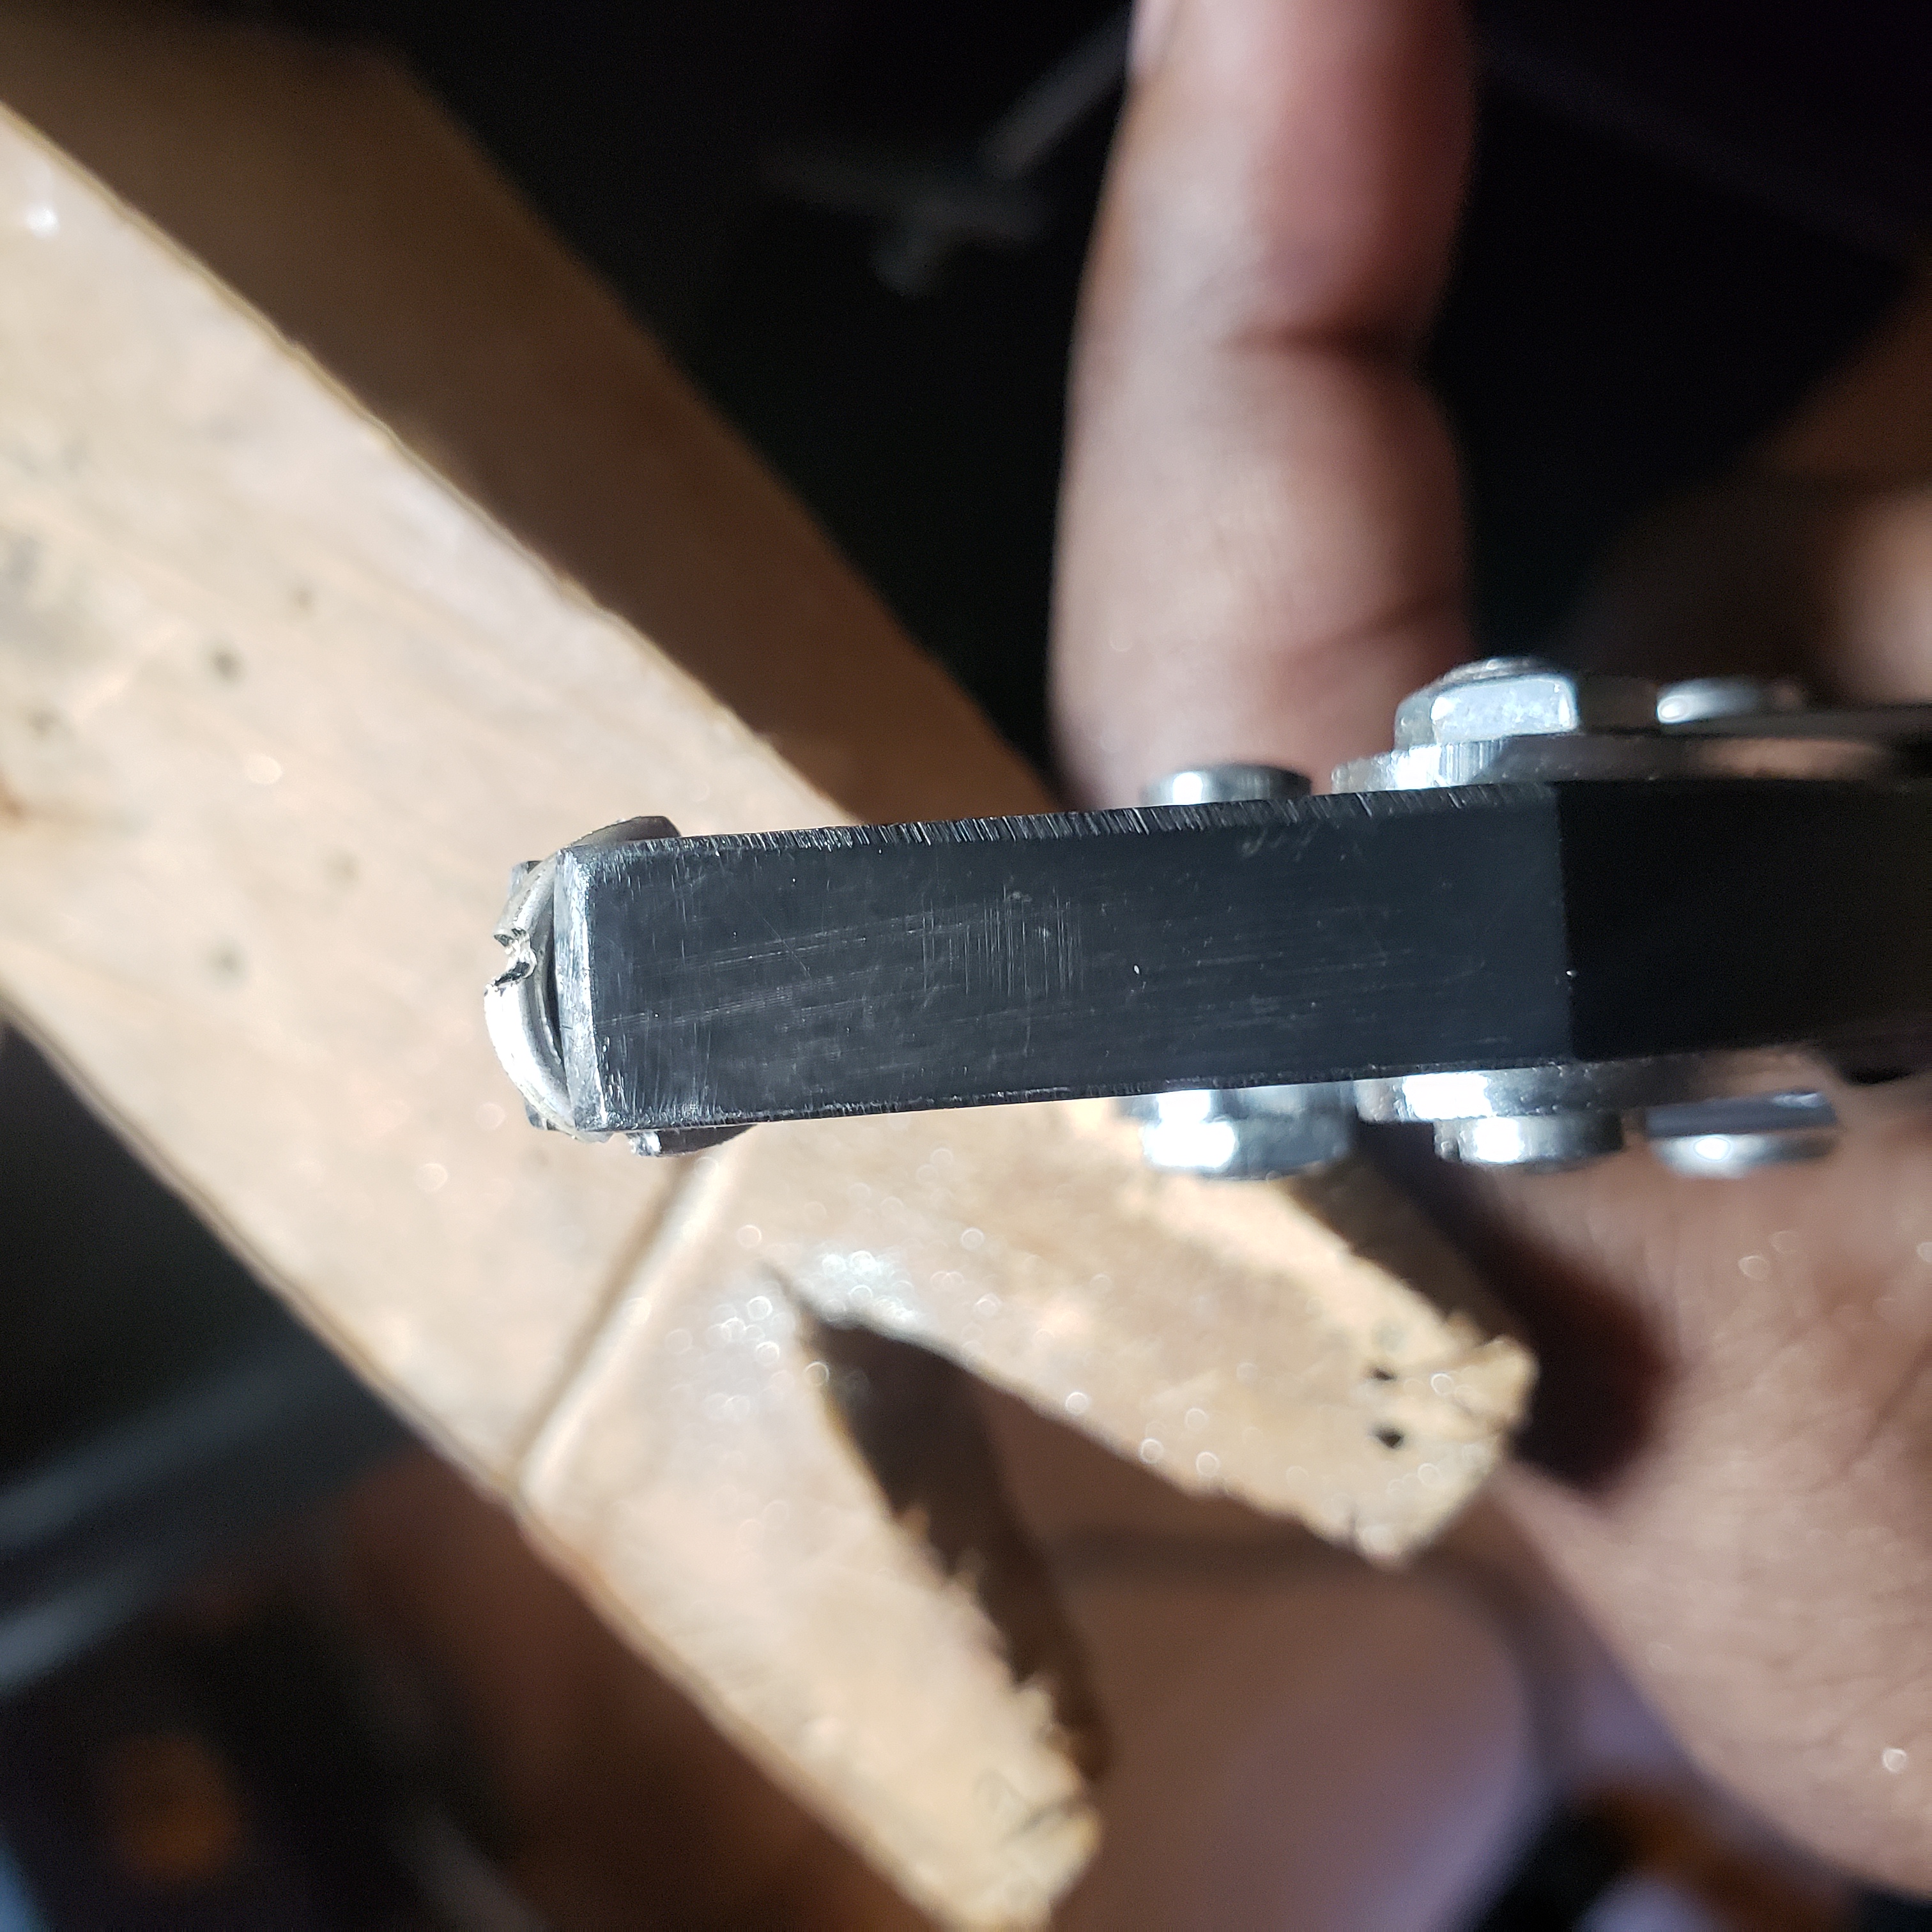
After the glue sets I mark and notch the un-notched rings, using the
paired ring as a guide. You do have to keep the rings together for this to
work. Another aid is to file flat one side of each ring before gluing. This
helps give more surface for the glue and will help orient the rings once
finished.
Step 3: Assemble the rings and prongs
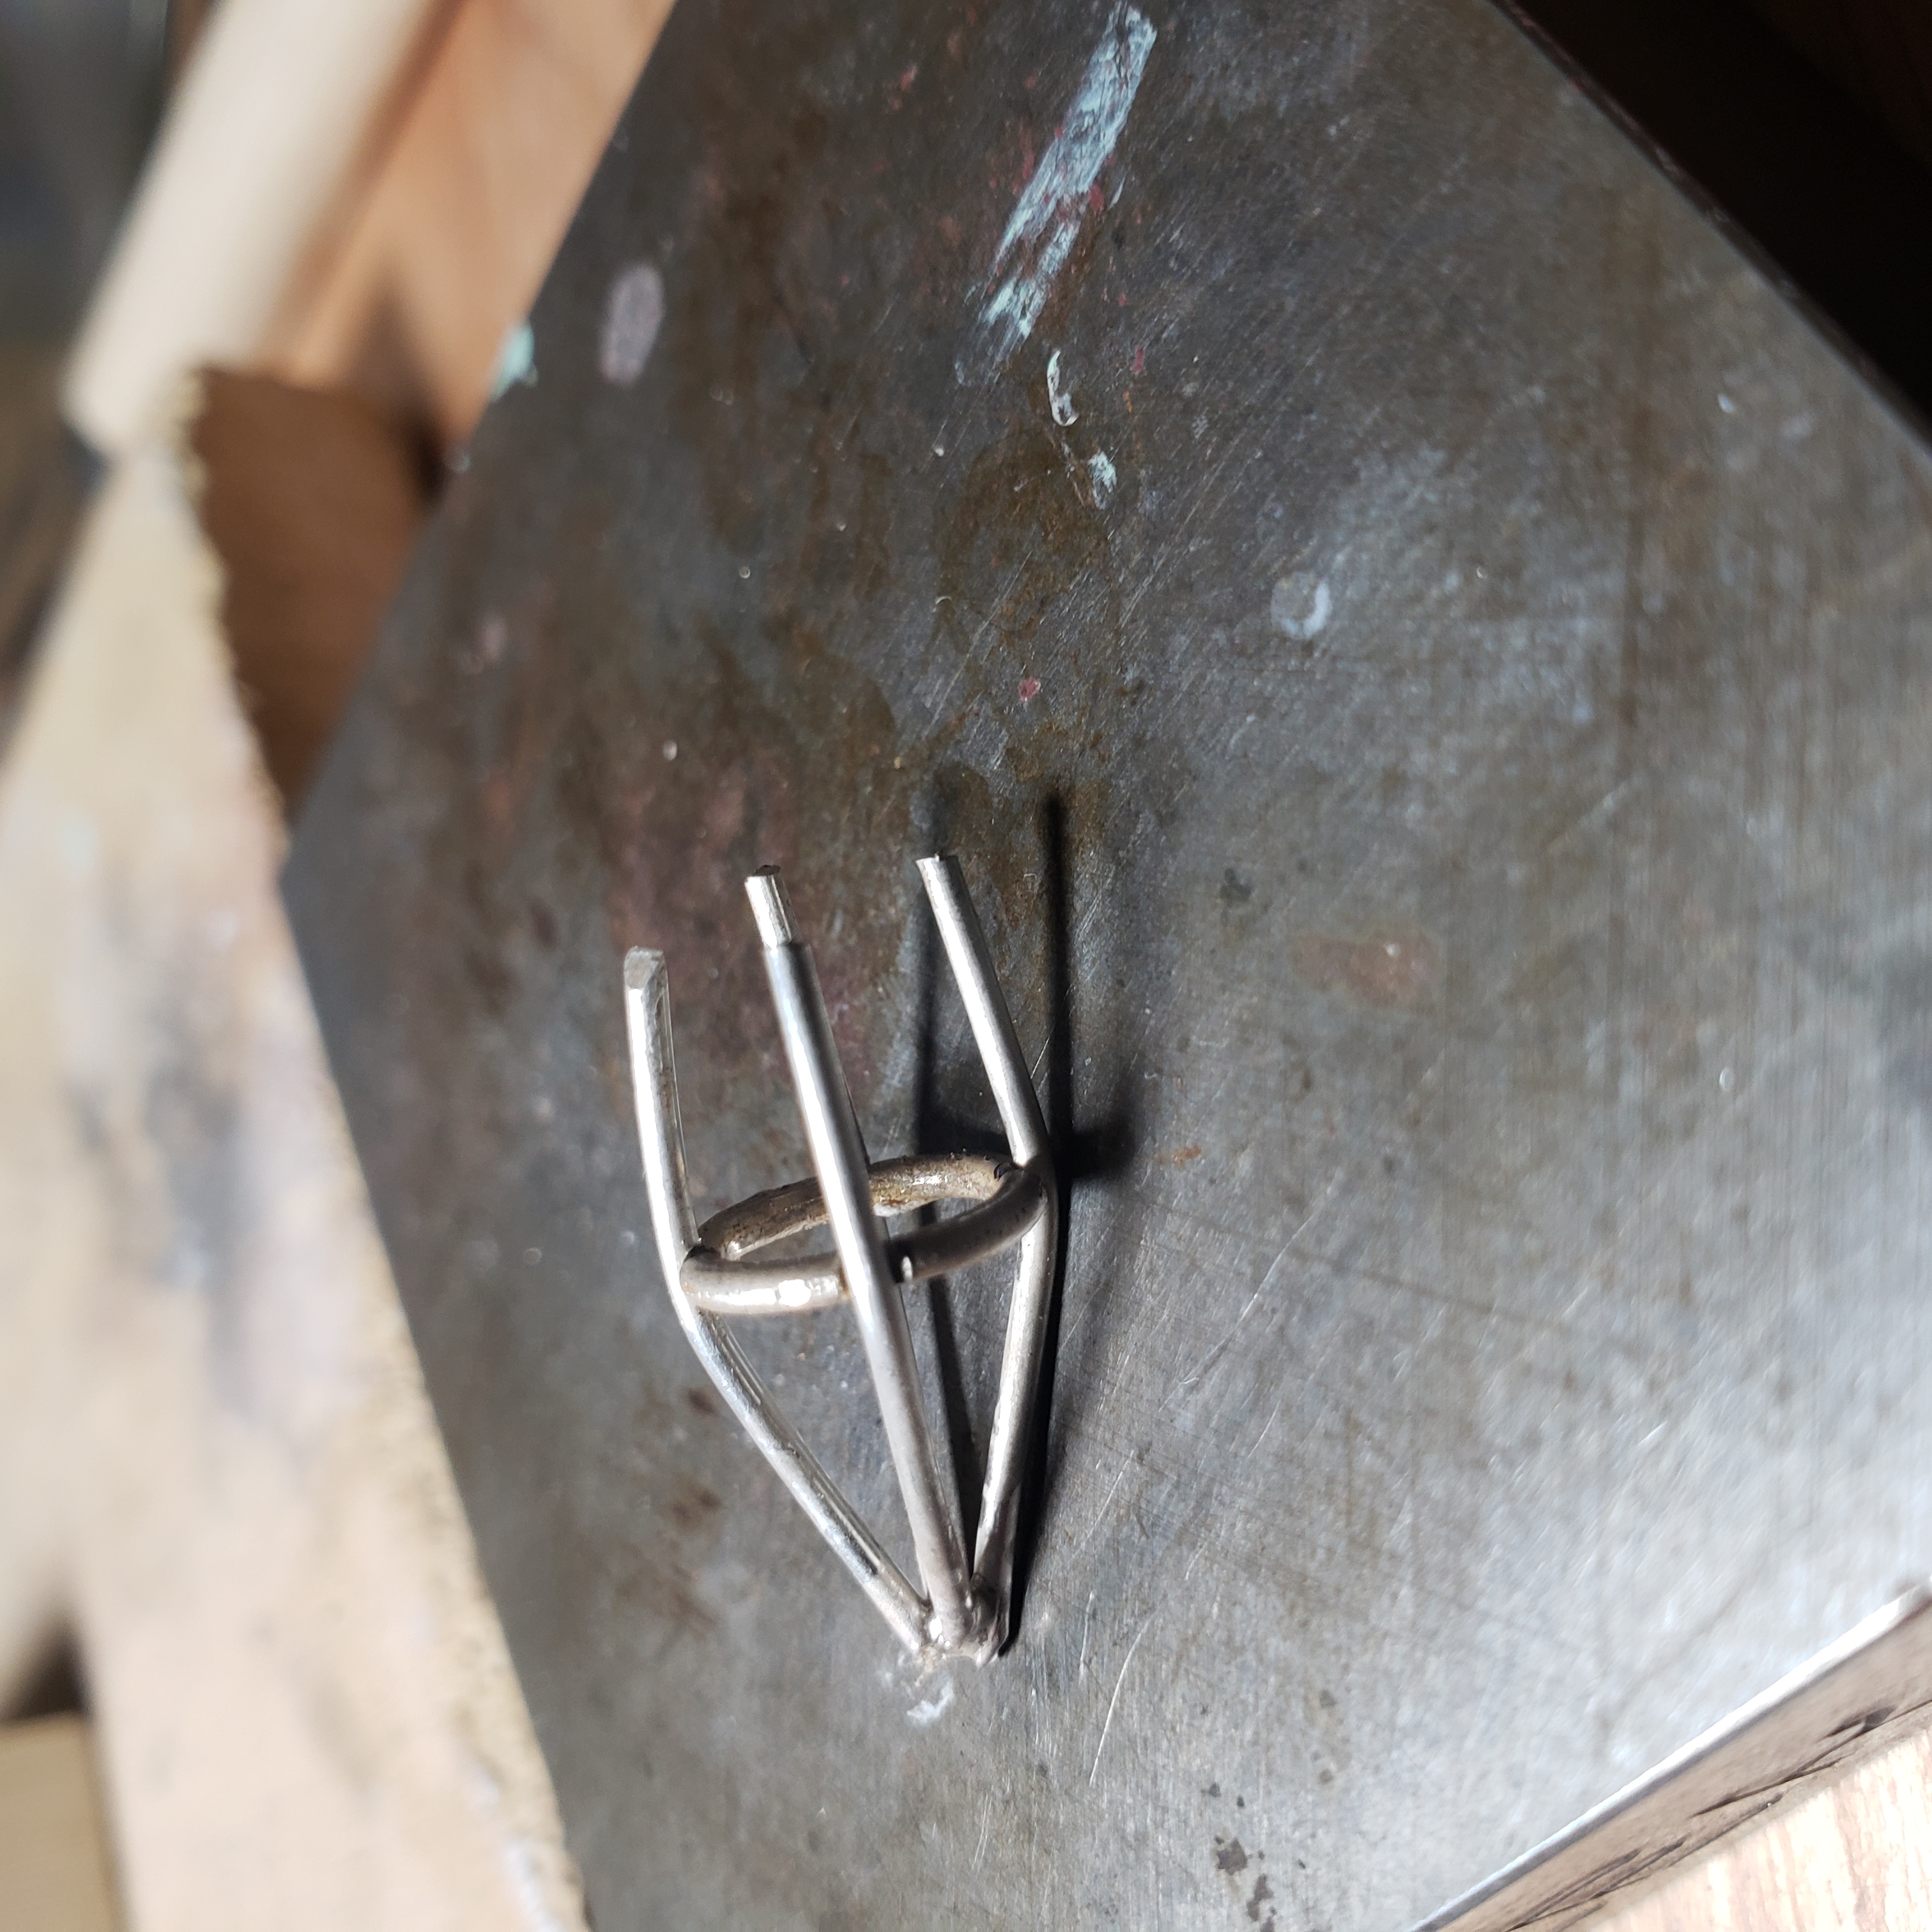
To make the baskets, take one of the glued together pairs of rings and briefly pass a torch over it. The rings will quickly separate. Fit one of the rings into one of the prong pyramids and solder.
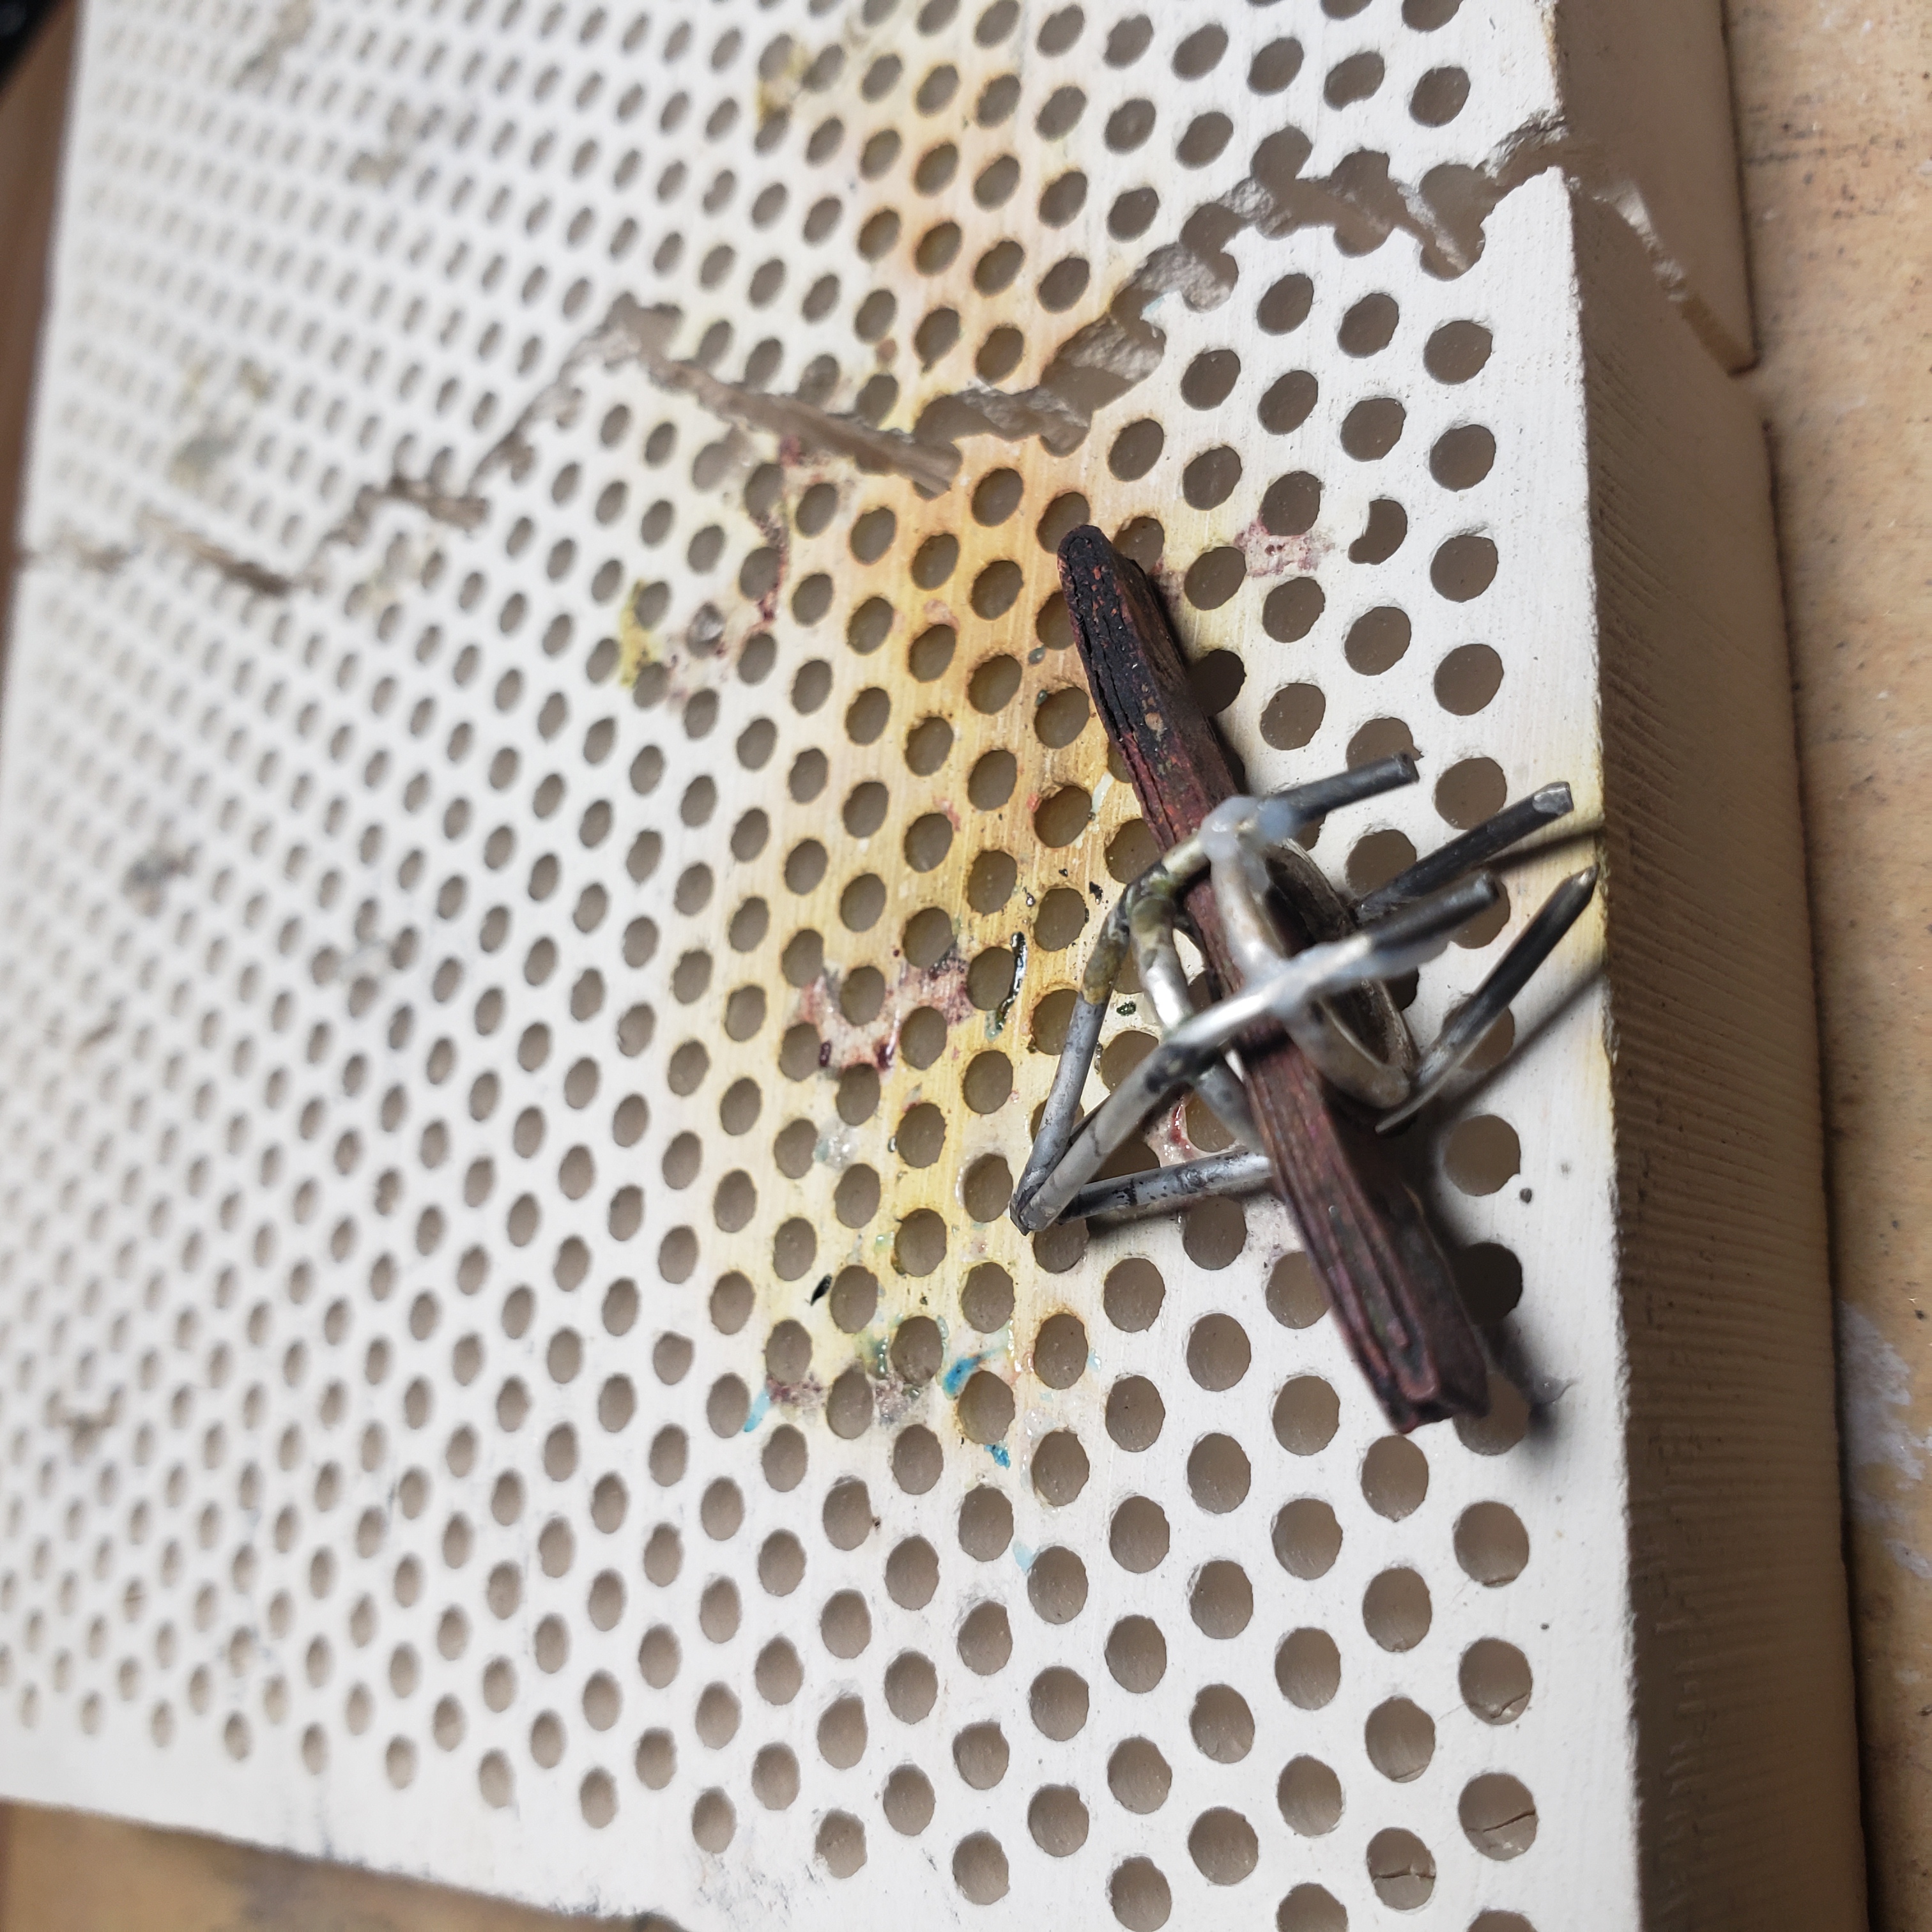
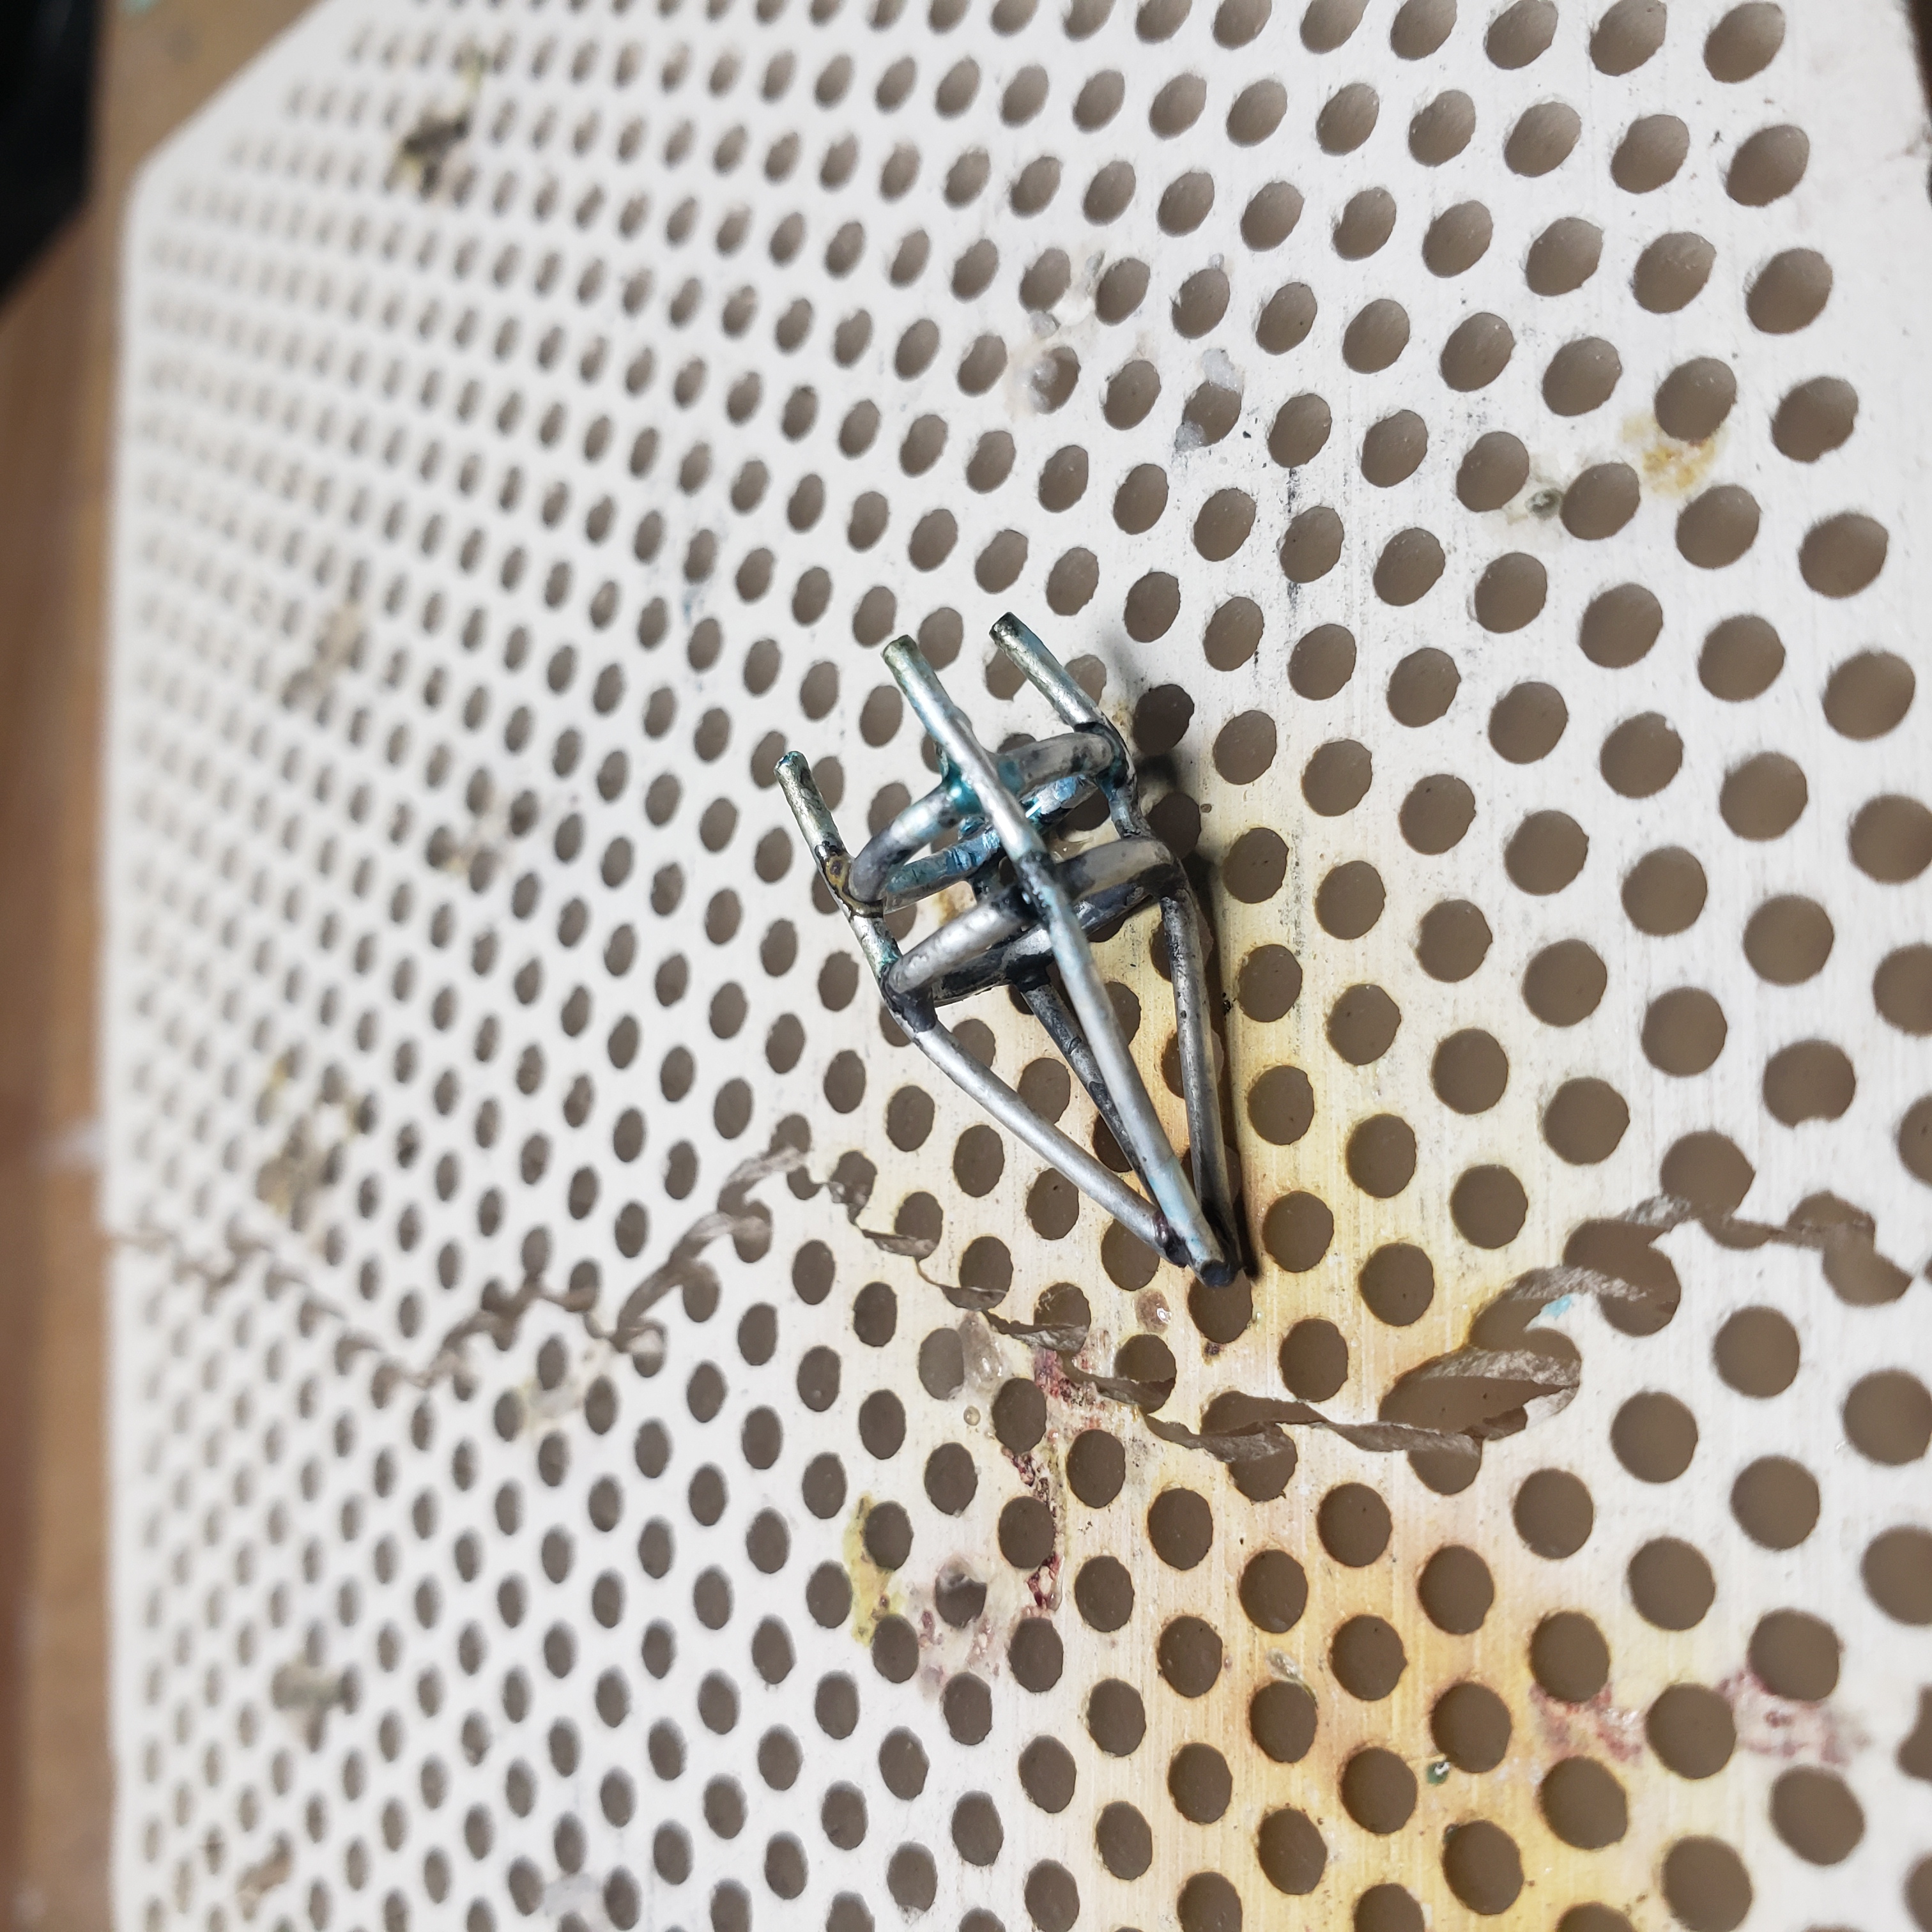
Fit the other end into the pyramid and, using a spacer to keep the gap between the rings uniform, carefully solder the second ring.
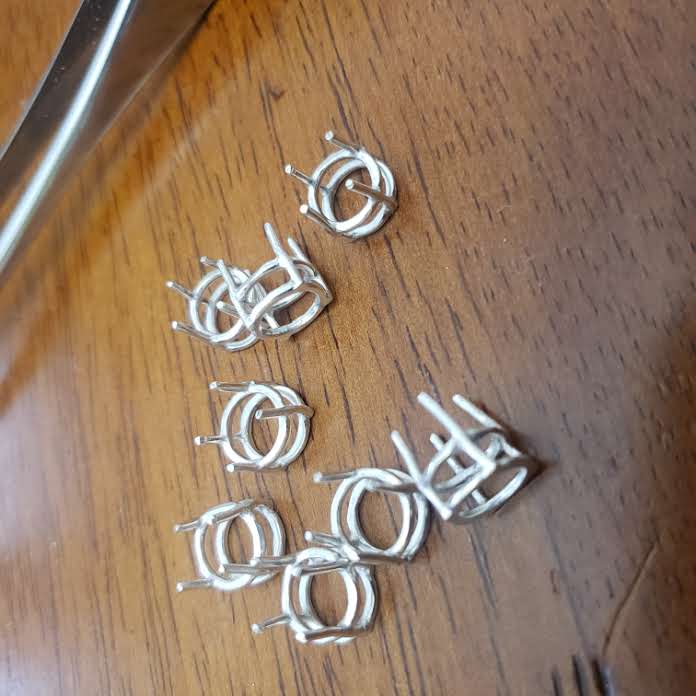
Cut off the bottoms of the pyramids and file the bottoms flat.
Step 4: Set the stones
Trim the prongs for each stone.
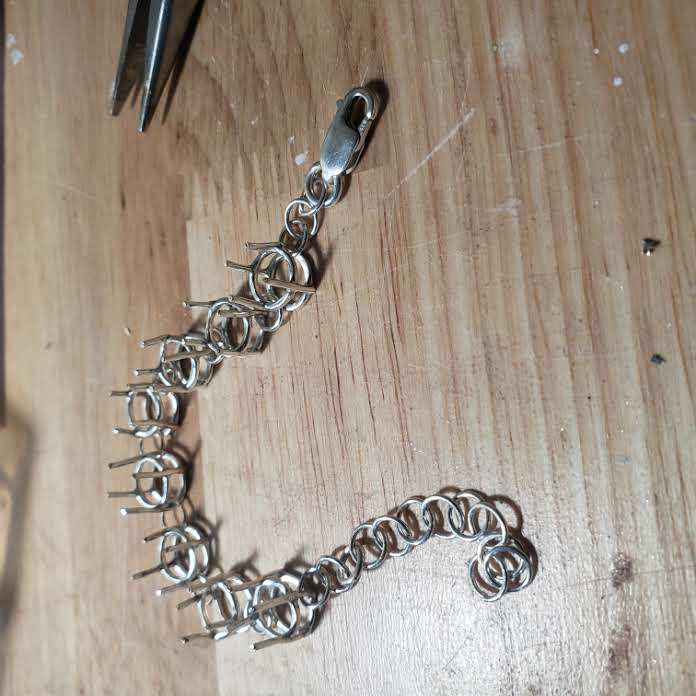
Connect the collets with jump rings.
Set the stones and cut and shape the prongs.
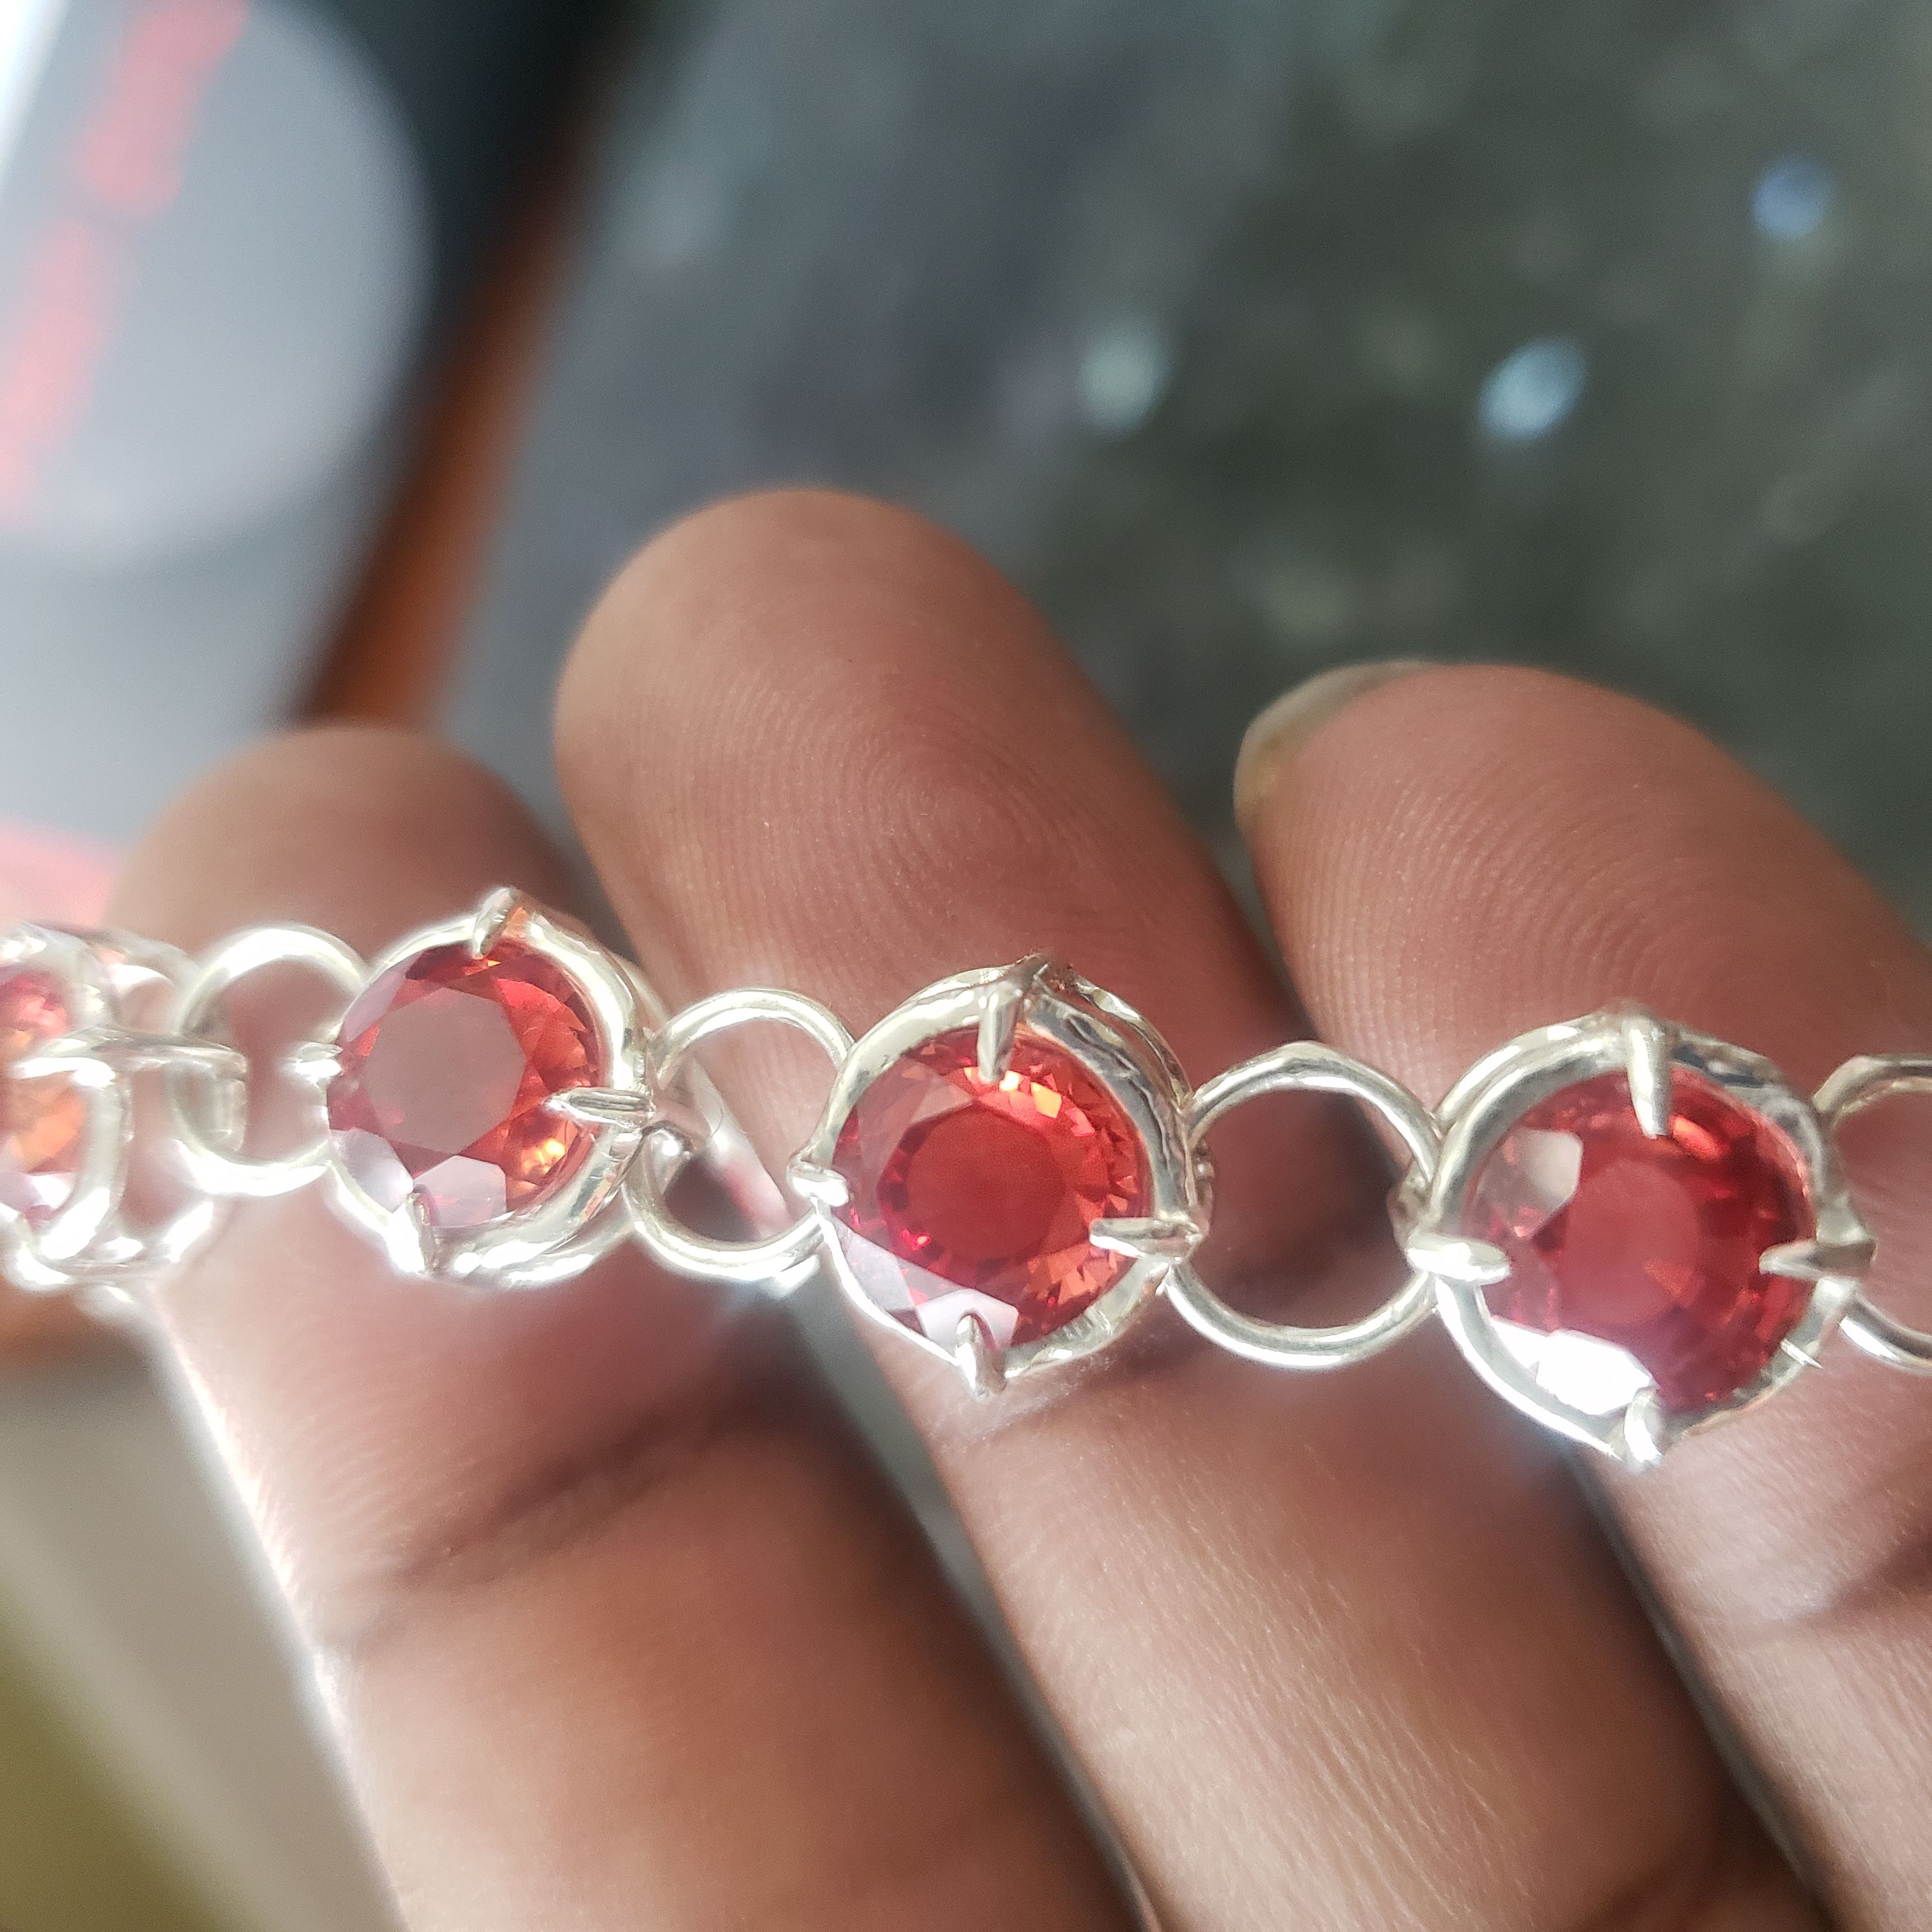
Step 5: The finished bracelet
